 Save to Pinterest
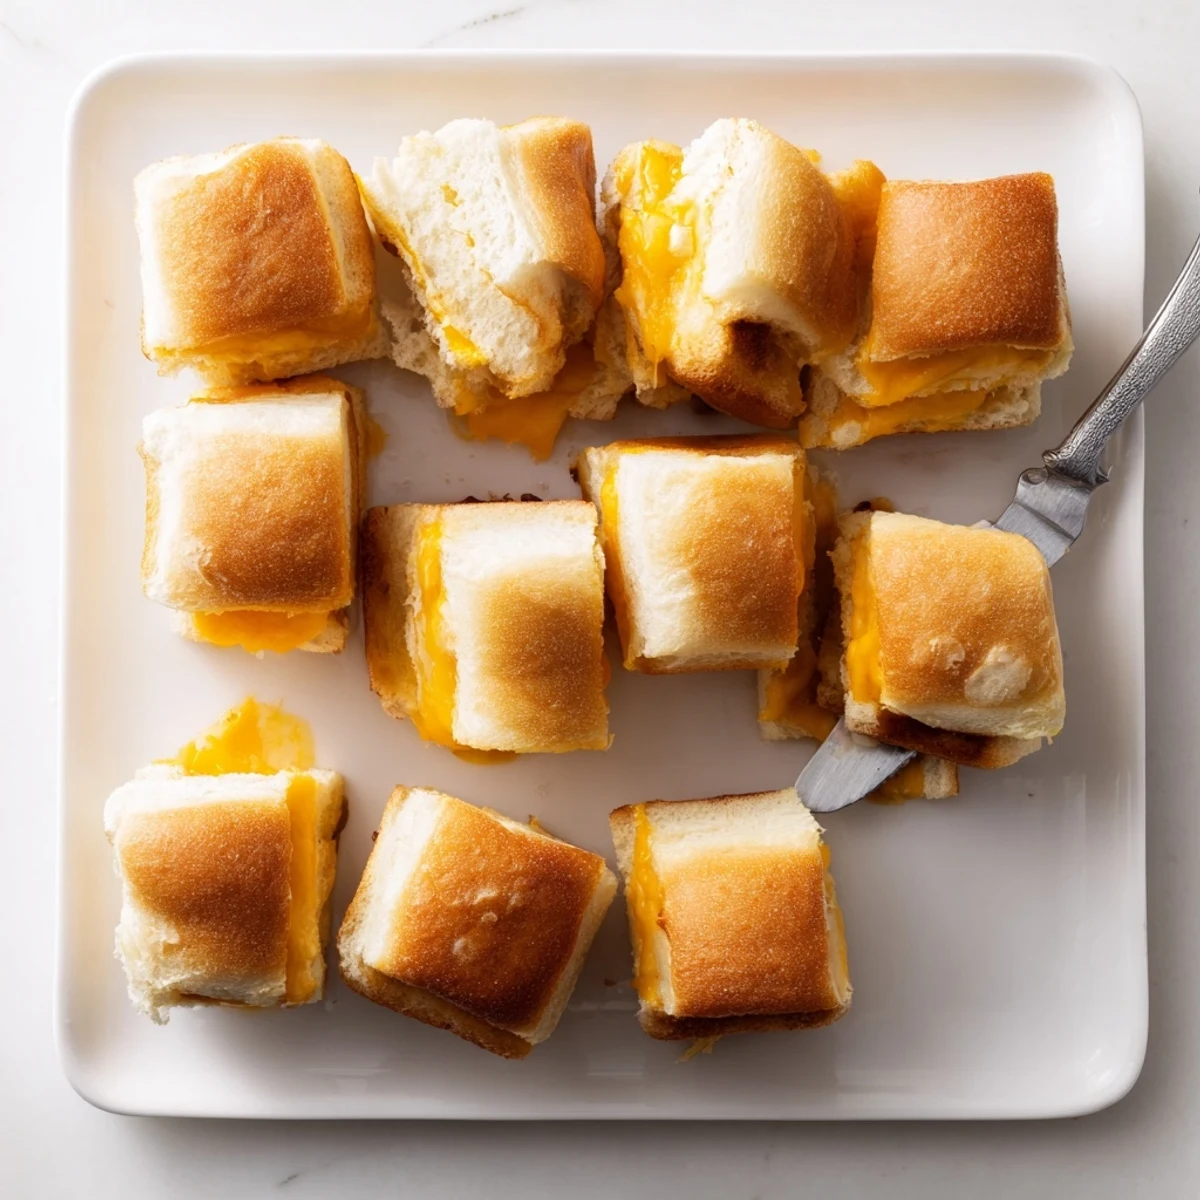
 These bite-sized sandwiches transform sweet Hawaiian rolls into irresistible appetizers by slicing them horizontally, layering with melted cheddar, and baking until golden brown. The sweetness of the rolls pairs perfectly with savory cheese, creating a crowd-pleasing combination that's ready in just 25 minutes.
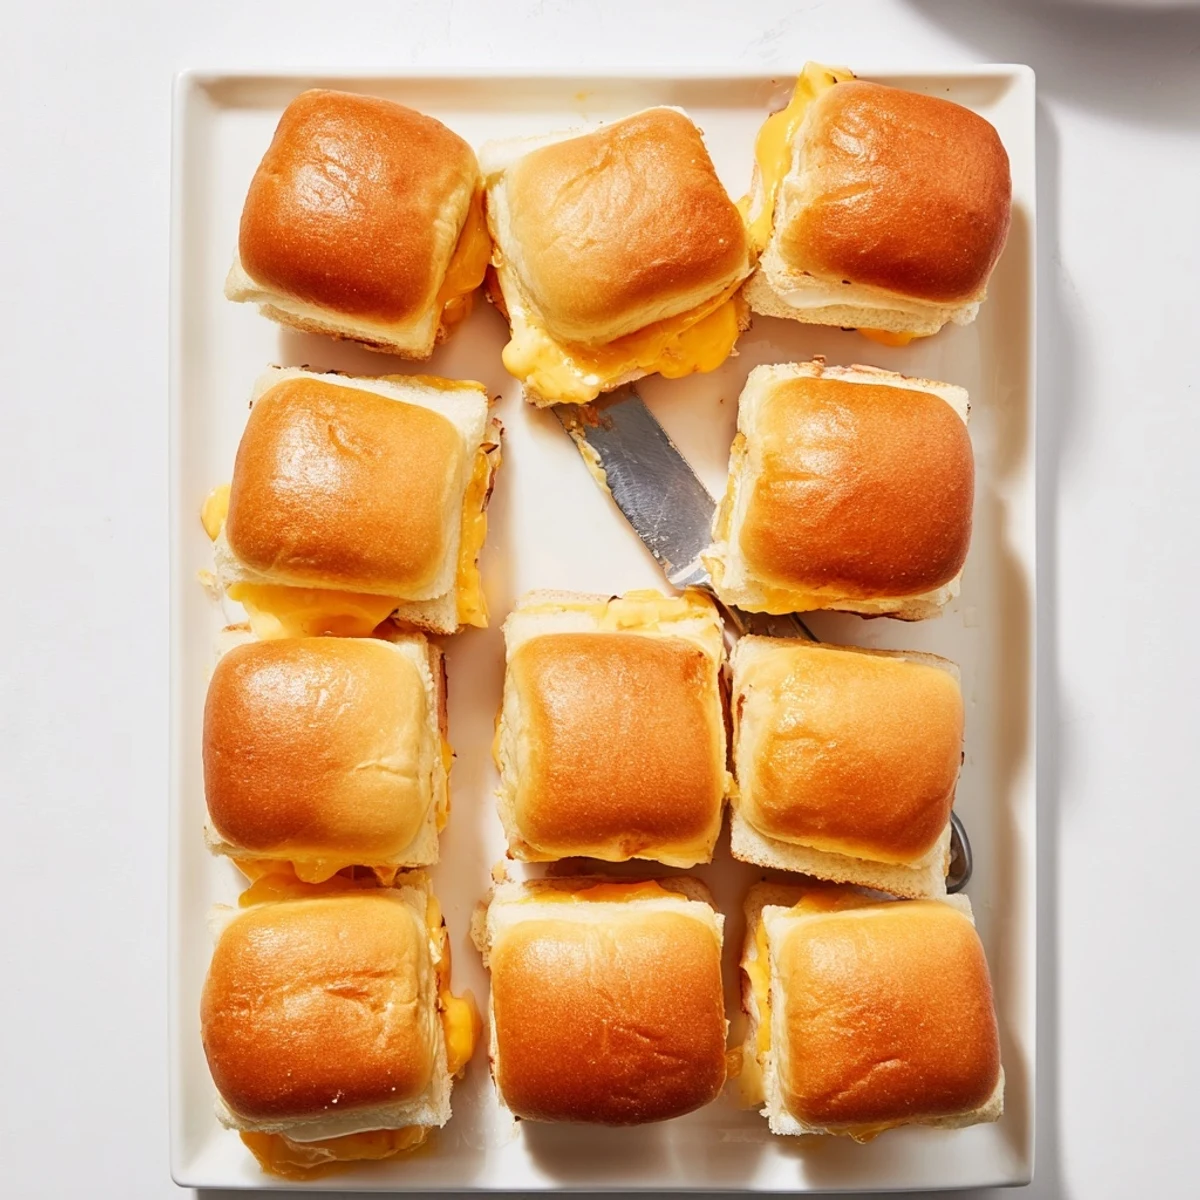
Simply slice the entire roll block horizontally, layer cheese slices between the halves, brush with melted butter, and bake. The result is crispy tops with gooey centers that pull apart easily into individual servings. Add bacon or tomatoes for extra flavor variations, or customize with different melting cheeses like Swiss or pepper jack.
The first time I made these for a Super Bowl party, my friend Sarah actually stood by the baking sheet and ate three before I could even announce they were ready. Something about that sweet Hawaiian bread getting all buttery and golden while the cheese turns into a molten river just makes people lose their minds a little. Now they are the most requested item at every gathering I host, and I have learned to make a double batch because a single tray disappears embarrassingly fast.
Last winter my cousin came over after a terrible breakup, and I threw these together in about fifteen minutes while she sat at my counter looking miserable. By the time they came out of the oven, golden and bubbling, the whole house smelled like buttery comfort. We ate them straight from the baking sheet with our fingers, and somewhere between that first gooey bite and the last, she started laughing again. Food memory right there.
Ingredients
- 1 package (12 rolls) Hawaiian sweet rolls: The sweetness is what makes these magical so do not swap for regular dinner rolls
- 12 slices cheddar cheese: Sharp cheddar gives you that perfect tang but any melting cheese works beautifully
- 4 tablespoons unsalted butter, melted: Brush it generously because that golden buttery crust is basically the whole point
- 6 slices cooked bacon (optional): Adds a smoky crunch that takes these from great to unforgettable
Instructions
- Preheat your oven:
- Get it to 350°F so you are ready to slide these in the moment they are assembled
- Prep the rolls:
- Keep the rolls connected and slice through the entire package horizontally to create one big top and bottom layer
- Layer everything:
- Place the bottom half on parchment paper, pile on cheese slices plus any bacon or tomato, then crown with the top layer
- Butter and bake:
- Brush the tops with melted butter, cover loosely with foil, and bake 10 minutes until the cheese melts
- Get golden:
- Remove foil and bake 3 to 5 more minutes until the tops turn a gorgeous golden brown
- Separate and serve:
- Let them cool just 2 minutes then pull apart into individual sandwiches and watch them vanish
 Save to Pinterest
 These became a Friday night tradition during my daughter's soccer season when we would get home exhausted and hangry. I could pop them in the oven while she showered, and by the time she came downstairs in her pajamas, dinner was ready and we could just decompress together. Simple moments like that are what make a recipe stick around.
Make Them Your Own
My kitchen experiments have taught me that mixing garlic powder or dried parsley into the melted butter transforms these into something that tastes restaurant quality. A little sprinkle of everything bagel seasoning on top before baking creates this salty crunch that people cannot quite identify but keep reaching for.
Cheese Swaps That Work
While cheddar is classic, I have discovered that pepper jack adds a gentle heat that cuts through the sweet rolls beautifully. Mozzarella creates those insane cheese pulls that make for great photos, and Swiss gives it a more sophisticated vibe if you are serving these to adults who claim they do not like kid food.
Serving Suggestions
These pair perfectly with a steaming bowl of tomato soup for dunking, and I have found that cutting them into smaller quarters makes them ideal cocktail party food. Serve them alongside a crisp green salad with tangy vinaigrette to balance the richness.
- Set out extra napkins because the cheese gets gloriously messy
- Let guests customize with toppings like jalapeños or pickles on the side
- These reheat surprisingly well in a toaster oven if you somehow have leftovers
 Save to Pinterest
 Every time I pull a tray of these from the oven, golden and smelling like pure comfort, I am reminded why simple recipes often become the ones we turn to again and again. Hope these bring as much joy to your table as they have to mine.
Recipe FAQs
- → Can I make these ahead of time?
-
Yes, assemble the sandwiches up to 24 hours in advance and store wrapped in the refrigerator. Brush with melted butter just before baking. They reheat well in a 350°F oven for 5-10 minutes.
- → What cheese works best?
-
Sharp cheddar provides excellent flavor and melt. Other great options include Swiss, provolone, mozzarella, pepper jack for spice, or a blend of multiple cheeses for complex flavor.
- → How do I prevent soggy bottoms?
-
Use parchment paper on your baking sheet and ensure the oven is fully preheated. The initial foil cover helps melt cheese without drying tops, while removing it creates crispy golden surfaces.
- → Can I freeze these?
-
Absolutely! After baking, cool completely, then freeze in airtight containers for up to 3 months. Reheat from frozen in a 375°F oven for 10-15 minutes until hot and cheese is melted again.
- → What's the best way to slice the rolls?
-
Use a serrated knife and keep the rolls connected in their block shape. Slice horizontally through the entire block at once, keeping the top and bottom halves intact for easy assembly and even baking.
