 Save to Pinterest
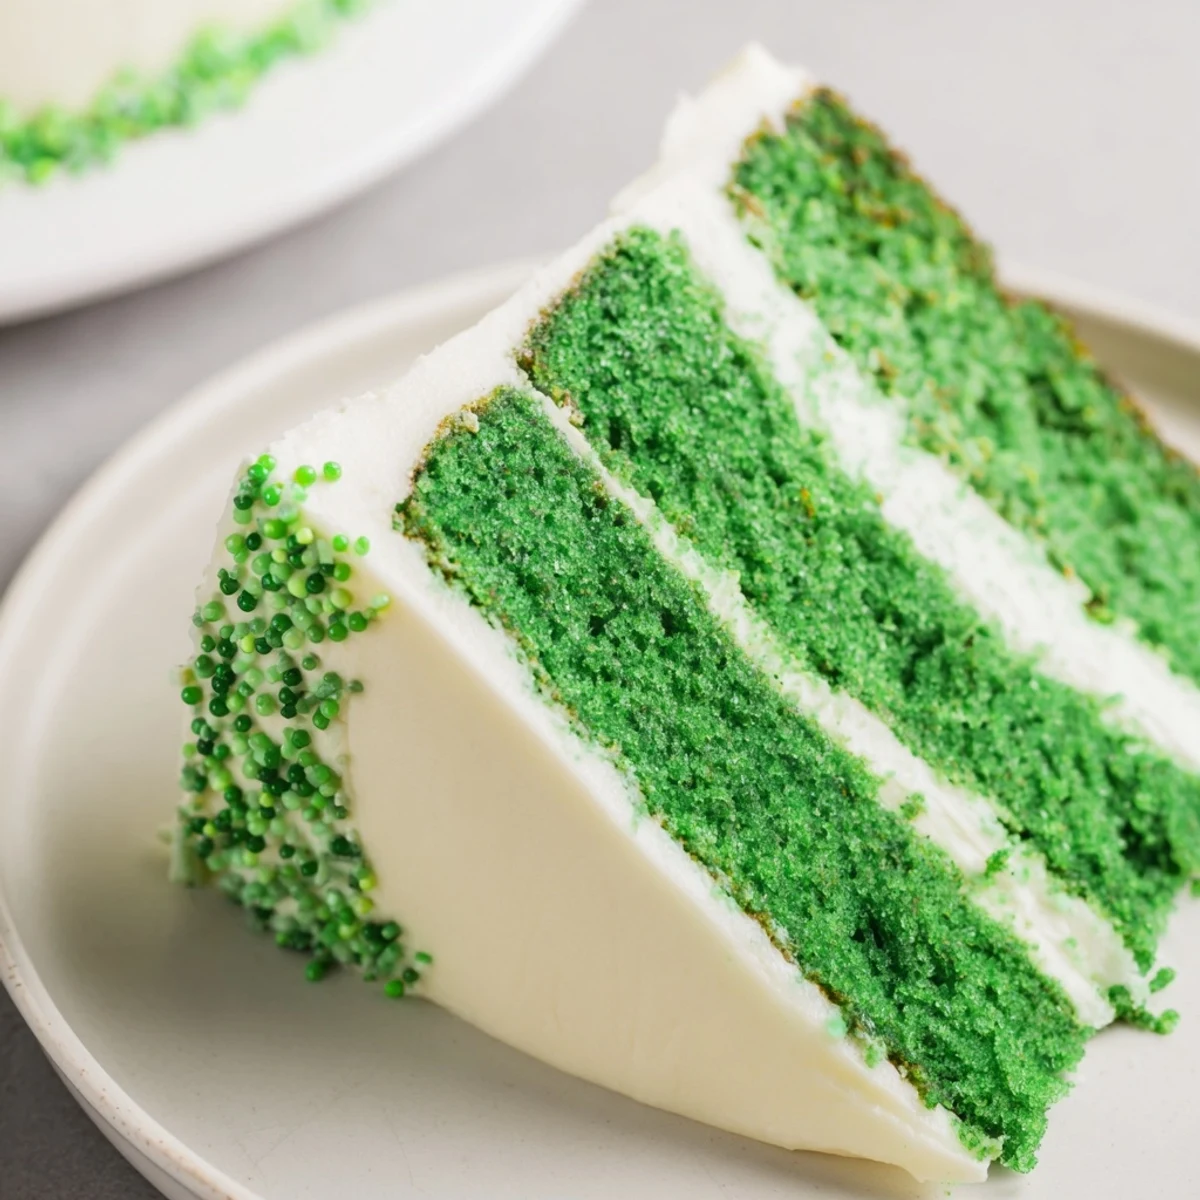
 This vibrant green velvet cake brings a festive touch inspired by St. Patrick’s Day. Made with a tender crumb from all-purpose flour, buttermilk, and a hint of cocoa, the batter is colored with green gel to achieve its signature hue. The cake is baked in two round pans, cooled, and layered with a smooth, creamy cream cheese frosting enhanced with vanilla. The balance of flavors and moist texture makes it perfect for sharing at celebrations. Adjust food coloring for a deeper green or create cupcakes by shortening baking time. Serve with Irish coffee or vanilla ice cream for a delightful treat.
The first time I attempted a green velvet cake, my kitchen looked like a leprechaun exploded. Food coloring everywhere, staining my favorite apron and somehow ending up on the cat. But when that cake emerged from the oven—this impossibly vibrant, almost otherworldly green—I knew the mess was worth it. Now it is become our March tradition, the one thing my kids actually ask for weeks in advance.
Last year my neighbor Jane came over just as I was frosting the cake. She stood in my doorway, eyes wide, watching me spread that snowy white frosting over the electric green layers. What started as her dropping off extra mail turned into her staying for coffee and two slices each. Sometimes food is just the excuse we need for a good conversation.
Ingredients
- All-purpose flour: The backbone of this cake, providing structure without density
- Granulated sugar: Sweetens and tenderizes, creating that signature velvet crumb
- Cocoa powder: Just a tablespoon gives depth without turning the cake brown
- Buttermilk: The secret to tenderness and that subtle tang balancing the sweetness
- Vegetable oil: Keeps the cake moist for days unlike butter which can firm up
- Eggs: Room temperature eggs incorporate better for a more even texture
- White vinegar: Reacts with baking soda for extra lift and tenderness
- Green food coloring: Gel coloring gives that intense St. Patricks Day green without thinning the batter
- Cream cheese: Must be fully softened or you will end up with lumpy frosting
- Unsalted butter: Room temperature butter blends seamlessly into the frosting
- Powdered sugar: Sifting first prevents those frustrating lumps in your frosting
Instructions
- Prep your pans and oven:
- Preheat oven to 350°F (175°C). Grease and flour two 9-inch round cake pans, lining bottoms with parchment paper for easy release later.
- Whisk the dry ingredients:
- In a large bowl, combine flour, sugar, baking powder, baking soda, salt, and cocoa powder until everything is evenly distributed.
- Mix the wet ingredients:
- In a separate bowl, whisk buttermilk, oil, eggs, vanilla, vinegar, and green food coloring until the mixture is completely smooth.
- Combine and mix gently:
- Pour wet ingredients into dry ingredients, folding until just combined. Overmixing will make the cake tough, so stop as soon as you no longer see dry flour.
- Bake until perfect:
- Divide batter evenly between prepared pans and bake for 28 to 32 minutes. A toothpick inserted in the center should come out clean with no wet crumbs.
- Cool completely:
- Let cakes rest in pans for 10 minutes, then turn out onto wire racks. Cooling completely before frosting prevents melting and sliding.
- Make the frosting:
- Beat softened cream cheese and butter until creamy. Add powdered sugar, vanilla, and salt, beating until fluffy and spreadable.
- Assemble and frost:
- Place one cake layer on a serving plate, spread with frosting, top with second layer, then frost the top and sides until covered.
 Save to Pinterest
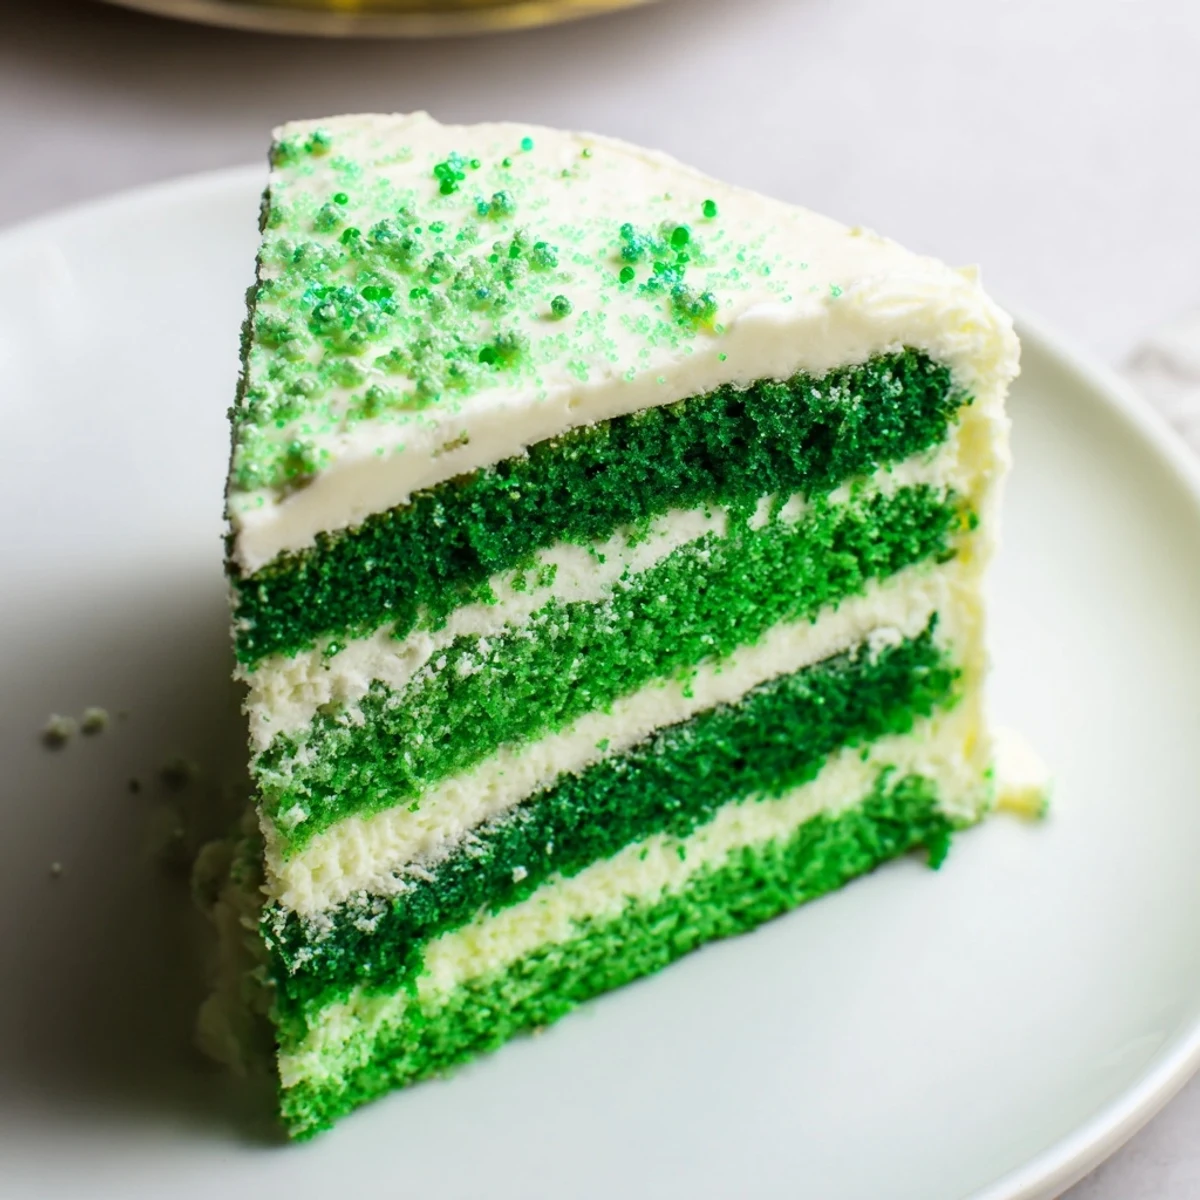
 My daughter helped me decorate this year, standing on her step stool with a handful of green sprinkles. She took her job very seriously, sprinkling with the concentration of a surgeon. The cake ended up looking a little lopsided and overly festive, but it was perfect.
Making It Ahead
I have learned through many St. Patricks Day mornings that this cake actually tastes better made the day before. The flavors meld together and the texture becomes even more velvety. Wrap the cooled layers tightly in plastic and frost the next day when you have more patience.
Color Your World
Start with less food coloring than you think you need. You can always add more, but you cannot take it back. Gel coloring is concentrated and powerful—a little goes a long way toward that perfect emerald shade.
Serving Suggestions
This cake deserves a proper presentation, especially for a holiday celebration. I like to serve it with something that cuts through the richness. A hot cup of Irish coffee feels appropriate, though vanilla ice cream works for the kids at the table.
- Sprinkle with edible glitter for extra magic
- Top with chocolate shamrock coins if you can find them
- Store in the refrigerator but bring to room temperature before serving
 Save to Pinterest
 Every March when I pull out that food coloring, I remember my first green velvet disaster and smile. Some traditions are worth the extra cleanup.
Recipe FAQs
- → What gives the cake its green color?
-
Green gel food coloring is added to the batter to achieve the vibrant green hue without affecting texture.
- → How do I ensure the cake stays moist?
-
Using buttermilk and vegetable oil in the batter helps keep the crumb tender and moist throughout baking.
- → Can I make this as cupcakes instead?
-
Yes, bake the batter in cupcake liners for 18-20 minutes for individual portions with the same flavor and texture.
- → What is the best way to frost the cake?
-
Beat cream cheese and butter until creamy, then add powdered sugar, vanilla, and a pinch of salt. Spread evenly between layers and around the sides.
- → Are there any allergen considerations?
-
This cake contains wheat (gluten), eggs, and dairy products such as butter and cream cheese, so caution is advised for those with allergies.
