 Save to Pinterest
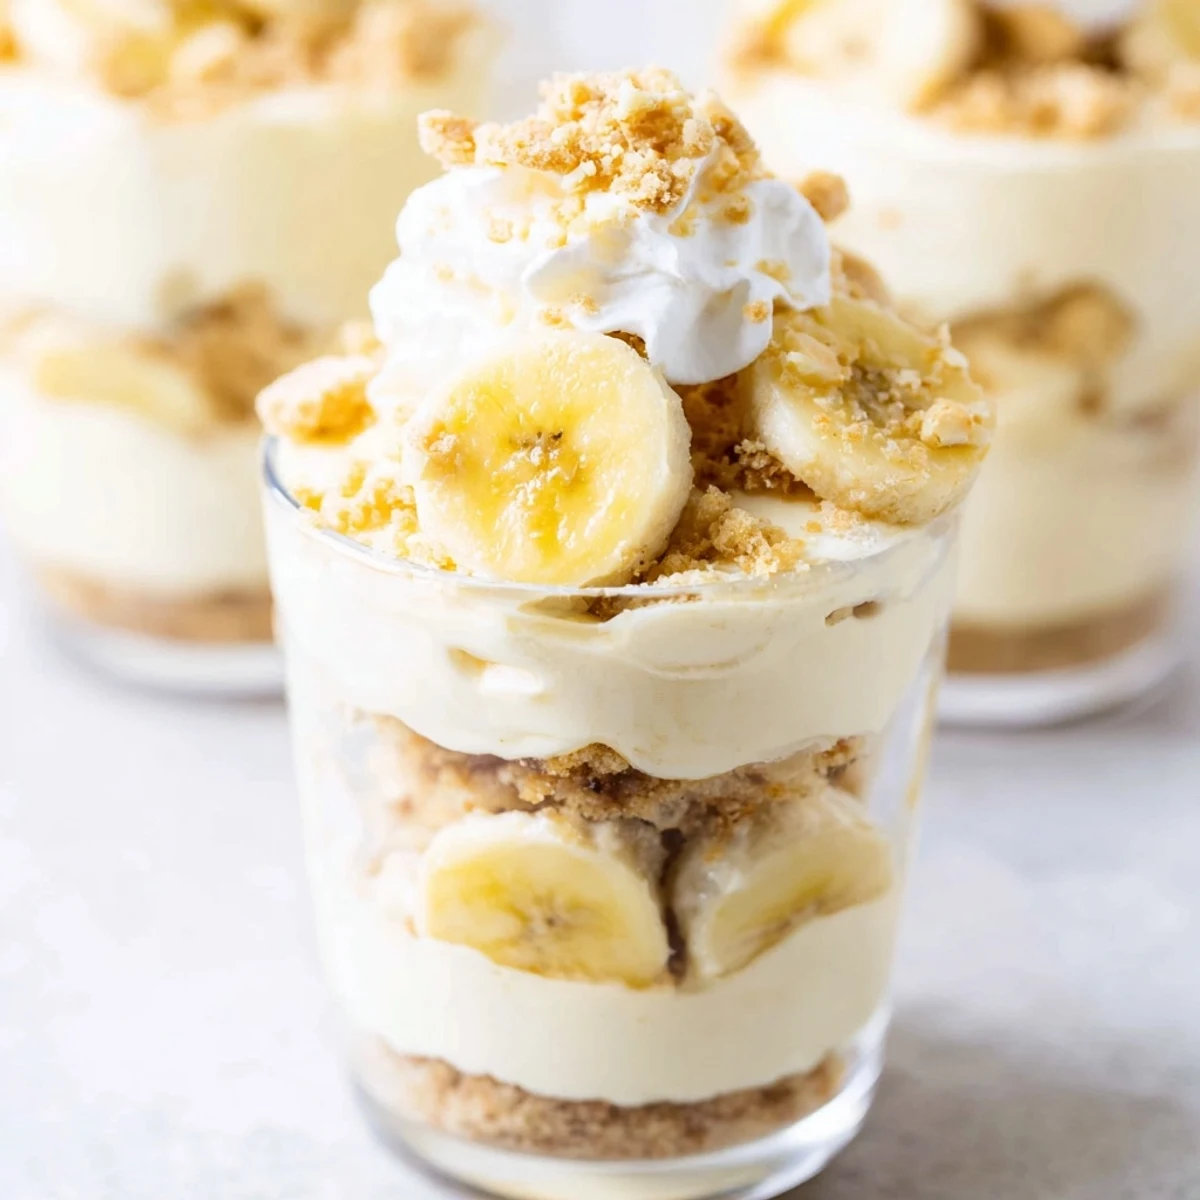
 These individual cups feature velvety layers of vanilla-infused cheesecake filling and classic banana pudding, all resting on a buttery vanilla wafer crust. Each cup is crowned with fresh banana slices and a sprinkle of crunchy wafer crumbs for delightful texture contrast.
The no-bake preparation comes together in just 20 minutes of active time, making it perfect for entertaining or weeknight treats. After chilling, the layers set into perfectly portioned desserts that offer the ideal balance of creamy sweetness and fresh fruit flavor.
The first time I made these little cups, it was for a last-minute book club meeting when I completely forgot I was hosting. I raided my pantry at 9 PM, praying banana pudding and cream cheese would play nice together. The next morning, my friend Sarah actually asked for the recipe before she even finished her first bite.
Last summer, I made these for my daughters birthday instead of a traditional cake. She told me it was the best dessert ever, which is saying something for an eight year old who normally demands elaborate frosting sculptures.
Ingredients
- Vanilla wafer cookies: The Nabisco Nilla wafers are classic but any crisp vanilla cookie works beautifully
- Unsalted butter: Melted just until liquid helps the crust hold together without getting greasy
- Cream cheese: Let it sit on the counter for a full hour to avoid any lumpy surprises in your filling
- Heavy whipping cream: The colder the better here—straight from the fridge gives you those perfect stiff peaks
- Instant banana pudding mix: Do not even attempt homemade pudding here—the instant stuff creates that nostalgic texture we want
- Ripe bananas: Look for bananas with tiny brown spots on the peel for maximum sweetness
Instructions
- Build the crust:
- Mix crushed wafers and melted butter until it feels like damp sand then press gently into your cups
- Make the cheesecake base:
- Beat room temperature cream cheese with sugar and vanilla until absolutely silky smooth
- Whip the cream:
- Fold stiff peaks of whipped cream into your cheesecake mixture until no white streaks remain
- Prepare the pudding:
- Whisk instant pudding with cold milk for a full two minutes until it thickens nicely
- Layer it up:
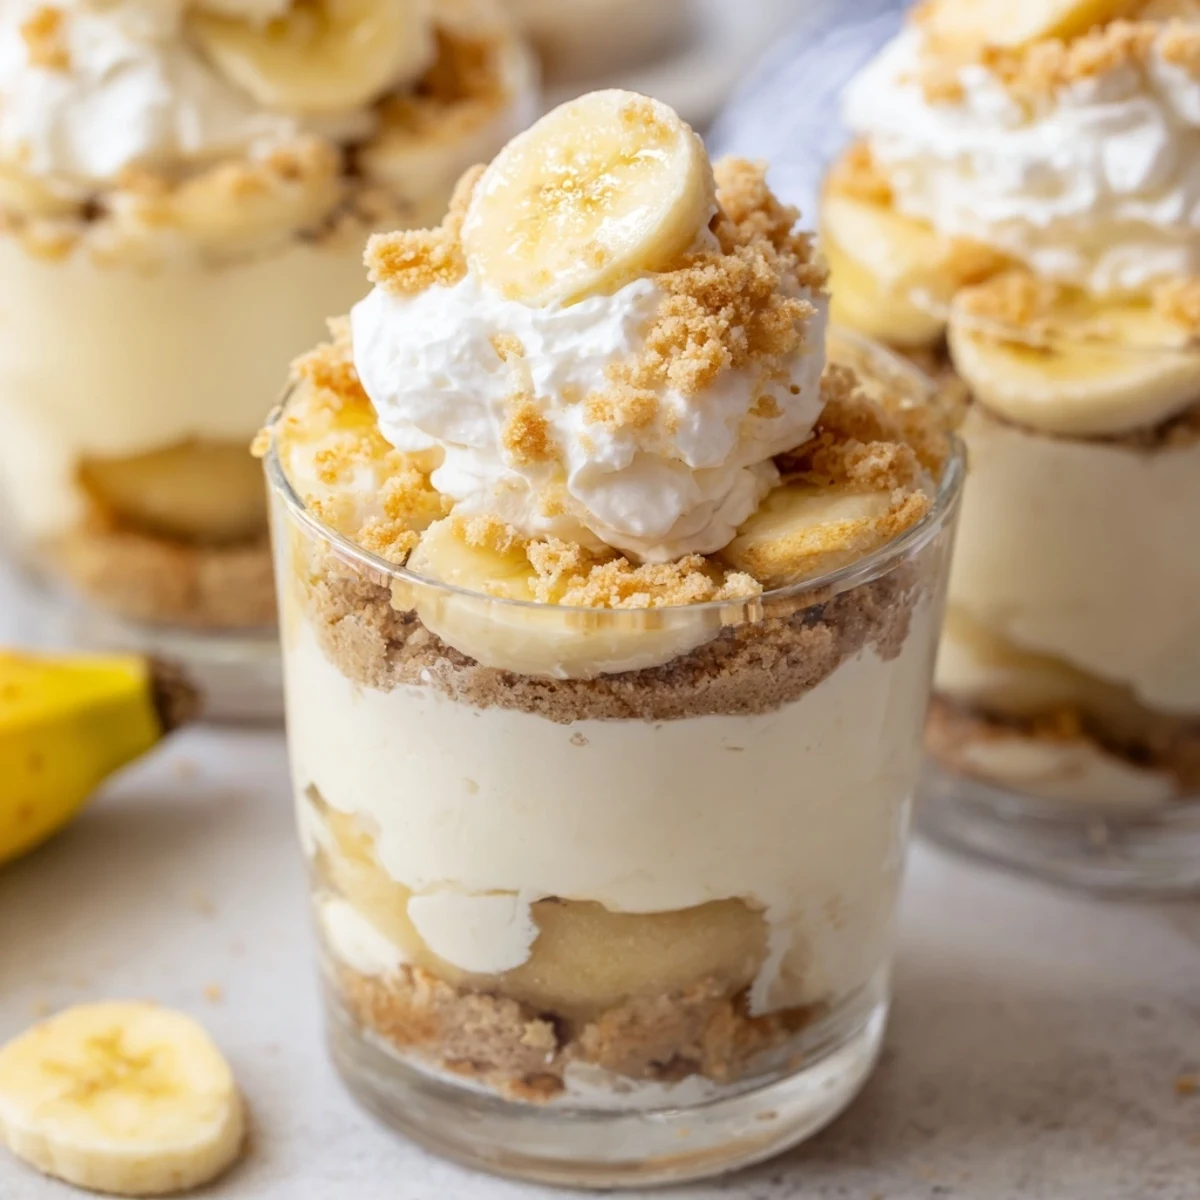
- Spoon cheesecake then bananas then pudding then more cheesecake into each cup like a tiny parfait
- Finish and chill:
- Top with crumbs banana slices and whipped cream then refrigerate at least two hours
 Save to Pinterest
 My grandmother used to make banana pudding every Sunday after church. These little cups taste exactly like her version but somehow even better because of that tangy cheesecake layer.
Making Ahead
I have learned through experience that you can assemble these up to 24 hours in advance but wait to add the fresh banana slices and whipped cream until right before serving. Nobody wants brown bananas on their dessert.
Serving Suggestions
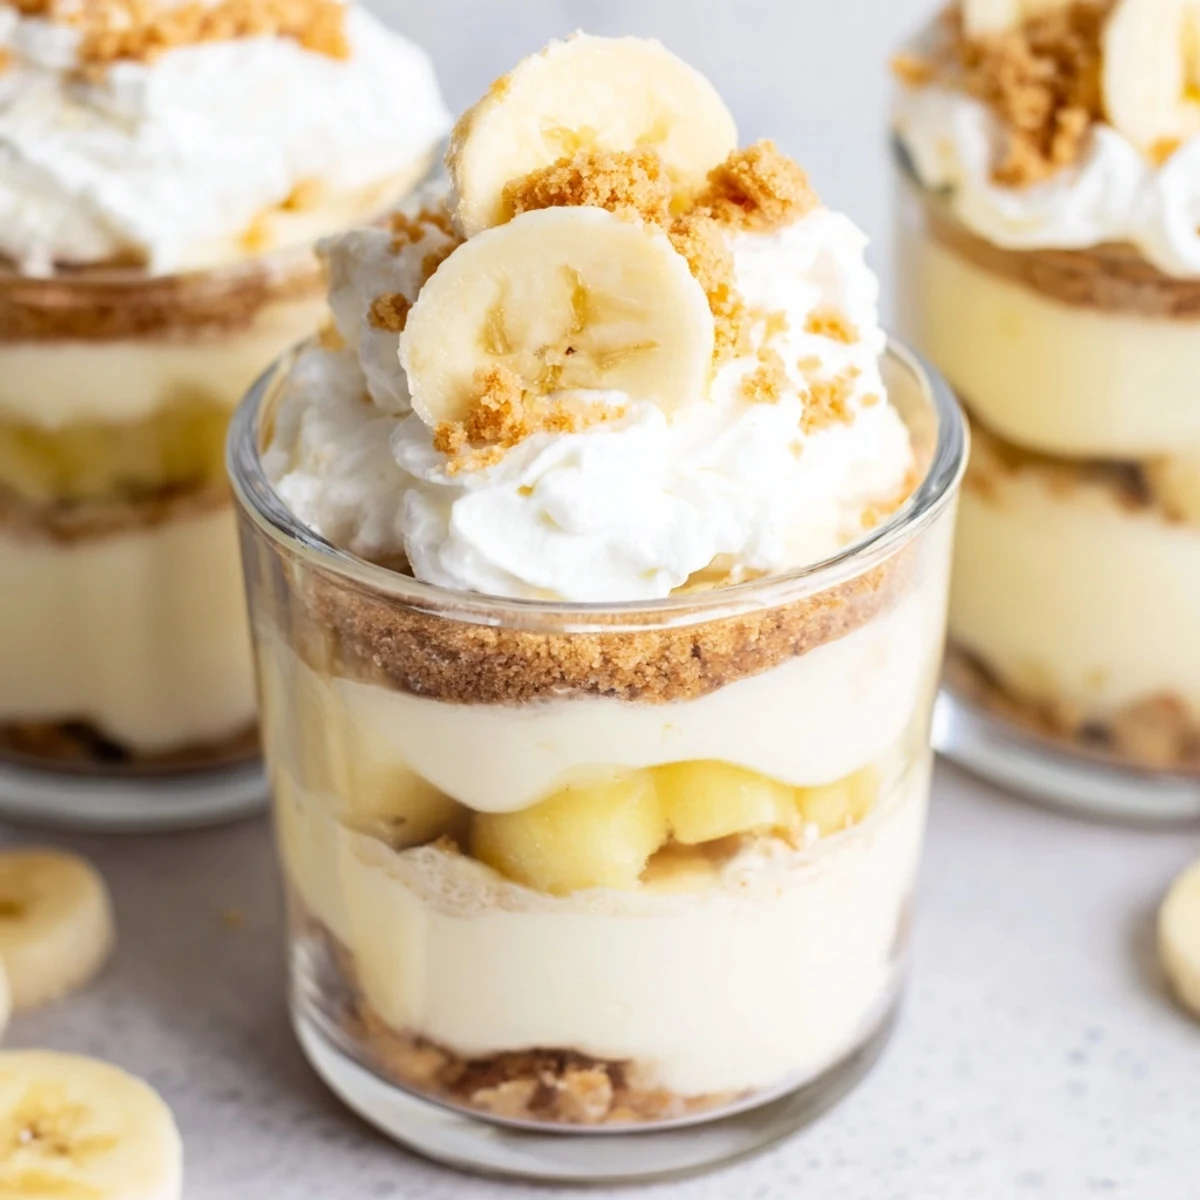
Clear glass cups or mason jars let those gorgeous layers shine through. I once served these in vintage teacups for a shower and guests could not stop taking pictures.
Customization Ideas
Sometimes I add a tiny pinch of cinnamon to the crust like the notes suggest and it honestly takes these to a whole new level. A crushed graham cracker crust also works if you are out of vanilla wafers.
- Try using chocolate wafer cookies for a mocha banana twist
- A tablespoon of caramel drizzled between layers never hurt anyone
- Toast some coconut flakes for the topping if you want extra texture
 Save to Pinterest
 These cheesecake cups have saved me more times than I can count when I need something impressive but actually achievable. Everyone thinks you spent hours but that can be our little secret.
Recipe FAQs
- → How long do these cups need to chill?
-
Refrigerate the cups for at least 2 hours to allow the layers to set properly. This chilling time ensures the cheesecake filling achieves the perfect creamy consistency and the banana pudding thickens to the ideal texture.
- → Can I make these ahead of time?
-
Yes, prepare these cups up to 24 hours in advance. For best results, add fresh banana slices and whipped cream toppings just before serving to prevent the bananas from browning. The assembled cups without toppings store beautifully in the refrigerator.
- → How do I prevent banana slices from turning brown?
-
Toss banana slices lightly in lemon juice before adding them to the cups. This simple step prevents oxidation and keeps the bananas looking fresh. Alternatively, add banana slices immediately before serving for the best appearance.
- → Can I use homemade pudding instead of instant?
-
Yes, homemade vanilla or banana pudding works wonderfully. Prepare it ahead of time and allow it to cool completely before assembling the cups. The texture may be slightly different but equally delicious.
- → What size cups work best for this dessert?
-
Use 6-8 ounce individual serving cups, jars, or ramekins. Glass containers allow you to see the beautiful layers. Clear mason jars or dessert glasses create an attractive presentation perfect for gatherings.
- → Can I substitute the vanilla wafers?
-
Graham cracker crumbs, gingersnaps, or shortbread cookies make excellent crust alternatives. Each brings a slightly different flavor profile while maintaining the essential crunchy texture that complements the creamy filling.
