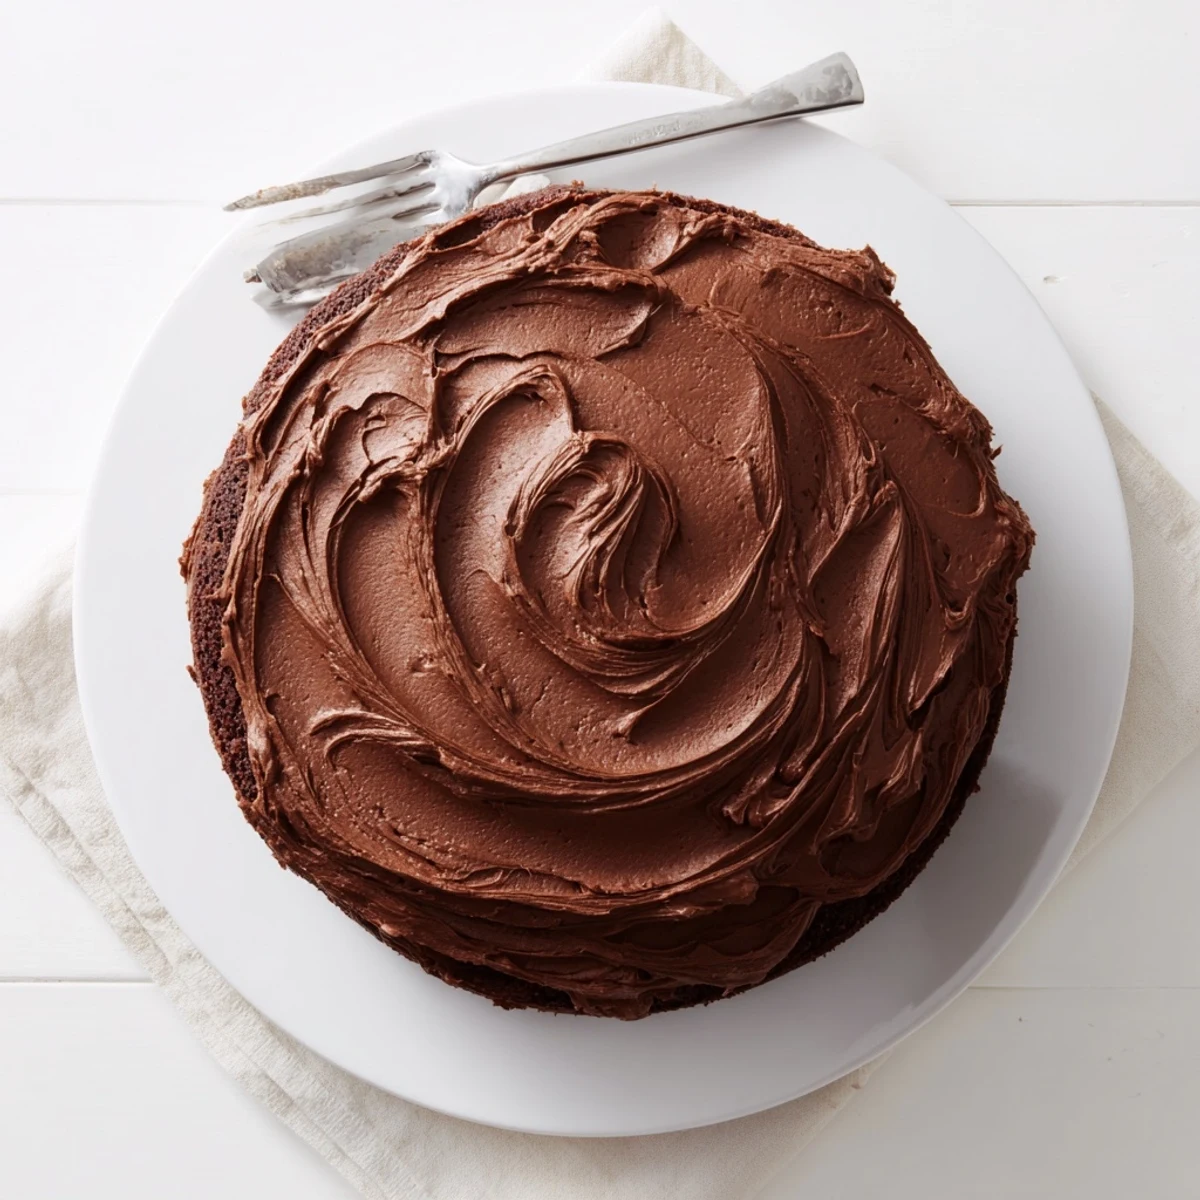
 Save to Pinterest
 This indulgent chocolate cake brings the magic of the famous Matilda dessert to your kitchen. The moist, tender crumb comes from a perfectly balanced batter enriched with boiling water, creating an incredibly soft texture. Each layer is enveloped in silky chocolate buttercream frosting that balances sweetness with deep cocoa flavor. The entire cake comes together in about an hour, making it achievable for weekend baking yet impressive enough for birthdays and special gatherings.
The first time I watched Matilda, I couldn't take my eyes off that chocolate cake—something about the way it loomed massive and impossible on screen made me feel like I needed to taste it right then. Years later, standing in my kitchen with cocoa powder dusted across my counter like snow, I finally understood why that cake felt so legendary. This isn't just chocolate cake. It's the kind that makes people stop mid-conversation, forks suspended, because suddenly nothing matters except what's on their plate.
I made this for my sister's birthday last year, halfway through mixing the batter when I realized I'd forgotten to line the pans with parchment. The cakes came out of the oven smelling like a chocolate shop, and I spent twenty minutes carefully coaxing them onto cooling boards while my kitchen filled with that warm, sugary air. She took one bite and said it was exactly what she'd been imagining since she was eight years old.
Ingredients
- 225 g all-purpose flour: The structure that holds all this chocolate glory together—sift it first to avoid any stubborn lumps
- 400 g granulated sugar: This amount might seem shocking, but it's what creates that tender, bakery-style crumb
- 85 g unsweetened cocoa powder: Use a good quality Dutch-processed cocoa for the deepest, smoothest chocolate flavor
- 1½ tsp baking powder and 1½ tsp baking soda: Both work together here to give the cake impressive rise
- 1 tsp salt: Don't skip this—it's what makes chocolate taste more like itself
- 2 large eggs: Room temperature eggs incorporate better into the batter for an even texture
- 240 ml whole milk: The fat content matters here for tenderness
- 120 ml vegetable oil: Oil keeps this cake moist for days unlike butter which can firm up when chilled
- 2 tsp pure vanilla extract: Worth every penny for the background warmth it adds
- 240 ml boiling water: This is the secret—blooms the cocoa and creates that impossibly moist crumb
- 225 g unsalted butter: Softened to room temperature so it whips into silky perfection
- 75 g unsweetened cocoa powder: Sifted directly into the butter for the smoothest frosting possible
- 425 g powdered sugar: Add gradually to avoid a kitchen dusted in white clouds
- 60 ml whole milk: Adjust this to get exactly the spreadable consistency you want
- 2 tsp pure vanilla extract: Same magic as in the cake, but here it cuts through all that rich butter
- Pinch of salt: Just enough to make the chocolate sing without tasting salty
Instructions
- Get your oven ready:
- Preheat to 175°C (350°F) and grease two 23 cm round cake pans, then line the bottoms with parchment circles—this one step will save you so much heart later when the cakes slide right out.
- Whisk the dry ingredients:
- In a large bowl, combine flour, sugar, cocoa powder, baking powder, baking soda, and salt, whisking until everything is evenly distributed and you can't see any clumps of cocoa.
- Add the wet ingredients:
- Pour in eggs, milk, oil, and vanilla, then beat on medium speed until the batter comes together smooth—about two minutes of mixing should do it.
- The magic moment:
- Slowly stream in the boiling water while the mixer runs on low, and watch as the batter transforms into something impossibly thin and glossy—this is exactly right, don't panic.
- Bake with confidence:
- Divide the thin batter evenly between your prepared pans and bake for 30–35 minutes until a toothpick in the center comes out clean—your kitchen will smell like absolute heaven.
- Cool completely:
- Let the cakes rest in their pans for just 10 minutes, then turn them out onto wire racks to cool entirely before frosting—warm cake melts buttercream into a sad, slide-y situation.
- Make the frosting base:
- Beat the softened butter until creamy and pale, then sift in the cocoa powder and mix until no streaks remain—this takes patience but is so worth it.
- Add sweetness slowly:
- Gradually add powdered sugar, pouring in a little milk between additions, until you have a frosting that's thick but spreadable—scrape the bowl down often.
- Finish the frosting:
- Beat in vanilla and that pinch of salt until everything is silky smooth, then give it a taste—you want it rich but not cloying.
- Assembly time:
- Place one completely cooled cake layer on your serving plate, spread a generous layer of frosting over the top, then nestle the second layer on top like it belongs there.
- Frost the masterpiece:
- Cover the top and sides with the remaining frosting, using an offset spatula to create those signature swoops and swirls that make this cake look like something Bruce Bogtrotter would face with equal terror and delight.
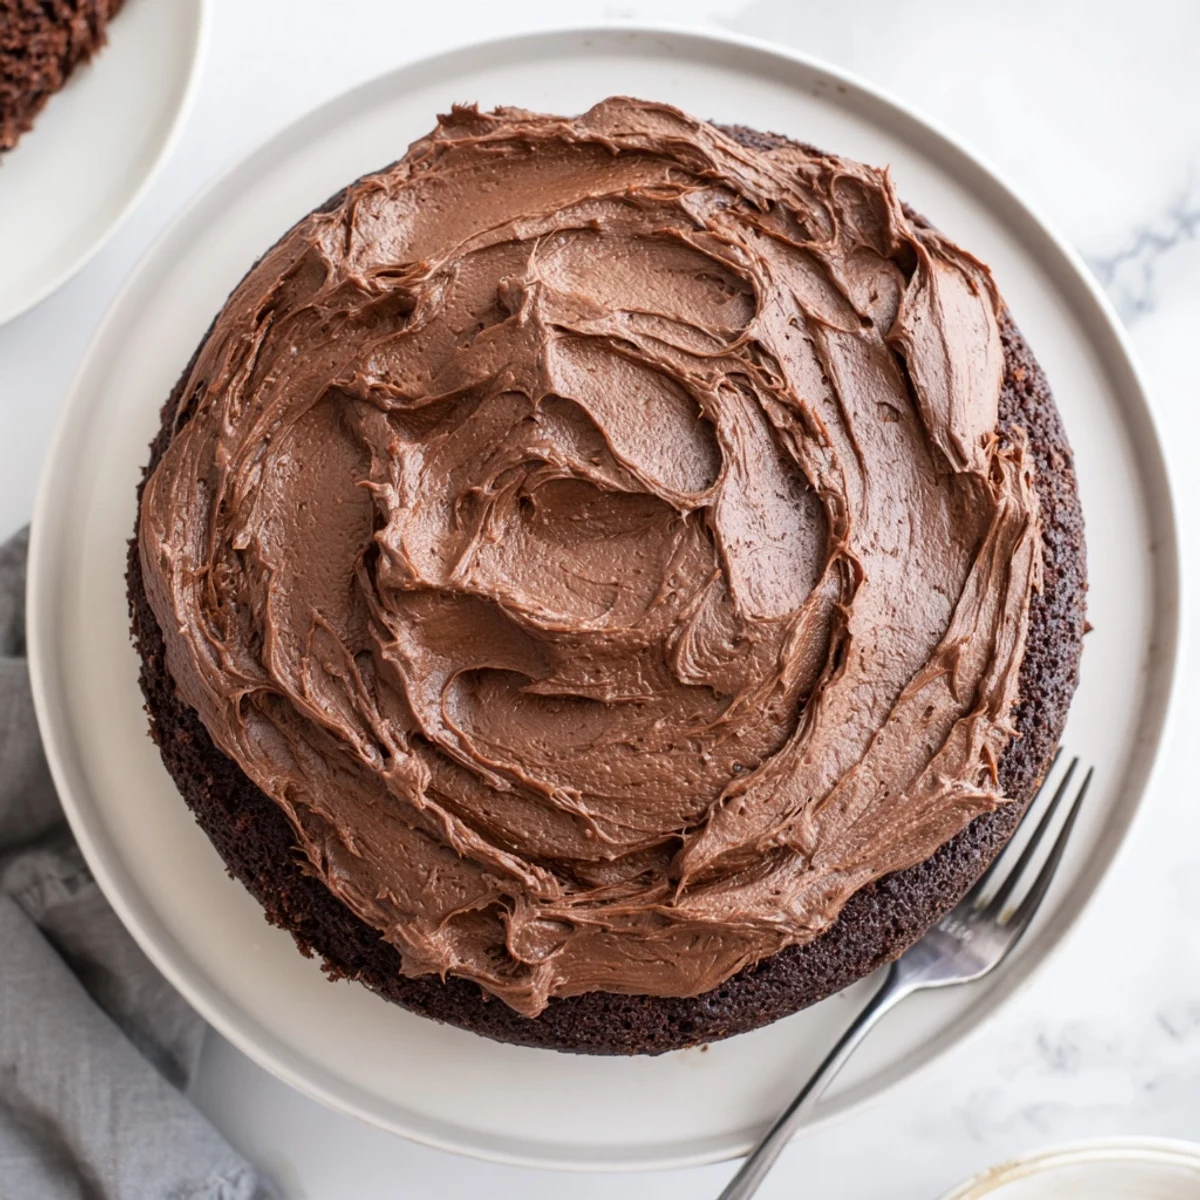 Save to Pinterest
 Last Thanksgiving, my usually-stoic grandfather took a bite, closed his eyes for a full five seconds, and asked if I'd marry him. I told him the cake already had a committed relationship with everyone at the table, which made him laugh so hard he got chocolate frosting on his mustache.
Making It Ahead
The cake layers freeze beautifully wrapped tightly in plastic and foil—thaw them on the counter while you make the frosting, and nobody will know you didn't bake them that morning.
Frosting Like a Pro
Chill your frosted cake for 15 minutes before doing that final pass with the spatula—the frosting firms up just enough to hold those swoops perfectly instead of sliding into itself.
Serving Suggestions
Cold milk is non-negotiable here, but honestly, a splash of heavy cream poured over a warm slice is the kind of indulgence that makes you understand why Matilda's teacher looked so horrified by that cake.
- Let refrigerated cake sit at room temperature for 30 minutes before serving—the texture transforms
- Use a hot knife to slice clean, show-stopping pieces
- This cake actually improves on day two, if you can manage to leave any behind
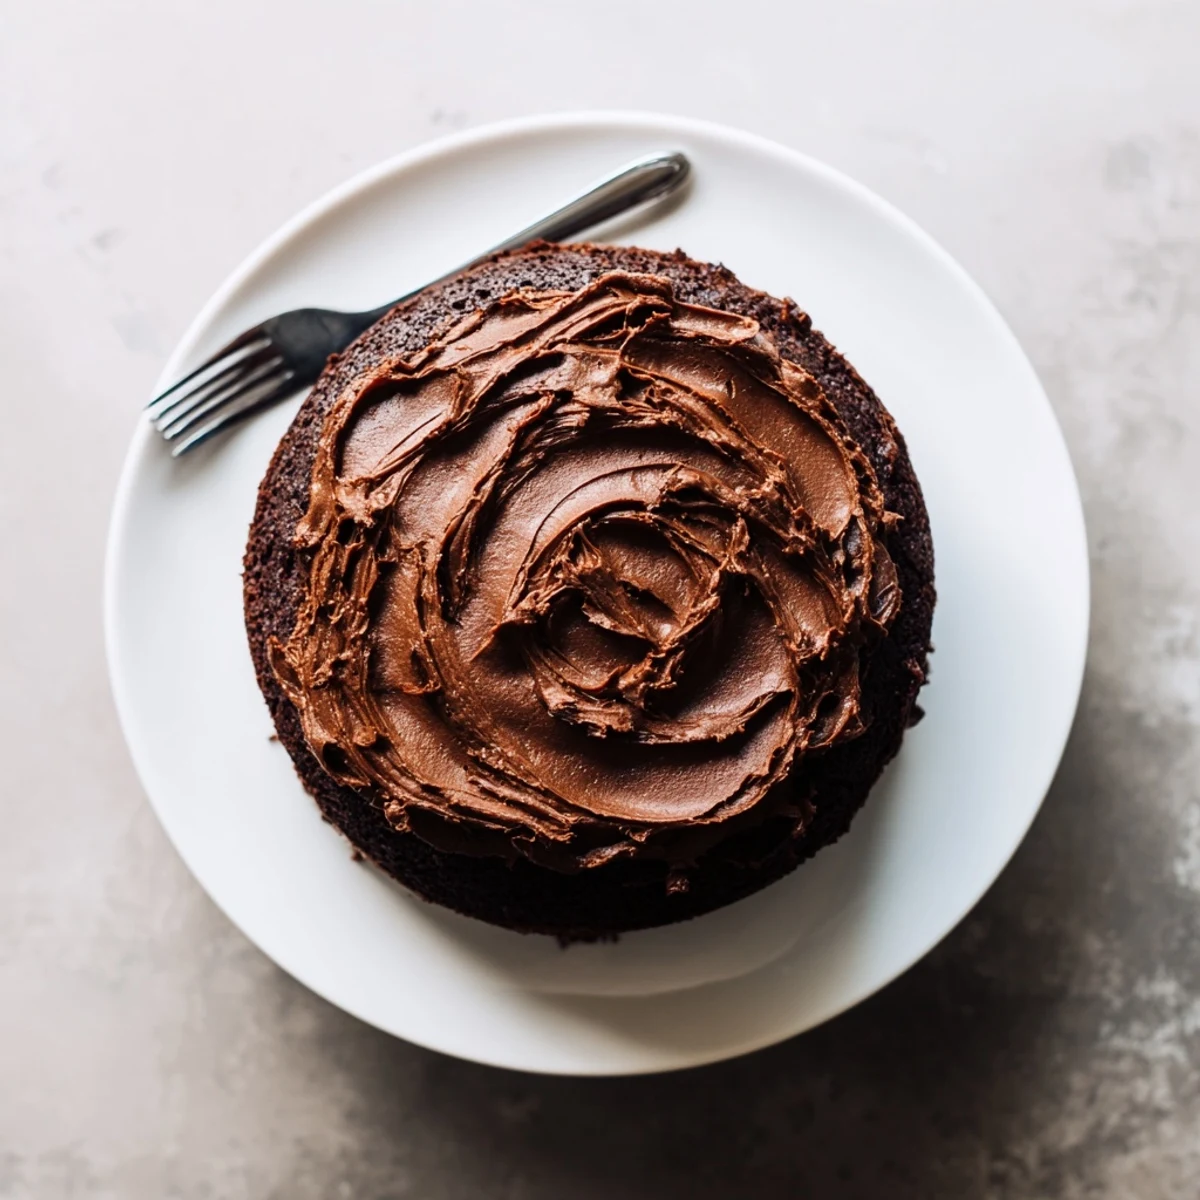 Save to Pinterest
 Sometimes chocolate cake is just cake, and sometimes it's the thing that makes a regular Tuesday feel like a celebration worth remembering.
Recipe FAQs
- → What makes Matilda chocolate cake special?
-
The boiling water technique creates an exceptionally moist crumb while the rich buttercream frosting delivers deep chocolate intensity that chocolate lovers crave.
- → Can I make Matilda cake ahead of time?
-
The layers freeze beautifully for up to 3 months. Frost freshly thawed cakes, or prepare the entire cake 1-2 days ahead and store refrigerated in an airtight container.
- → Why add boiling water to chocolate cake batter?
-
Boiling water blooms the cocoa powder, releasing its full flavor potential while creating steam that results in an incredibly moist, tender crumb structure.
- → How do I achieve the classic Matilda frosting swirls?
-
Use an offset spatula to create swooping motions around the sides and top. The slightly warmed, creamy frosting consistency makes these signature swirls effortless.
- → Can I substitute cake flour for all-purpose flour?
-
All-purpose flour provides the ideal structure. Cake flour may make the layers too tender, risking sinking or difficulty handling during assembly.
- → What's the best way to store this cake?
-
Keep at room temperature for 2-3 days covered, or refrigerate for up to a week. Bring to room temperature before serving for the best texture and flavor.
