 Save to Pinterest
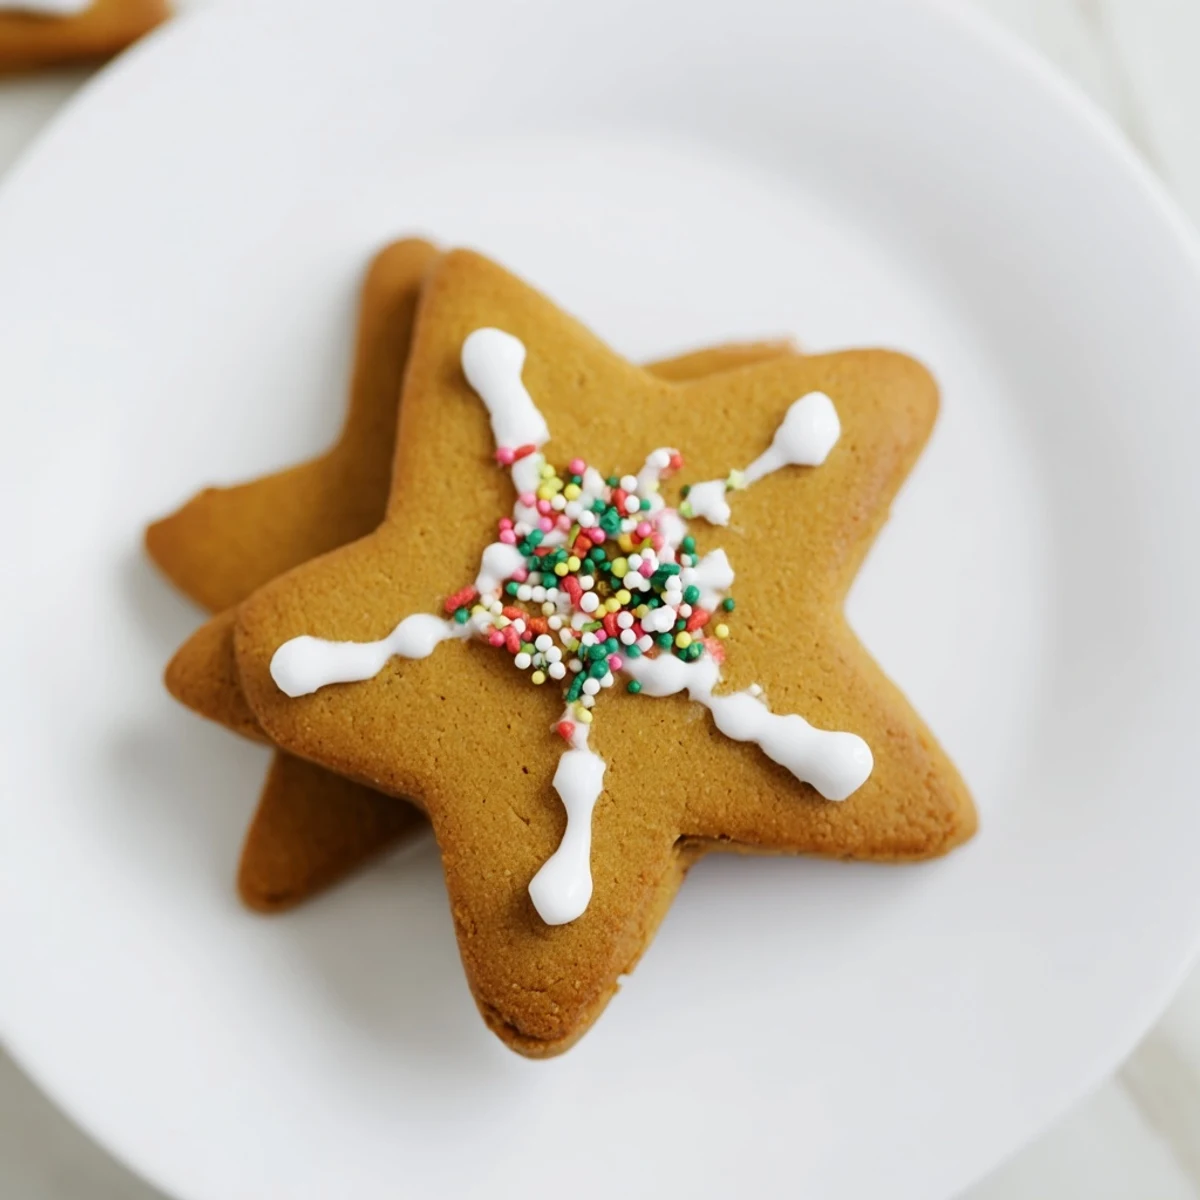
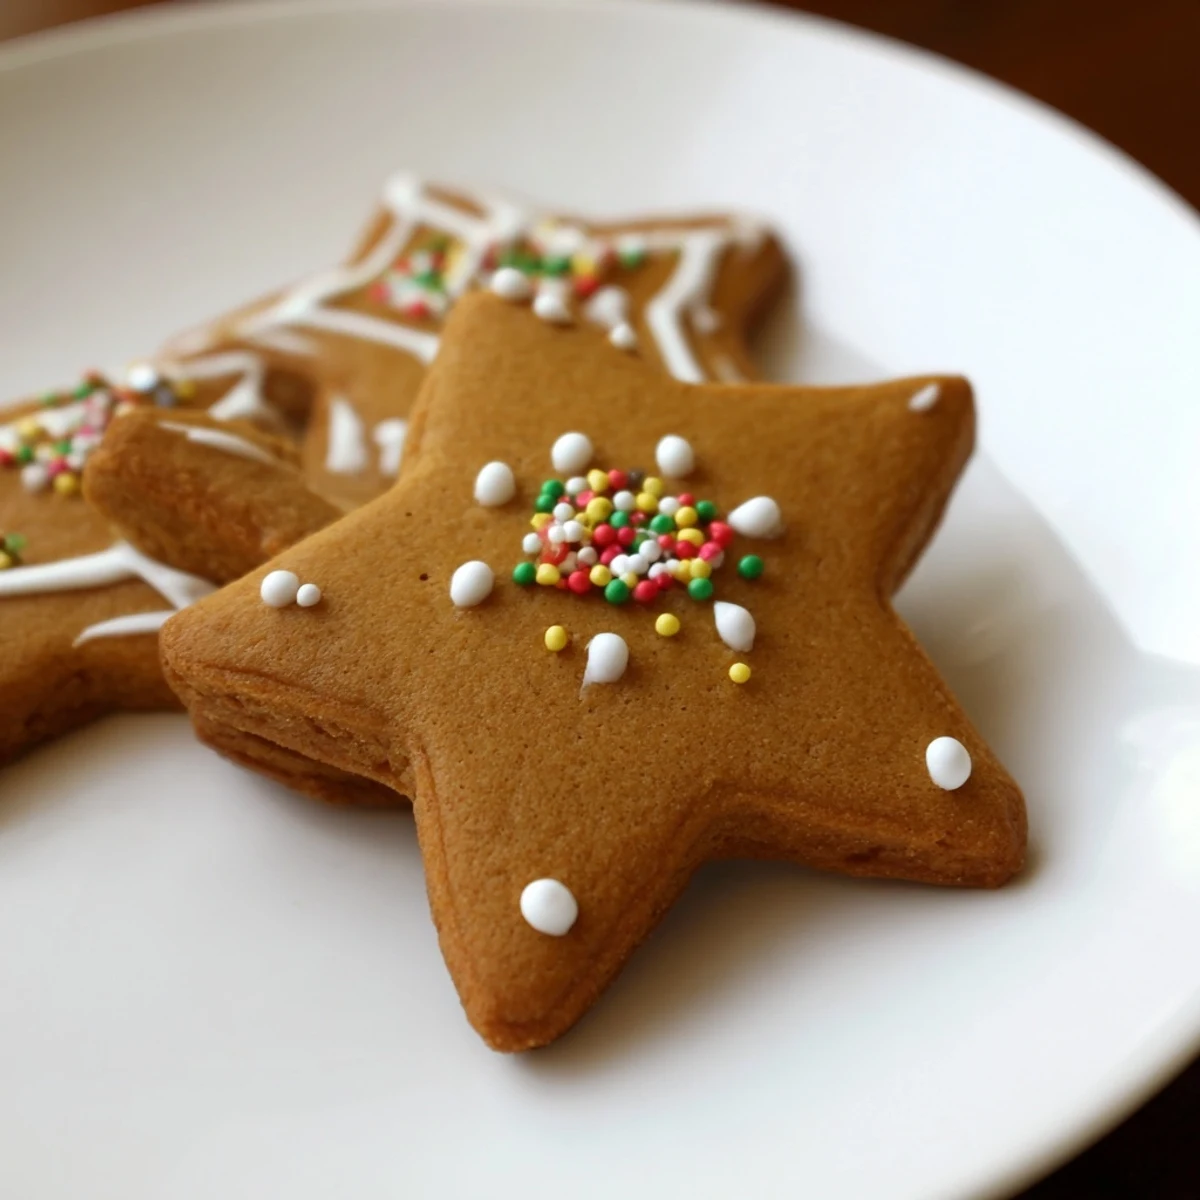
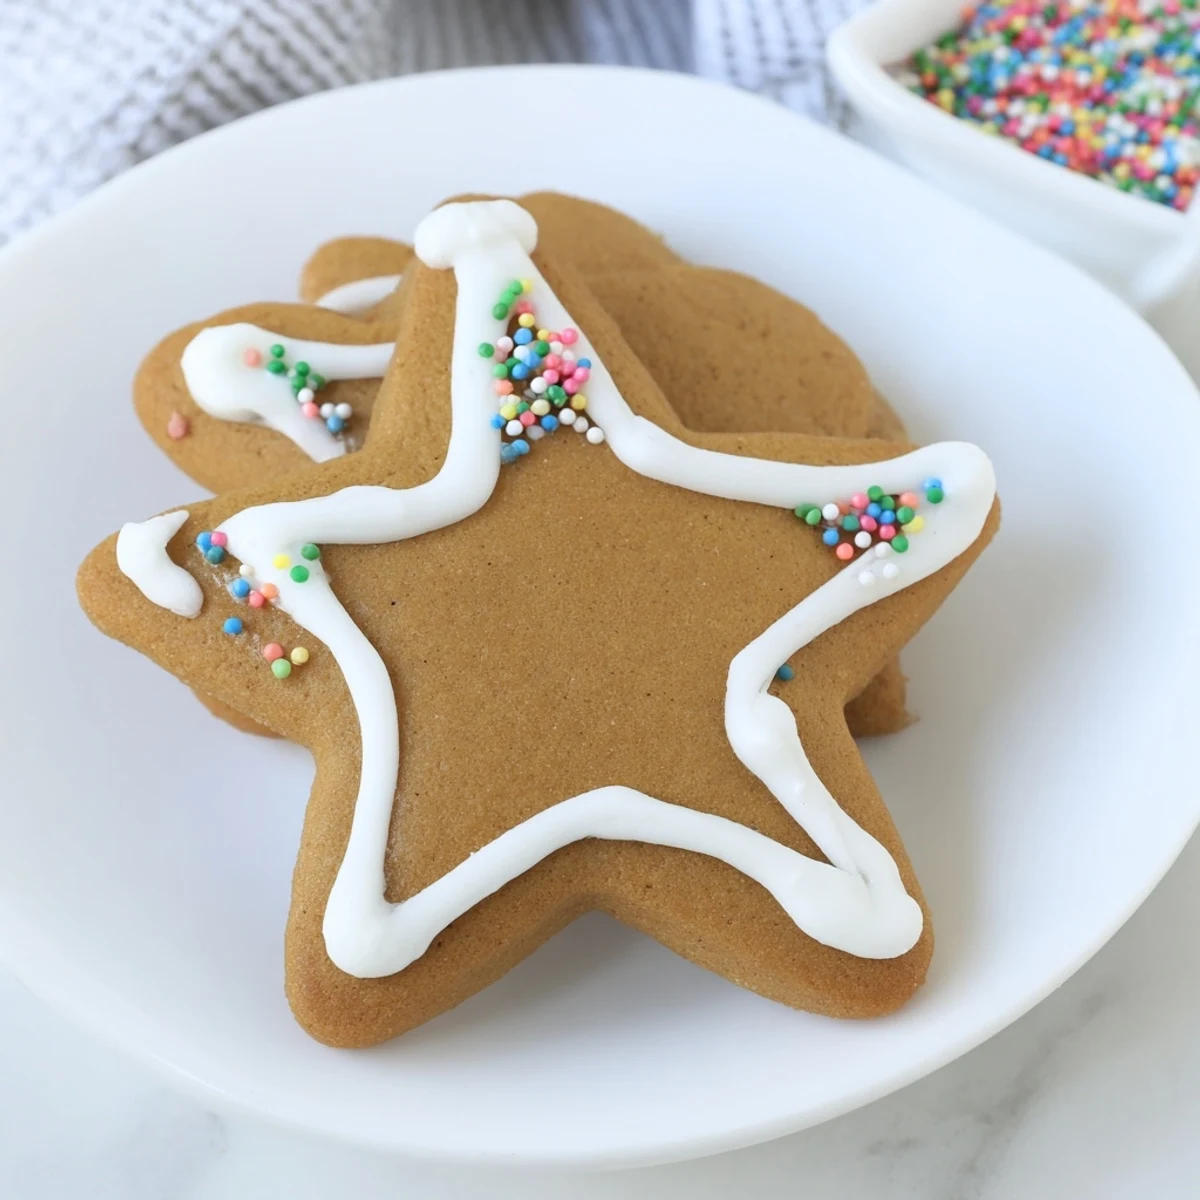
 These gingerbread ornaments blend warm spices like ginger, cinnamon, and cloves into a sturdy dough ideal for rolling and cutting. After chilling, shapes are baked to hold firm edges, then adorned with royal icing and festive decorations. Perfect for adding aromatic charm to holiday trees or thoughtful gifts. Chilling the dough ensures easy handling and crisp edges, while decorating allows for creative seasonal touches. Use ribbons for hanging and store carefully to maintain freshness if saved.
I still remember the first time I baked these gingerbread ornaments; the cozy aroma that filled my kitchen instantly turned it into a holiday wonderland, and decorating each cookie felt like crafting tiny edible memories.
One chilly evening, unexpected guests showed up just as I pulled these cookies from the oven; their smiles while decorating made me realize how this recipe is more about sharing moments than just baking.
Ingredients
- All-purpose flour: I always use sifted to keep the dough light and easy to roll
- Ground ginger: Freshly ground if you can; it adds a sharper, more vibrant note
- Unsulphured molasses: The richness here is key for that deep gingerbread flavor
- Royal icing: Homemade icing sets perfectly and keeps decorations looking crisp
Instructions
- Mix Dry Ingredients:
- Whisk together the flour, baking soda, salt, and spices; the warm scents of ginger and cinnamon will start to awaken your senses
- Cream Wet Ingredients:
- Beat butter and brown sugar until fluffy; the texture should be light and velvety as you incorporate the egg, molasses, and vanilla
- Combine Dry and Wet:
- Slowly add the dry mix to wet, stirring gently; the dough will come together, slightly sticky but firm enough to handle comfortably
- Chill the Dough:
- After shaping into discs, wrap and chill for at least an hour; this step helps the dough relax, making rolling easier
- Prepare to Bake:
- Preheat oven and line sheets with parchment; the kitchen will begin to smell wonderfully spicy once baking starts
- Cut and Shape:
- Roll dough to a quarter inch thickness and use cutters to create shapes; make small holes near the top for hanging with a straw or skewer
- Bake and Cool:
- Bake for 10 to 12 minutes until edges are firm; cookies will feel sturdy yet tender—cool on sheets then racks
- Decorate and Hang:
- Use royal icing and sprinkles to add your personal touch; once set, thread ribbons for hanging on your tree
 Save to Pinterest
 One Christmas Eve, these ornaments adorned the tree and later sparked stories and laughter as friends reminisced over each uniquely decorated cookie, making the night unforgettable.
Keeping It Fresh
Store your undecorated ornaments in an airtight container to maintain their crispness for up to two weeks; if decorated, try to keep them dry to preserve your designs.
When You're Missing Something
If you don’t have a rolling pin or cookie cutters at hand, a clean wine bottle and a sharp knife can do the trick for rolling and shaping your dough.
Serving Ideas That Clicked
Besides hanging on the tree, these cookies double as charming gift tags or place settings for holiday dinners.
- Don’t forget to poke holes before baking to make threading ribbons effortless
- If you want extra crunch, bake a minute or two longer but watch closely
- Leftover royal icing can be stored in a small airtight container for a few days
 Save to Pinterest
 Thanks for spending time in the kitchen with me; I hope these gingerbread ornaments bring you as much joy as they’ve brought me over the years.
Recipe FAQs
- → What spices enhance the gingerbread ornaments?
-
Ground ginger, cinnamon, cloves, and nutmeg create a warm, aromatic spice blend perfect for these ornaments.
- → How do I ensure the ornaments hold their shape when baking?
-
Chilling the dough for at least an hour firms it up, preventing spreading and helping edges stay crisp during baking.
- → Can I decorate the ornaments without royal icing?
-
While royal icing provides a smooth surface for decorating, you can use edible markers or chocolate for alternative decoration styles.
- → How long do the ornaments last before decoration?
-
Undecorated ornaments can be kept in an airtight container for up to two weeks without losing texture.
- → Are the ornaments suitable for hanging outdoors?
-
These ornaments are designed for indoor use; exposure to moisture and weather can damage their texture and decorations.
