 Save to Pinterest
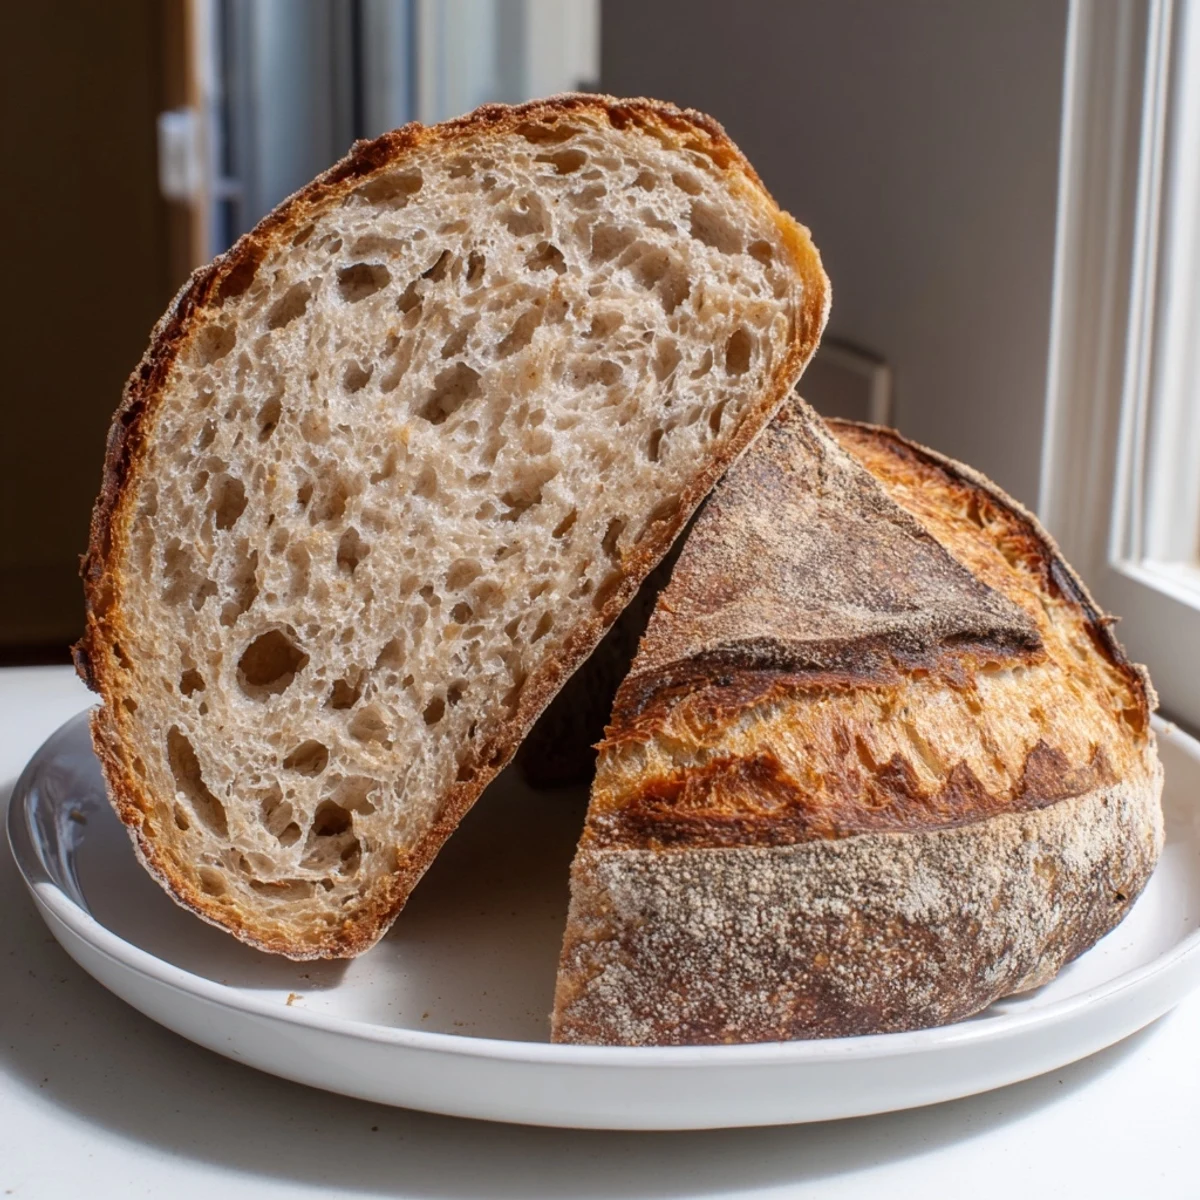
 Craft an authentic artisan loaf using just flour, water, salt, and wild yeast. This naturally leavened bread develops characteristic tanginess through extended fermentation, creating those sought-after air pockets and complex flavor notes. The process yields a impressive crackling crust that gives way to tender, chewy interior perfect for toast, sandwiches, or enjoying with cultured butter.
My first sourdough journey started with a jar of bubbly starter my neighbor passed over the fence. She told me it was three years old and had survived two cross-country moves. That loaf came out dense and underbaked, but something about the process hooked me. Now I keep a starter on my counter that's developed its own personality, and the smell of baking sourdough has become my favorite kind of morning alarm.
I made this recipe for a dinner party last winter, timing the bake so the bread would come out just as guests arrived. The moment I lifted the Dutch oven lid, everyone migrated to the kitchen. We tore into the loaf while it was still too hot to handle properly, butter melting into the crumb. Nobody cared about the main course after that.
Ingredients
- Active sourdough starter: This is your wild yeast culture, and it needs to be fed and bubbly to give your bread proper rise and that signature tangy flavor
- Bread flour: Higher protein content than all-purpose flour, creating the structure and chew that makes artisan bread so satisfying
- Whole wheat flour: Just a quarter cup adds depth and nuttiness without making the bread too dense or heavy
- Water: Room temperature works best, and dont be tempted to add more even if the dough feels sticky initially
- Sea salt: Enhances flavor and helps control fermentation, so dont skip or reduce this essential ingredient
Instructions
- The Resting Phase:
- Mix bread flour, whole wheat flour, and water in a large bowl until shaggy and just combined. Cover the bowl and let it rest for one hour, allowing the flour to fully hydrate and the gluten to start developing on its own.
- Bringing It Together:
- Add your active starter and salt to the rested dough, mixing by hand or with a spatula until everything is fully incorporated. The dough will feel sticky and shaggy, but resist adding more flour.
- Building Strength:
- Cover the bowl and let it ferment at room temperature for four to five hours. Every thirty to forty-five minutes, grab a corner of the dough, stretch it up, and fold it over itself, rotating the bowl and repeating four times each session.
- Shaping Up:
- Turn the dough onto a lightly floured surface and gently shape it into a round ball. Let it rest covered for twenty minutes, then shape it again into a tighter round before placing it seam-side up in a well-floured proofing basket.
- The Final Rise:
- Cover and let the dough proof at room temperature for two to three hours until it has noticeably puffed. For deeper flavor and easier scheduling, you can refrigerate overnight instead.
- Getting Ready to Bake:
- Place your Dutch oven or heavy pot with its lid in the oven and preheat to 250°C for at least thirty minutes. This intense heat creates the steam needed for that crackly crust.
- Scoring and Baking:
- Gently invert your dough onto parchment paper and use a sharp blade to score the surface in your chosen pattern. Transfer to the preheated pot, cover, and bake for twenty minutes before removing the lid, reducing heat to 220°C, and baking another twenty-five minutes until deeply golden.
- Cooling Down:
- Remove the bread from the pot and let it cool completely on a wire rack. This step is crucial, as slicing into warm bread will make the crumb gummy and ruin your texture.
 Save to Pinterest
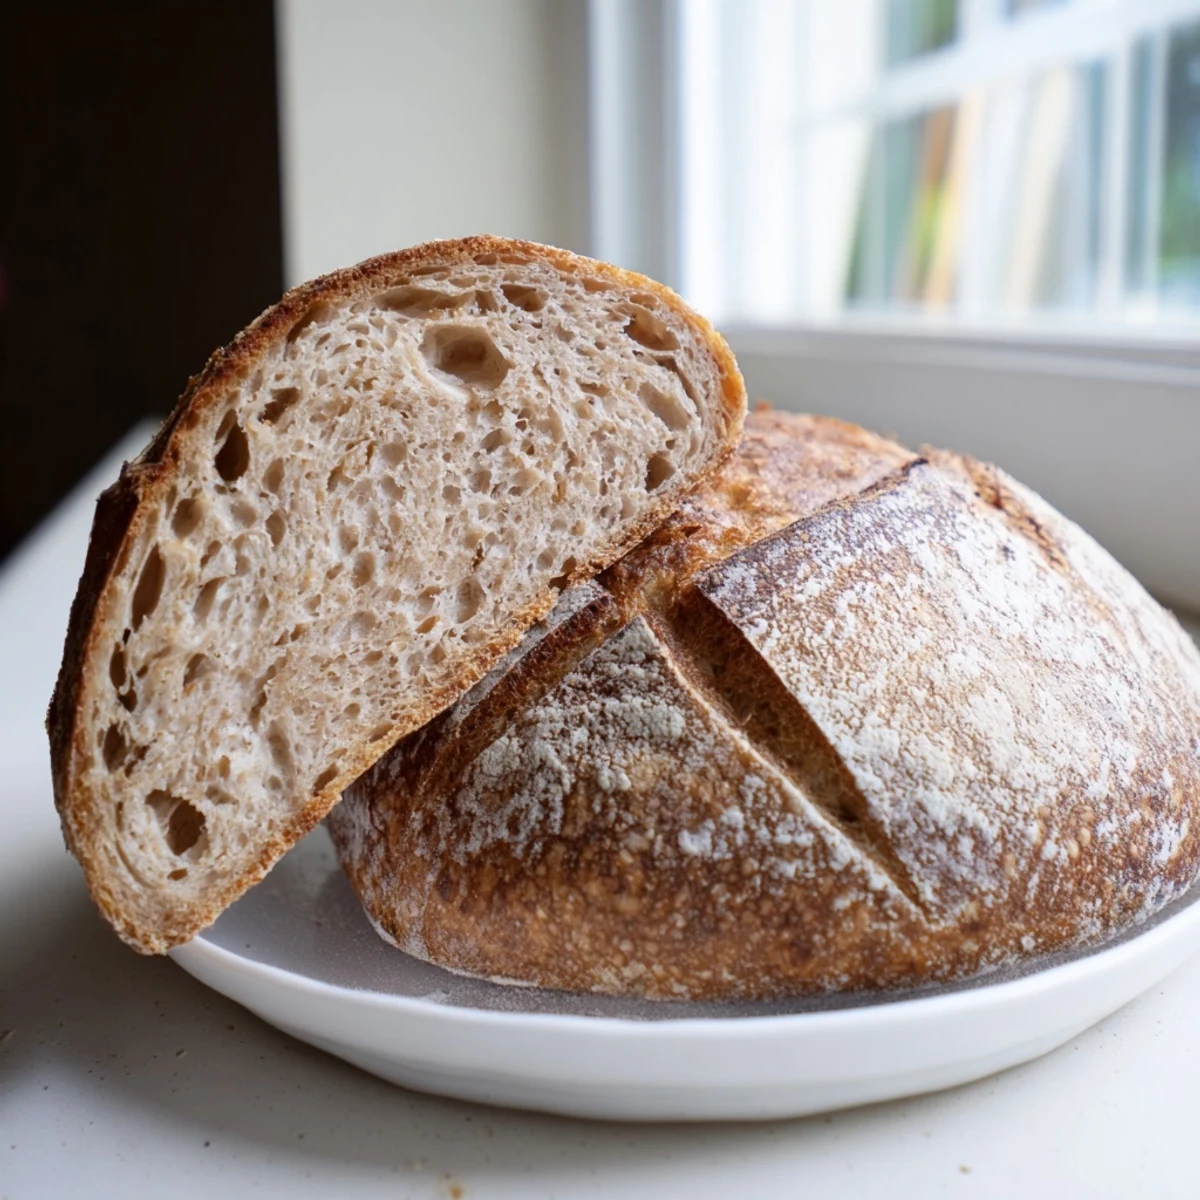
 This bread became my go-to gift during the holidays one year. I'd bake small rounds, wrap them in butcher paper, and deliver them still warm to friends. Something about handing someone a loaf you nurtured for twenty hours feels more meaningful than almost any store-bought present.
Understanding Your Starter
Your sourdough starter is a living thing with its own rhythm and preferences. Some starters bubble up enthusiastically within hours of feeding, while others take a more leisurely approach. Learning to read the signs of peak activity—those tiny bubbles throughout and a slightly domed surface—makes all the difference in your final loaf.
Temperature Matters
Room temperature can dramatically affect your fermentation timeline. In winter, my kitchen runs cool, and bulk fermentation can take six hours instead of four. Summer heat speeds everything up, sometimes catching me off guard when the dough doubles faster than expected. Keep an eye on the dough, not the clock.
Getting Creative with Flour
Once you've mastered the basic recipe, small flour adjustments can create completely different breads. I've swapped the whole wheat portion for rye to add earthiness, or used a portion of spelt for a slightly sweeter, nuttier note. Each change brings subtle variations in flavor and texture that make baking feel like endless discovery.
- Try adding seeds or toasted nuts during the final fold for extra texture
- A tablespoon of honey or malt powder can deepen the crust color and flavor
- Experiment with different scoring patterns to control how your bread expands in the oven
 Save to Pinterest
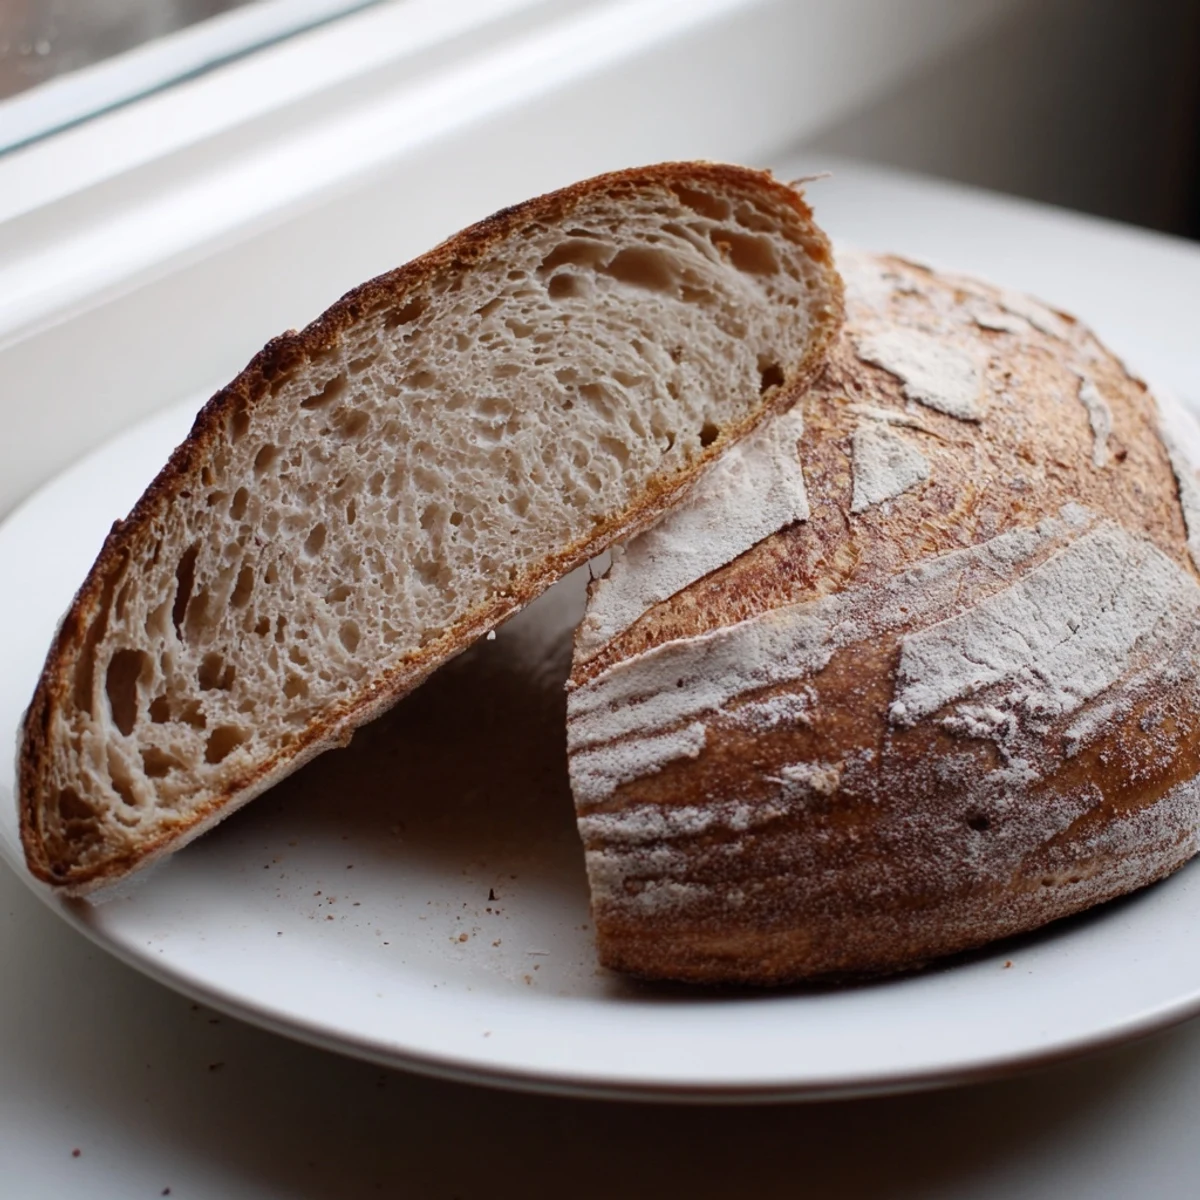
 Theres nothing quite like tearing into a freshly baked loaf you created from nothing but flour and water. Happy baking, and may your crust always be crackly.
Recipe FAQs
- → What makes sourdough different from regular bread?
-
Sourdough relies on wild yeast and beneficial bacteria naturally present in flour rather than commercial yeast. This slow fermentation creates distinct tangy flavor, improves digestibility, and produces those signature air pockets and chewy texture throughout the crumb.
- → How long does it take to make?
-
The entire process spans 14–20 hours, but most of this is hands-off fermentation time. Active prep involves just 25 minutes of mixing and shaping, while the wild yeast does the heavy lifting during bulk fermentation and proofing stages.
- → Can I bake without a Dutch oven?
-
While a Dutch oven creates ideal steam for crust development, you can use a heavy pot with tight-fitting lid or even a baking stone with a metal bowl inverted over the loaf. The key is trapping steam during the initial baking phase.
- → Why is my dough too sticky to handle?
-
High hydration dough naturally feels tacky. Wet your hands rather than adding more flour, which can alter the dough's structure. The stretch-and-fold technique during bulk fermentation helps strengthen gluten without incorporating excess flour.
- → How do I know when it's fully proofed?
-
Gently press the dough with a fingertip. If it springs back slowly and leaves a small indentation, it's ready. Another test: the dough should look noticeably puffy and have increased in volume by about 50% during the final proof.
- → Can I speed up the fermentation?
-
Rushing sourdough compromises flavor and texture. The long fermentation develops those characteristic sour notes and breaks down flour for better digestibility. Plan ahead rather than shortening the process—the results are worth the wait.
