 Save to Pinterest
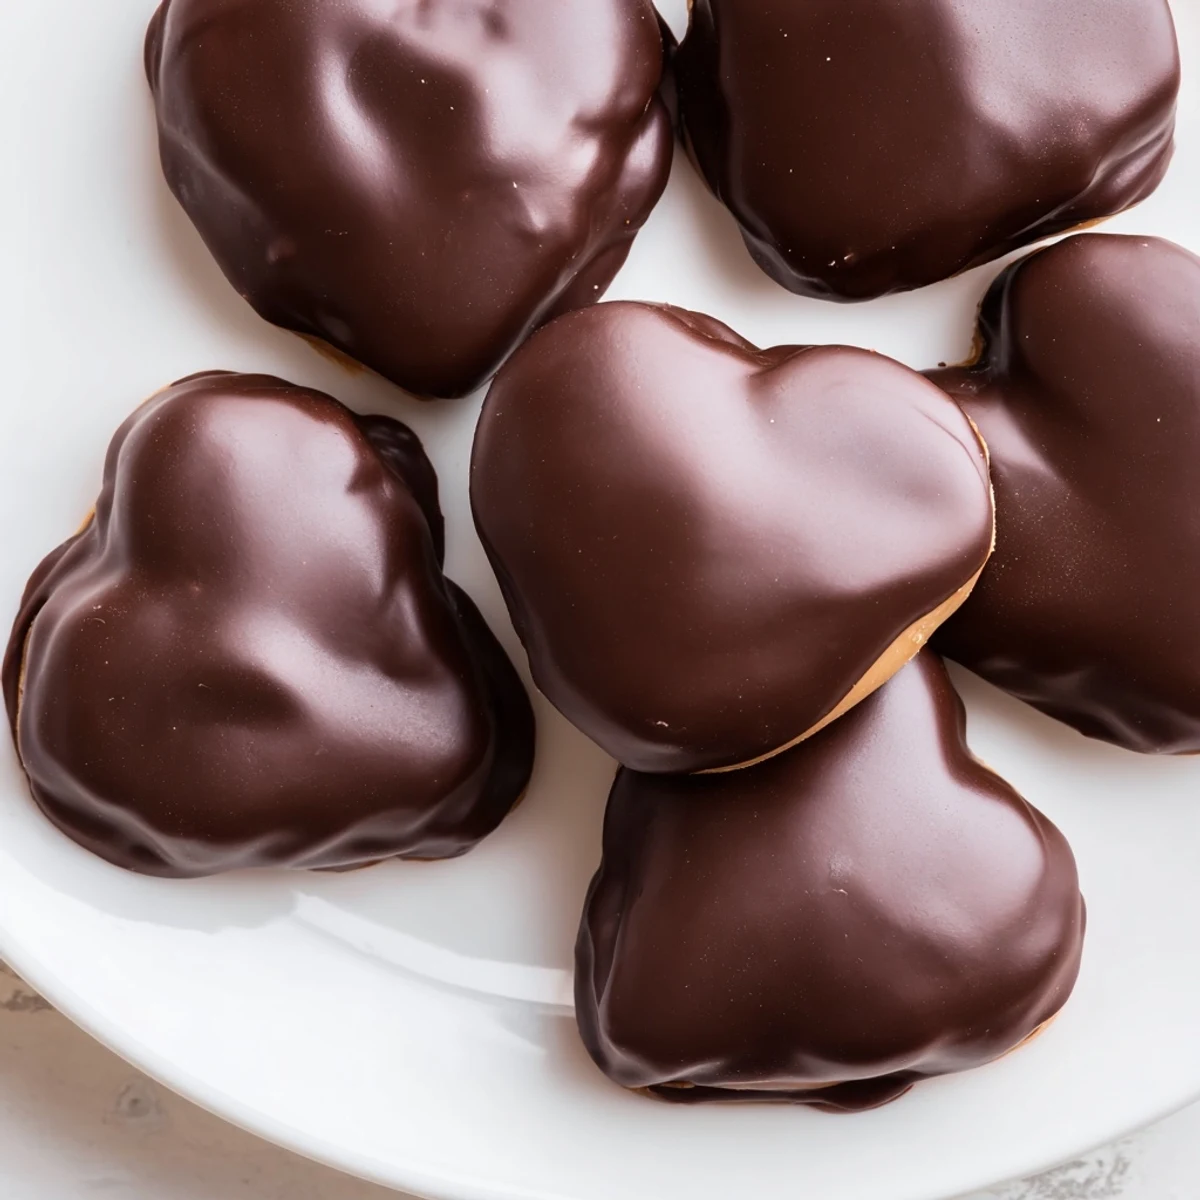
 These chocolate peanut butter hearts combine a smooth, creamy peanut butter filling with a luscious dark chocolate coating. The mixture is rolled out and shaped into hearts, chilled, and then dipped in melted chocolate for a glossy finish. Quick to prepare and easy to enjoy, this treat balances rich and sweet flavors, making it great for gifting or savoring anytime. Optional tweaks include adding roasted peanuts or switching to milk chocolate for variety.
My roommate Sarah walked into our tiny apartment kitchen last February to find me surrounded by parchment paper and chocolate splatters, looking like I had lost a wrestling match with a bag of powdered sugar. She asked what on earth I was making, and I held up one perfect little chocolate heart and said, honestly, I just wanted to make something that felt like a hug. Those first few hearts were lopsided and imperfect, but the way she closed her eyes when she bit into one made all the mess worth it.
Last year I made thirty of these for my nieces Valentine's Day class party, and I learned the hard way that trying to rush the freezing step results in tragic peanut butter casualties. We sat on the kitchen floor with a glass of wine and started over, and honestly that second batch, made without any pressure or timeline, turned out better than the first. The girls came home reporting that their teacher hid two in her desk for later, which might be my greatest culinary achievement to date.
Ingredients
- Creamy peanut butter: The natural stuff will make your filling too crumbly and you will end up very frustrated, so reach for the regular commercial brands for this one
- Unsalted butter: Make sure it is actually softened to room temperature or you will get chunks of butter in your filling that just will not mix in properly
- Powdered sugar: Sift it first if it is clumpy because nobody wants little sugar pockets in their otherwise smooth peanut butter center
- Dark chocolate: The good stuff matters here since it is the main flavor component, so spring for chocolate you would actually eat plain
- Coconut oil: This is optional but it makes the chocolate coating so much smoother and easier to work with
- Pure vanilla extract: Do not use imitation vanilla because the artificial taste will cut through everything else in a bad way
- Salt: Just a pinch helps balance the sweetness and makes all the flavors pop more than you would expect
Instructions
- Make the peanut butter filling:
- Beat the peanut butter and softened butter together until you have something that looks like smooth frosting. This takes longer than you think it should, so keep going until it is genuinely creamy.
- Add sweetness and flavor:
- Mix in the powdered sugar, vanilla, and salt until a soft dough forms that holds together when you pinch it.
- Prepare your workspace:
- Line a baking sheet with parchment paper because you will thank yourself later when you are not scrubbing hardened chocolate off a baking sheet.
- Roll and cut:
- Roll the peanut butter mixture between parchment paper to about half an inch thick, then cut out heart shapes and transfer them to your prepared sheet.
- Chill thoroughly:
- Freeze the hearts for at least 25 minutes because if they are not completely firm, the chocolate coating will slide right off and you will be sad.
- Melt the chocolate:
- Melt the chocolate and coconut oil in a double boiler or microwave, stirring constantly until it is glossy and smooth.
- Dip and coat:
- Use a fork to dip each chilled heart into the chocolate, letting the excess drip off before placing it back on the parchment.
- Set and enjoy:
- Refrigerate for 15 minutes until the chocolate is completely set, then store them in the fridge where they will keep for a surprisingly long time.
 Save to Pinterest
 My grandmother used to say that food made with love tastes different, and I always thought that was just something people said until I made these for my dad one year. He ate three in one sitting and told me they tasted exactly like the peanut butter cups he would save his allowance for as a kid, which might be the best review I have ever received for anything I have ever made.
Getting The Right Texture
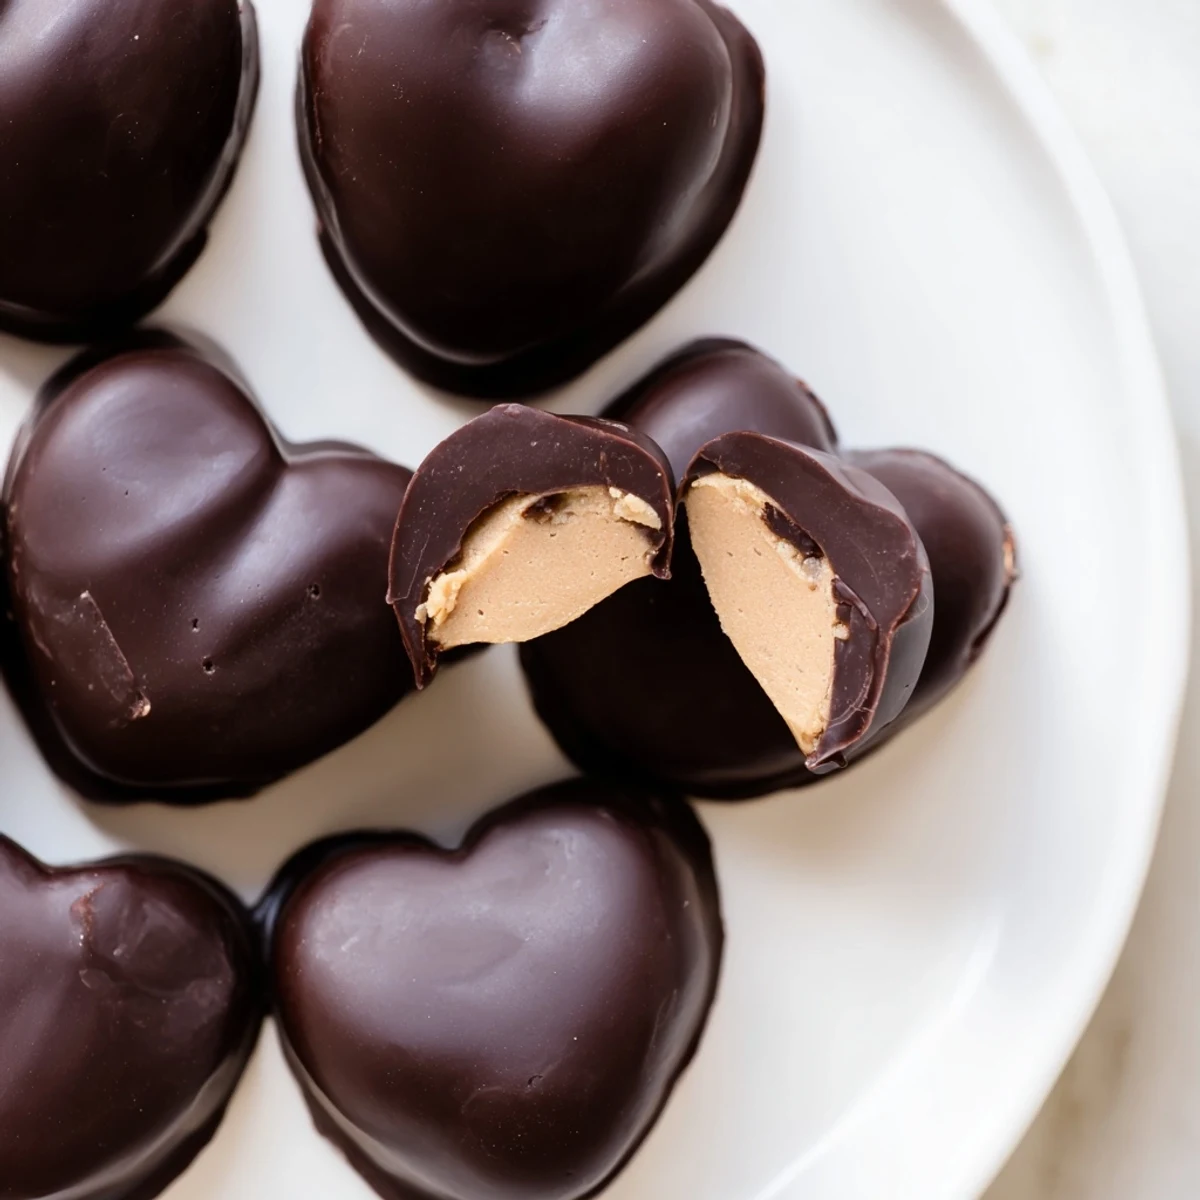
The filling should be pliable like play dough, not sticky or crumbly. If it is too soft, add more powdered sugar one tablespoon at a time. If it is too dry and cracking, mix in a tiny bit more peanut butter until it comes together properly. The texture matters because it determines whether your hearts hold their shape when you cut them.
Working With Chocolate
Chocolate can be temperamental and will seize if it gets even a single drop of water, so make sure all your bowls and utensils are completely dry. If your chocolate does seize and turn into a grainy mess, whisk in a teaspoon of coconut oil or vegetable oil to bring it back to a smooth consistency. Do not panic, it happens to everyone.
Making These Your Own
Once you have the basic technique down, you can start playing with flavors and textures. The base recipe is forgiving and adaptable, which is why it has become my go-to for homemade gifts and last minute treats.
- Try mixing crushed pretzels or graham crackers into the peanut butter filling for extra crunch
- Swap half the peanut butter for almond butter or sunflower butter if you want to change the flavor profile
- Drizzle white chocolate over the dark coating after it sets for a pretty contrast that looks professional
 Save to Pinterest
 There is something deeply satisfying about making your own chocolate candies, like you have unlocked some secret confectionary skill that seemed intimidating but is actually totally doable. I hope these bring someone in your life the same joy they have brought mine.
Recipe FAQs
- → How do I achieve a smooth chocolate coating?
-
Use good-quality dark or semisweet chocolate and melt it gently over a double boiler or in short bursts in the microwave, stirring regularly for a glossy finish.
- → Can I add crunch to the peanut butter filling?
-
Yes, mixing in finely chopped roasted peanuts adds a pleasant texture contrast without altering the creamy base.
- → What is the best way to shape the peanut butter mixture?
-
Roll the mixture between parchment paper sheets to an even thickness, then cut using a small heart-shaped cutter for consistent shapes.
- → How long should I chill the hearts before dipping?
-
Freeze the shaped hearts for about 25 to 30 minutes until firm, which helps the chocolate coating adhere better.
- → Can I use alternatives to butter for a dairy-free version?
-
Yes, substitute the butter with dairy-free margarine or coconut oil to suit vegan or dairy-free preferences.
