 Save to Pinterest
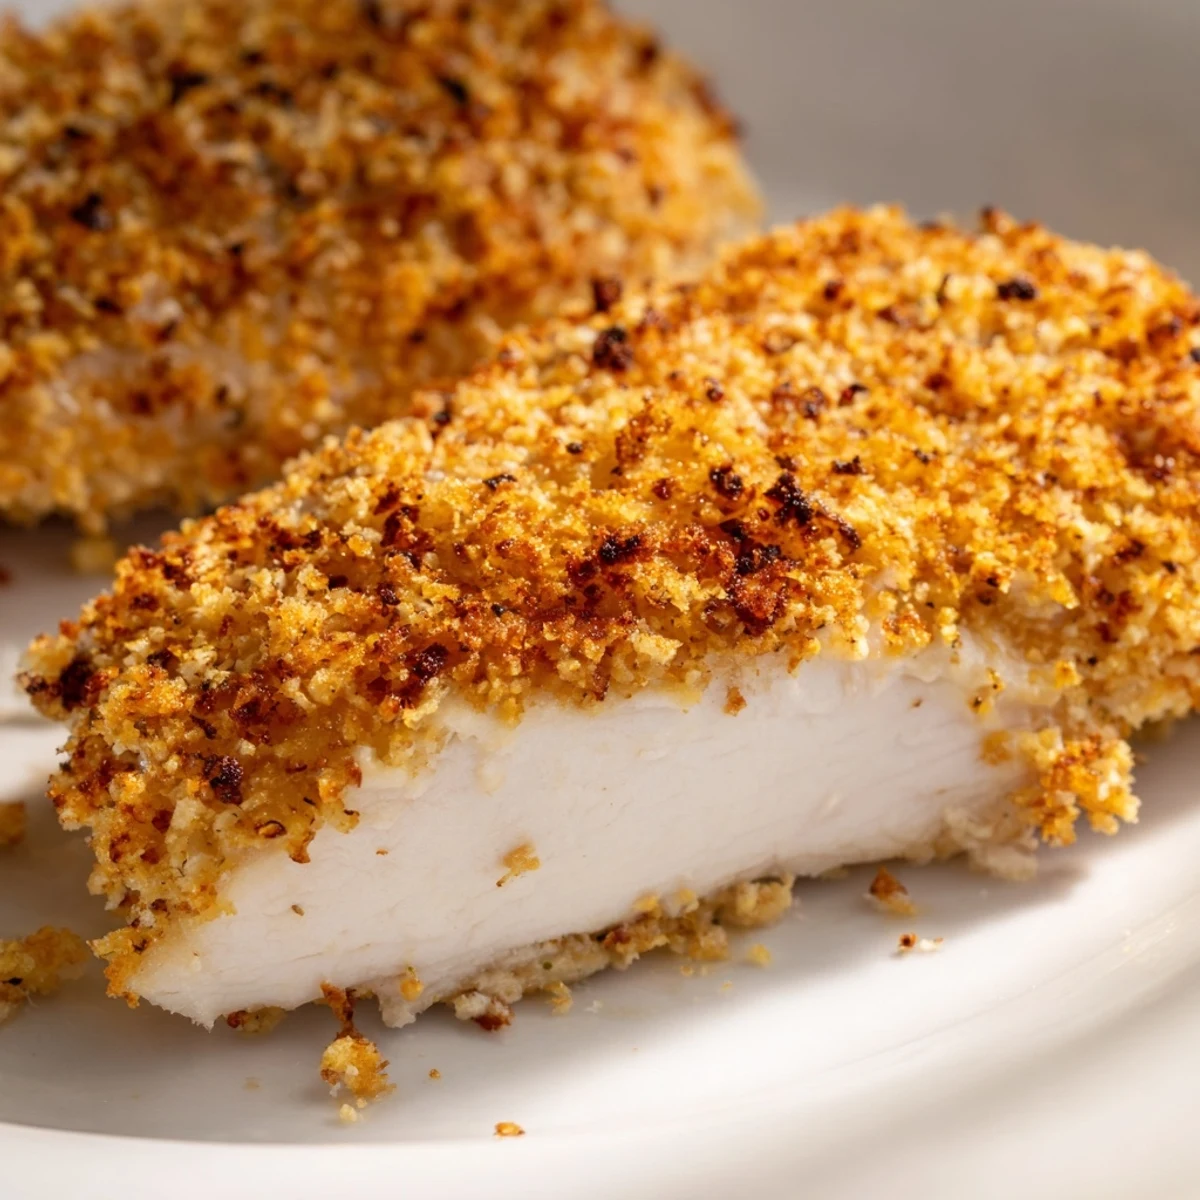
 This oven-baked chicken features tender meat beneath a golden, crunchy crust loaded with aged Parmesan and aromatic garlic. The panko breadcrumb coating creates irresistible crispiness while keeping the inside juicy and flavorful.
Perfect for busy weeknights, this dish comes together in just 15 minutes of prep time. The savory seasoning blend of garlic powder, Italian herbs, and paprika adds depth without overpowering the natural chicken flavor.
Each serving delivers 48 grams of protein, making it an excellent choice for satisfying, protein-rich meals. Serve alongside roasted vegetables, over fresh salad, or with your favorite pasta for a complete dinner the whole family will love.
The smell of garlic and Parmesan wafting through the kitchen still pulls me back to Tuesday nights when my roommate would walk in the door and immediately ask what smelled so incredible. We stumbled on this baked chicken combination during one of those experimental cooking phases where you throw things together and hope for the best. Now it is the most requested dish at every dinner party I host.
I served this at my first dinner party for my inlaws and watched my fatherinlaw go back for thirds without saying a word. That quiet approval meant more than any compliment could have expressed. The next morning my motherinlaw called specifically for the recipe which is how I knew this was a keeper forever.
Ingredients
- Chicken breasts: I pound them slightly to even thickness so they cook evenly and stay incredibly juicy throughout
- Parmesan cheese: Freshly grated makes such a huge difference in how it melts and creates that golden crust we all love
- Panko breadcrumbs: These japanese breadcrumbs are the secret weapon for getting that restaurant quality crunch without deep frying
- Garlic powder: Do not be tempted to swap this for fresh garlic because the powder distributes evenly throughout the coating
- Italian seasoning: This blend adds that perfect savory background note without overpowering the other flavors
- Eggs and milk: The milk thins the egg just enough so the coating adheres beautifully without becoming gummy
- Olive oil or butter: Drizzling this on top before baking creates those gorgeous golden brown crispy spots
Instructions
- Get your oven ready:
- Preheat to 400°F and line a baking sheet with parchment paper for easiest cleanup ever
- Prep the chicken:
- Pat those chicken breasts completely dry because any moisture will keep the coating from getting properly crispy
- Make your dipping station:
- Whisk the eggs and milk in one shallow bowl and mix all the coating ingredients in another separate bowl
- Dip and coat:
- Dredge each piece through the egg mixture then press firmly into the crumb mixture so it really sticks
- Arrange and drizzle:
- Place coated chicken on the prepared baking sheet and give each piece a little drizzle of olive oil on top
- Bake until golden:
- Bake 25 to 30 minutes until the coating is beautifully golden and the chicken reaches 165°F internally
- The resting period:
- Let the chicken rest 5 minutes before serving so the juices redistribute and stay locked inside
 Save to Pinterest
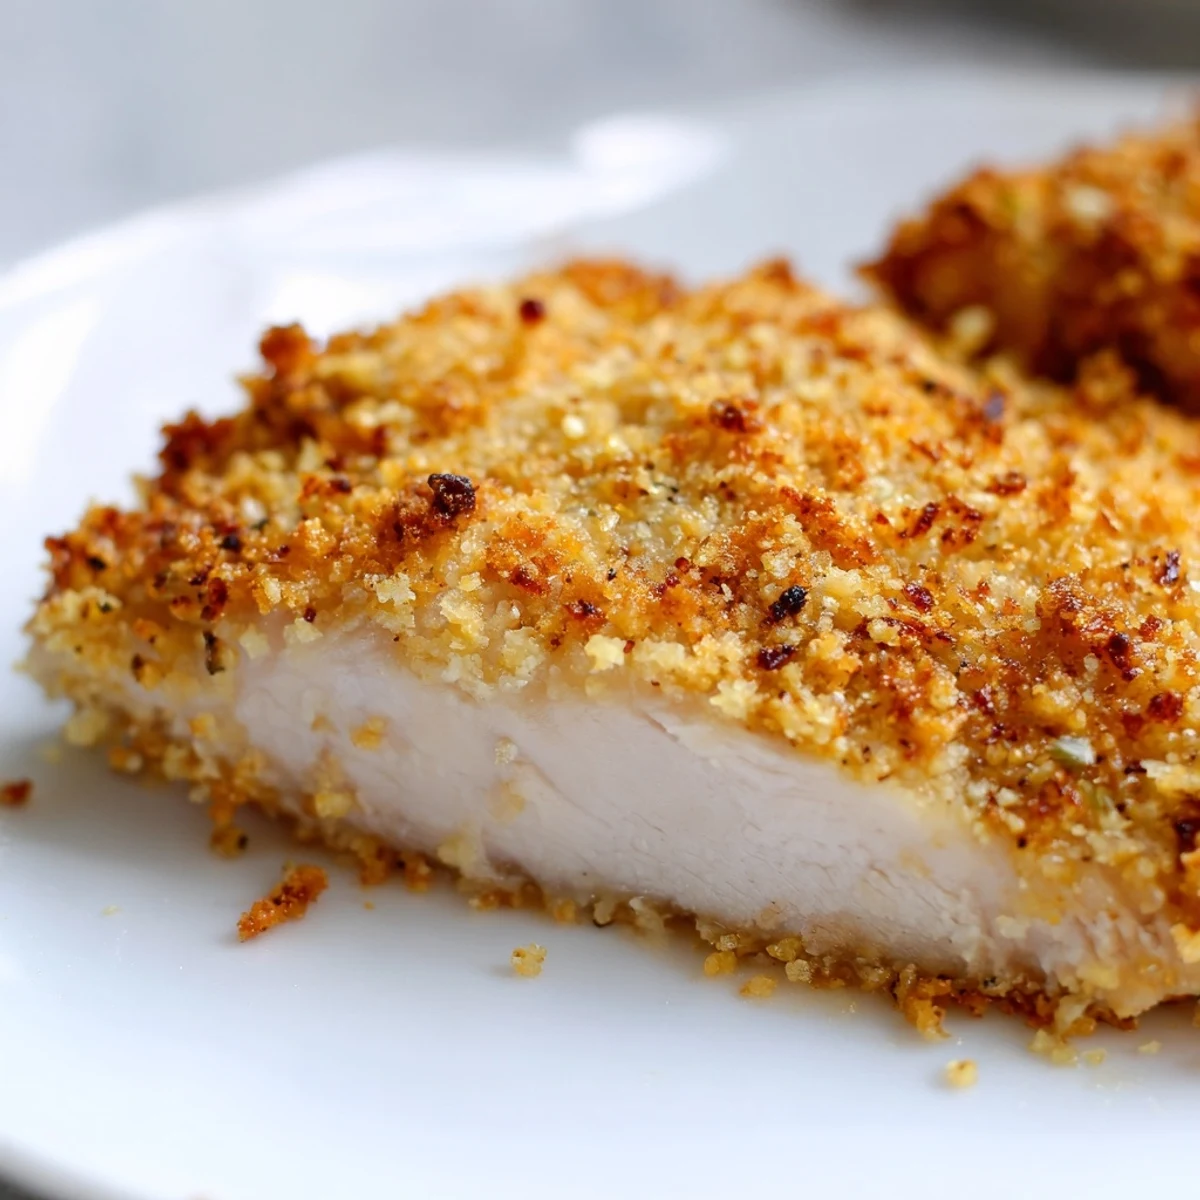
 This recipe became my go to for bringing dinner to new parents and friends recovering from surgery. The fact that it reheats beautifully without losing any of that coveted crunch means nobody has to eat soggy leftovers. There is something so comforting about dropping off a meal that makes people feel cared for without adding any pressure to their already full plates.
Making It Ahead
You can coat the chicken up to four hours ahead and keep it refrigerated on the prepared baking sheet covered loosely with plastic wrap. I usually prep everything during nap time then just pop it in the oven when dinner time rolls around. The coating stays perfectly crisp and actually adheres even better after that short chilling period.
Serving Ideas That Work
A simple green salad with lemon vinaigrette cuts through the richness of the crispy coating. Roasted broccoli or asparagus spears cook at the same temperature so everything finishes together. Sometimes I serve it over garlic mashed potatoes when I want to go full comfort food mode.
Storage And Reheating
Leftovers store beautifully in an airtight container for up to four days. Reheat at 375°F for about 10 minutes to bring back that satisfying crunch without drying out the chicken.
- Avoid the microwave entirely because it makes the coating soggy and sad
- Freeze cooked portions between layers of parchment paper for easy weeknight meals later
- Let frozen chicken thaw overnight in the refrigerator before reheating
 Save to Pinterest
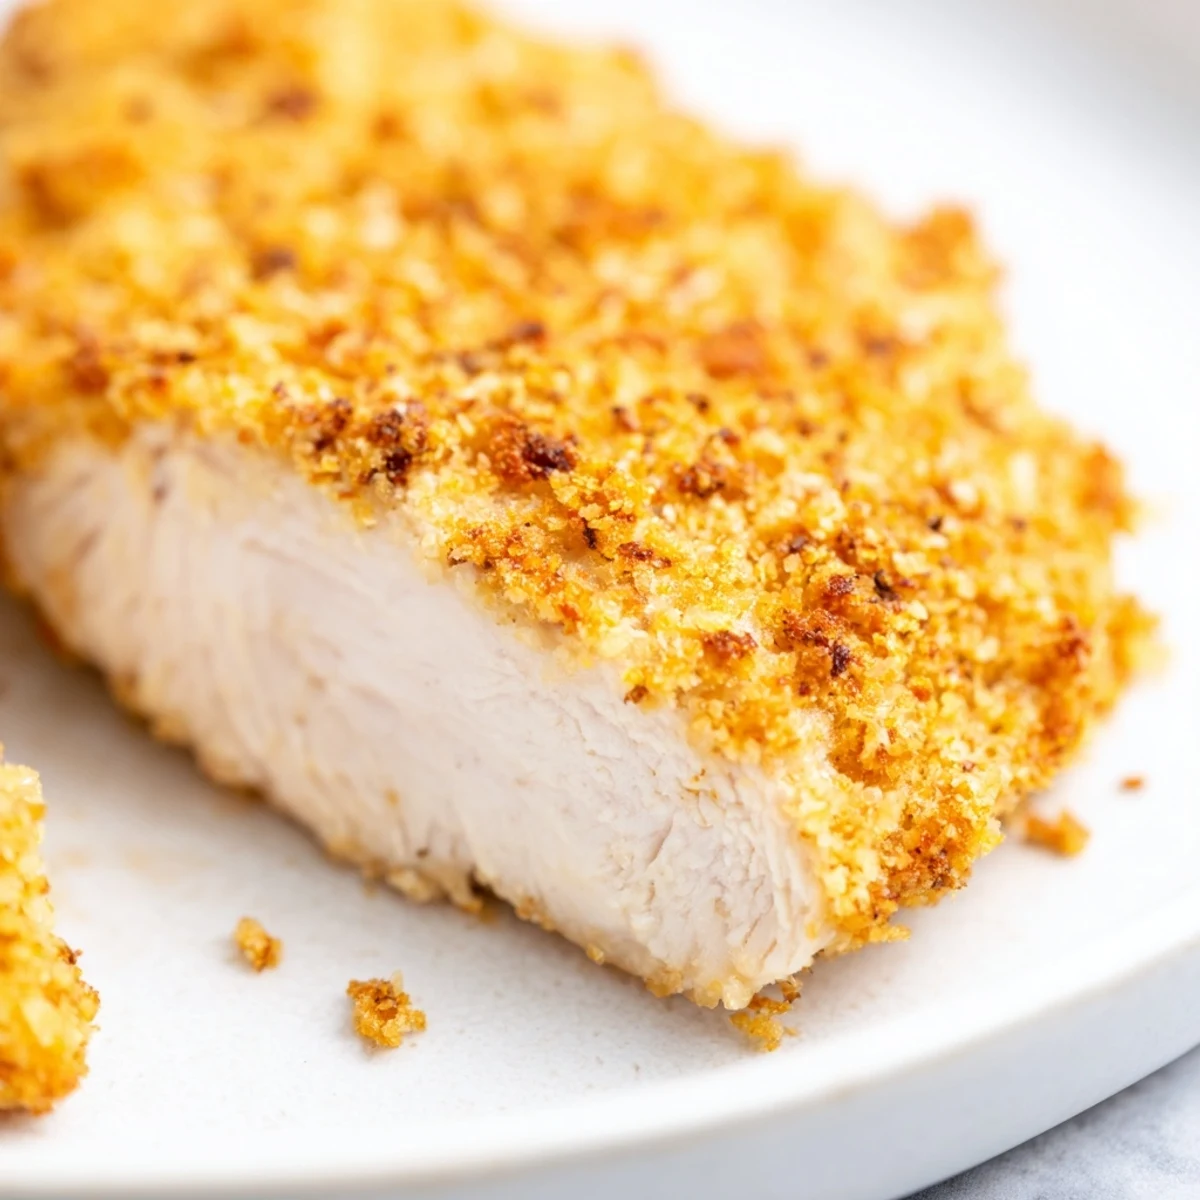
 I hope this becomes one of those recipes you turn to again and again because it never fails to make dinner feel special even on the most ordinary Tuesday nights.
Recipe FAQs
- → How do I know when the chicken is fully cooked?
-
Use a meat thermometer to check the internal temperature reaches 165°F (74°C). The coating should be golden brown and the chicken juices should run clear when pierced. Letting it rest for 5 minutes after baking ensures juicy results.
- → Can I use chicken thighs instead of breasts?
-
Absolutely. Boneless, skinless chicken thighs work well and may stay even juicier. Adjust cooking time to 25-35 minutes depending on thickness, always verifying the internal temperature reaches 165°F.
- → What's the secret to getting the coating really crispy?
-
Press the breadcrumb mixture firmly onto the chicken to help it adhere. Drizzling olive oil or melted butter on top before baking promotes even browning and extra crunch. Panko breadcrumbs also create a lighter, crispier texture than regular breadcrumbs.
- → Can I make this gluten-free?
-
Yes. Substitute the panko breadcrumbs with gluten-free breadcrumbs and ensure all other ingredients, including seasonings, are certified gluten-free. The cooking method and timing remain the same.
- → How should I store and reheat leftovers?
-
Store cooled chicken in an airtight container in the refrigerator for up to 4 days. Reheat in a 375°F oven for 10-15 minutes to restore crispiness. The microwave works but will soften the coating.
- → Can I freeze the uncoated or cooked chicken?
-
You can freeze cooked, cooled portions for up to 3 months. For best results, freeze before baking: coat the chicken, place on a baking sheet, freeze until solid, then transfer to freezer bags. Bake from frozen, adding 5-10 minutes to cooking time.
