 Save to Pinterest
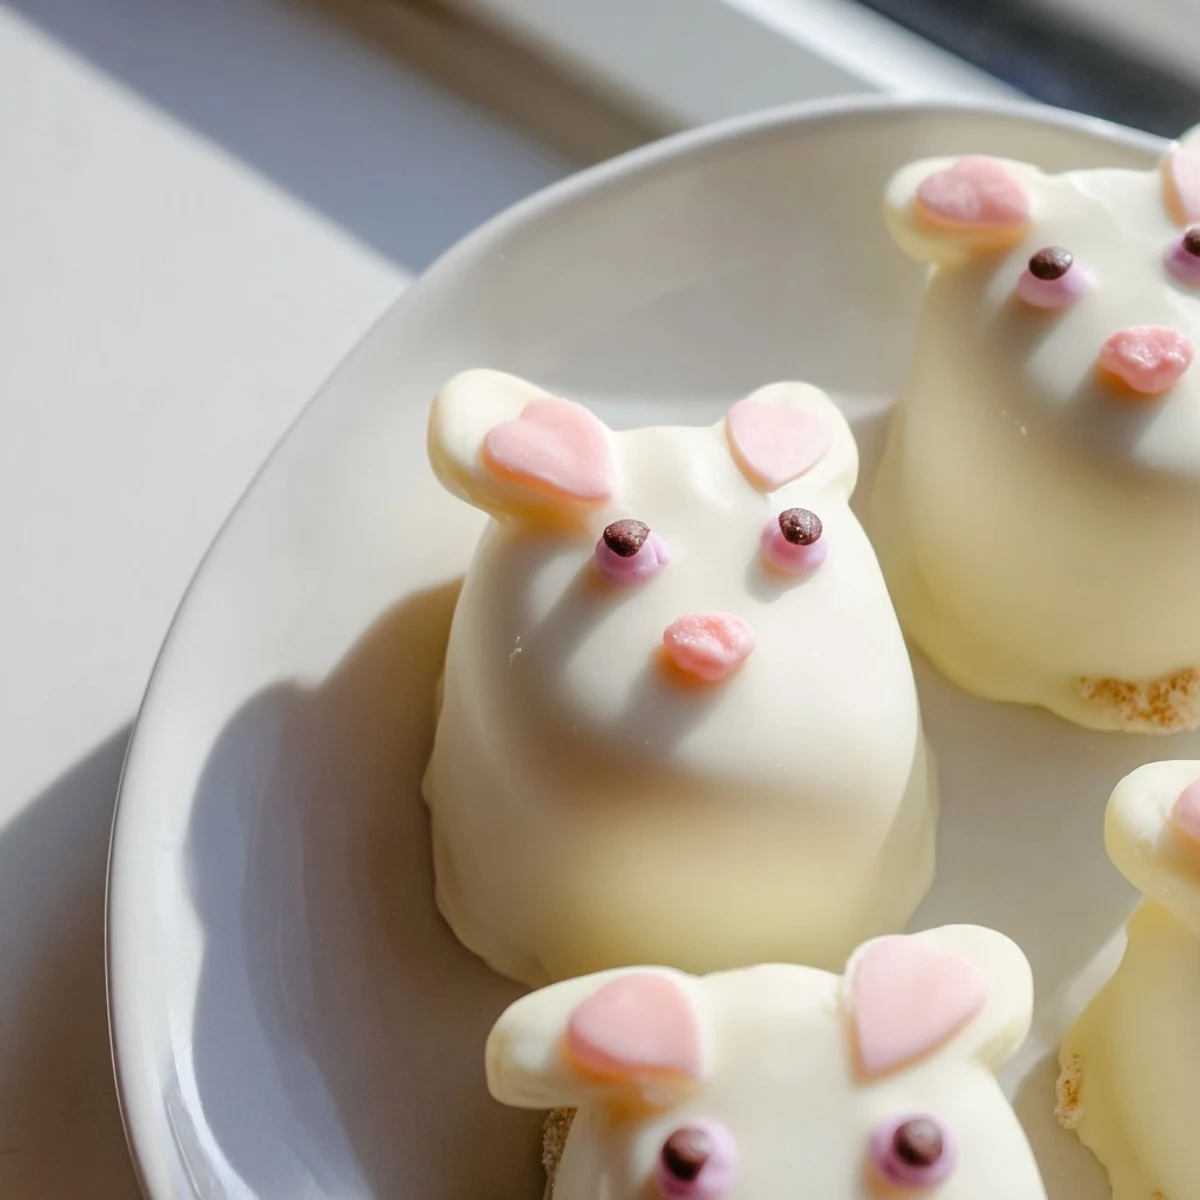
 These charming bunny-shaped treats combine moist vanilla cake with rich white chocolate coating for an irresistible Easter dessert. The cake mixture binds together perfectly with cream cheese and butter, creating a dough that shapes easily into festive bunny faces. After chilling, each cake pop gets dipped in smooth white chocolate and decorated with candy eyes, sprinkles, and fondant details to bring the bunnies to life.
The process is simple enough for beginners yet impressive enough for parties. You can customize the cake flavor, swirl colors through the coating, or get creative with decorations. The result is eight adorable handheld treats that capture the playful spirit of spring celebrations while delivering satisfying bites of sweet, creamy goodness.
Last Easter, my niece asked if we could make something that looked like it hopped right out of a storybook. We ended up covered in white chocolate and laughing at our lopsided bunny faces, but those imperfect cakesicles disappeared faster than anything else on the dessert table.
I realized these were a keeper when my typically skeptical teenage brother grabbed three in a row, claiming he was just quality control testing. Now they are requested months in advance, which is the highest compliment in my family.
Ingredients
- Vanilla cake crumbs: I have learned that slightly stale cake actually works better here, so do not hesitate to use leftovers from a few days ago
- Cream cheese: Make sure it is genuinely softened to room temperature or you will end up with frustrating lumps in your dough
- Unsalted butter: The fat content here is what transforms dry crumbs into something fudge-like and luxurious
- Powdered sugar: Just enough to bind everything without making the mixture cloyingly sweet
- Vanilla extract: Do not skip this, it is what makes the filling taste like a deliberate dessert instead of just sweetened crumbs
- White chocolate: High-quality melts make coating so much easier, and the flavor difference is worth the extra cost
- Edible gel food coloring: A tiny drop goes further than you think for creating those sweet pink bunny noses
- Cakesicle sticks: Insert these at an angle rather than straight down for better stability
- Sprinkles and decorations: Have everything sorted before you start dipping because the chocolate sets up fast
Instructions
- Mix the cake mixture:
- Combine the cake crumbs, cream cheese, butter, powdered sugar, and vanilla in a medium bowl until it comes together like soft dough. The texture should remind you of playdough, slightly tacky but holding its shape perfectly when squeezed.
- Shape your bunnies:
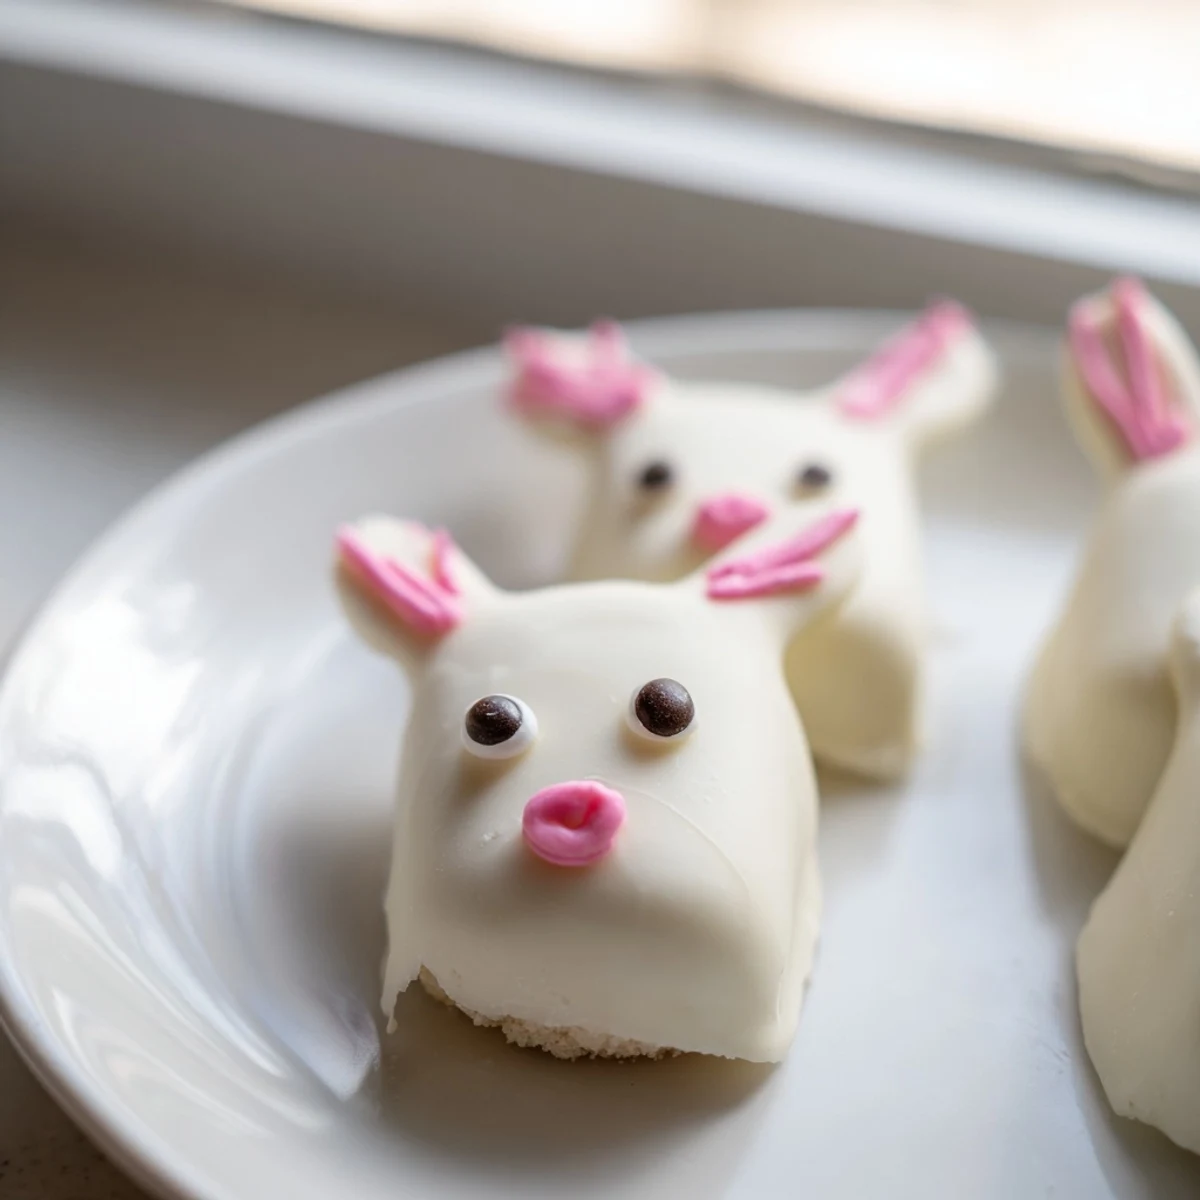
- Divide the mixture into eight equal portions and gently flatten each into an oval bunny face, about two inches long. I press the mixture against the palm of my hand to smooth out any cracks before inserting the sticks about halfway through.
- Chill thoroughly:
- Place the shaped cakesicles in the refrigerator for at least twenty minutes, but thirty is even better. This step is the secret to keeping them on their sticks instead of at the bottom of your chocolate bowl.
- Melt the coating:
- Microwave the white chocolate in thirty-second bursts, stirring between each round until it becomes silky smooth. Do not rush this process, because seized chocolate is one of the most frustrating kitchen problems I have encountered.
- Dip and decorate:
- Hold each stick and dip the bunny face into the chocolate, letting excess drip off for a few seconds before gently tapping against the bowl. Work quickly now, adding candy eyes and sprinkles before the coating hardens into that perfect shell.
- Set completely:
- Stand the finished cakesicles upright in a glass or foam block to dry, which prevents flat spots from forming. If you are rushing, the refrigerator can speed this up by about ten minutes.
 Save to Pinterest
 My neighbor now texts me every March asking when bunny cake week is happening. Seeing her kids carefully choose their favorite face from the platter has become one of those small spring traditions I did not know I needed.
Getting Creative With Flavors
Lemon cake crumbs with a white chocolate coating create this bright, springlike combination that adults seem to gravitate toward. Chocolate cake with the same coating is what my husband calls the reverse bunny situation, and it disappears just as quickly.
Marbling Magic
Swirling a tiny amount of pink gel coloring through your melted white chocolate before dipping creates this watercolor effect that looks incredibly professional. I drop in three dots of color and fold them through just twice, leaving those gorgeous ribbons of color.
Storage Solutions
These actually taste better after chilling overnight, which means you can absolutely make them a day ahead. I keep them layered between parchment paper in an airtight container.
- Wrap the stick tops individually with plastic wrap if storing multiple layers
- Bring them to room temperature for about ten minutes before serving for the best texture
- The white coating can sweat in humid conditions, so serve them promptly if your Easter is particularly warm
 Save to Pinterest
 There is something uniquely joyful about food on a stick that brings out the kid in everyone. Happy Easter, and may your bunnies be cute and your chocolate smooth.
Recipe FAQs
- → How long do bunny cakesicles stay fresh?
-
Store these treats in an airtight container in the refrigerator for up to 3 days. The cool temperature keeps the white chocolate coating firm and prevents the cake inside from becoming too soft. Let them come to room temperature for about 10 minutes before serving for the best texture.
- → Can I make these ahead of time for Easter?
-
Absolutely! Prepare the cake mixture and shape the bunnies up to 2 days in advance. Keep them refrigerated until ready to dip and decorate. The coating and decorating works best done the day of serving, but you can complete the entire process 24 hours ahead and store them chilled until your celebration.
- → What cake flavors work best for these treats?
-
Vanilla cake provides a classic foundation that pairs beautifully with white chocolate. However, you can experiment with chocolate, lemon, strawberry, or red velvet cake crumbs. Each flavor creates a unique taste experience—chocolate adds richness while lemon offers bright contrast to the sweet coating.
- → Do I need special molds to shape the bunnies?
-
No special equipment required! You can shape the cake mixture into bunny faces by hand, creating flattened ovals with slightly pointed tops for ears. If you want perfectly uniform shapes, cakesicle molds are available and helpful, but freehand shaping adds charming homemade character to each treat.
- → What decorations work best for bunny details?
-
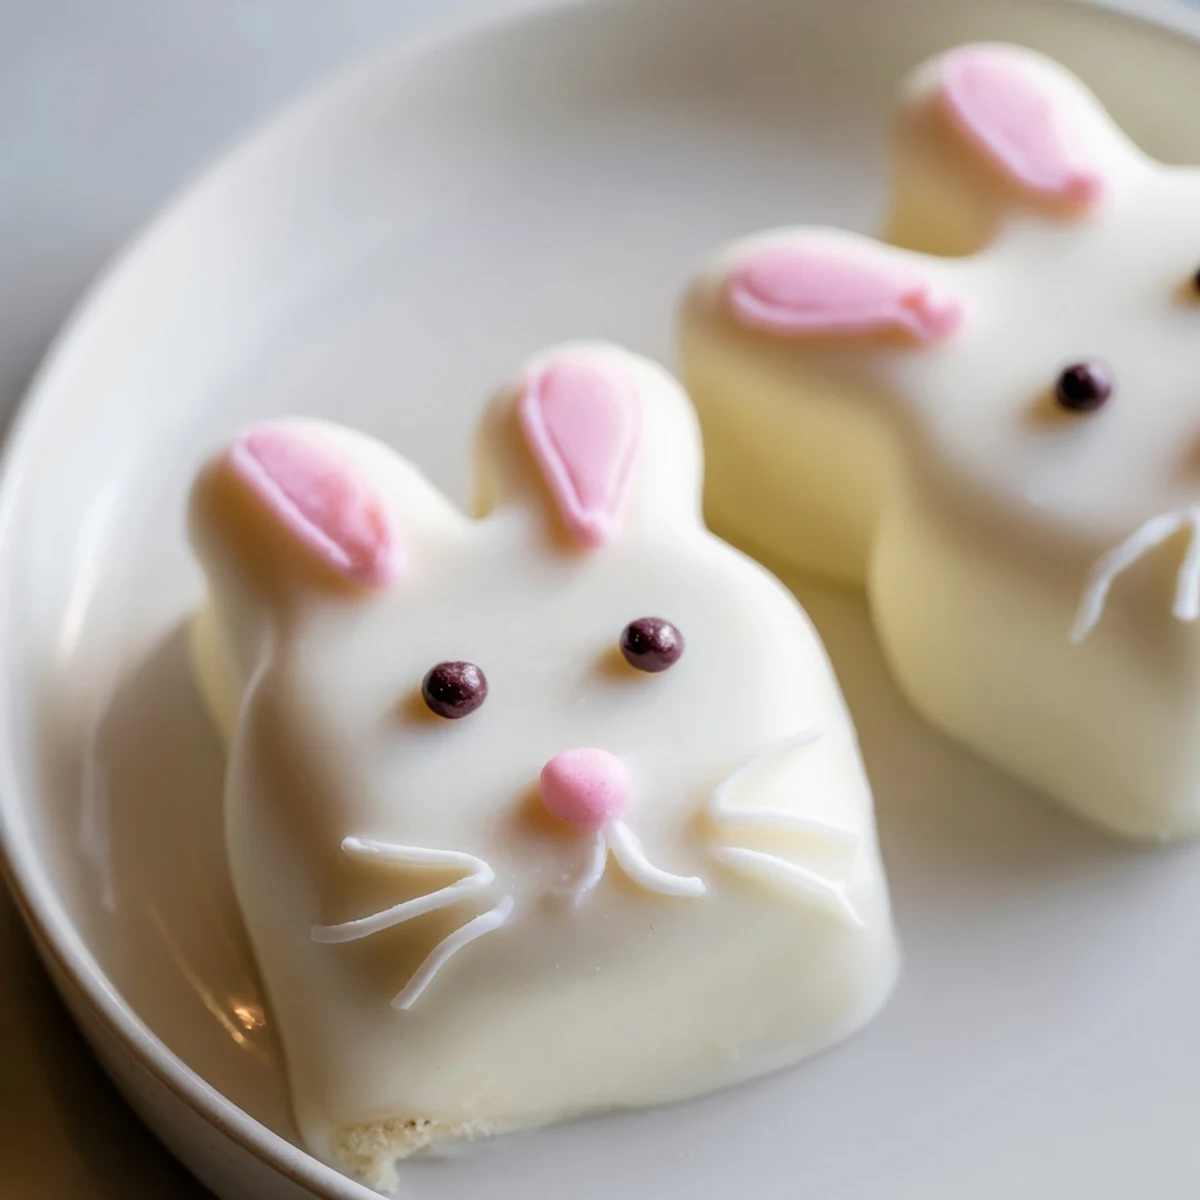
Candy eyes, edible sprinkles, and fondant cutouts create adorable facial features. You can also use food coloring pens to draw whiskers and noses directly onto the set white chocolate. Small heart sprinkles make perfect noses, while pretzel sticks or fondant shaped into ears complete the bunny look.
- → Can I use candy melts instead of real white chocolate?
-
Yes, white candy melts work excellently and often set up faster than traditional white chocolate. They're designed for coating and come in various colors if you want colored bunnies without mixing food coloring. Real white chocolate offers richer flavor, but both options create beautiful, professional-looking results.
