 Save to Pinterest
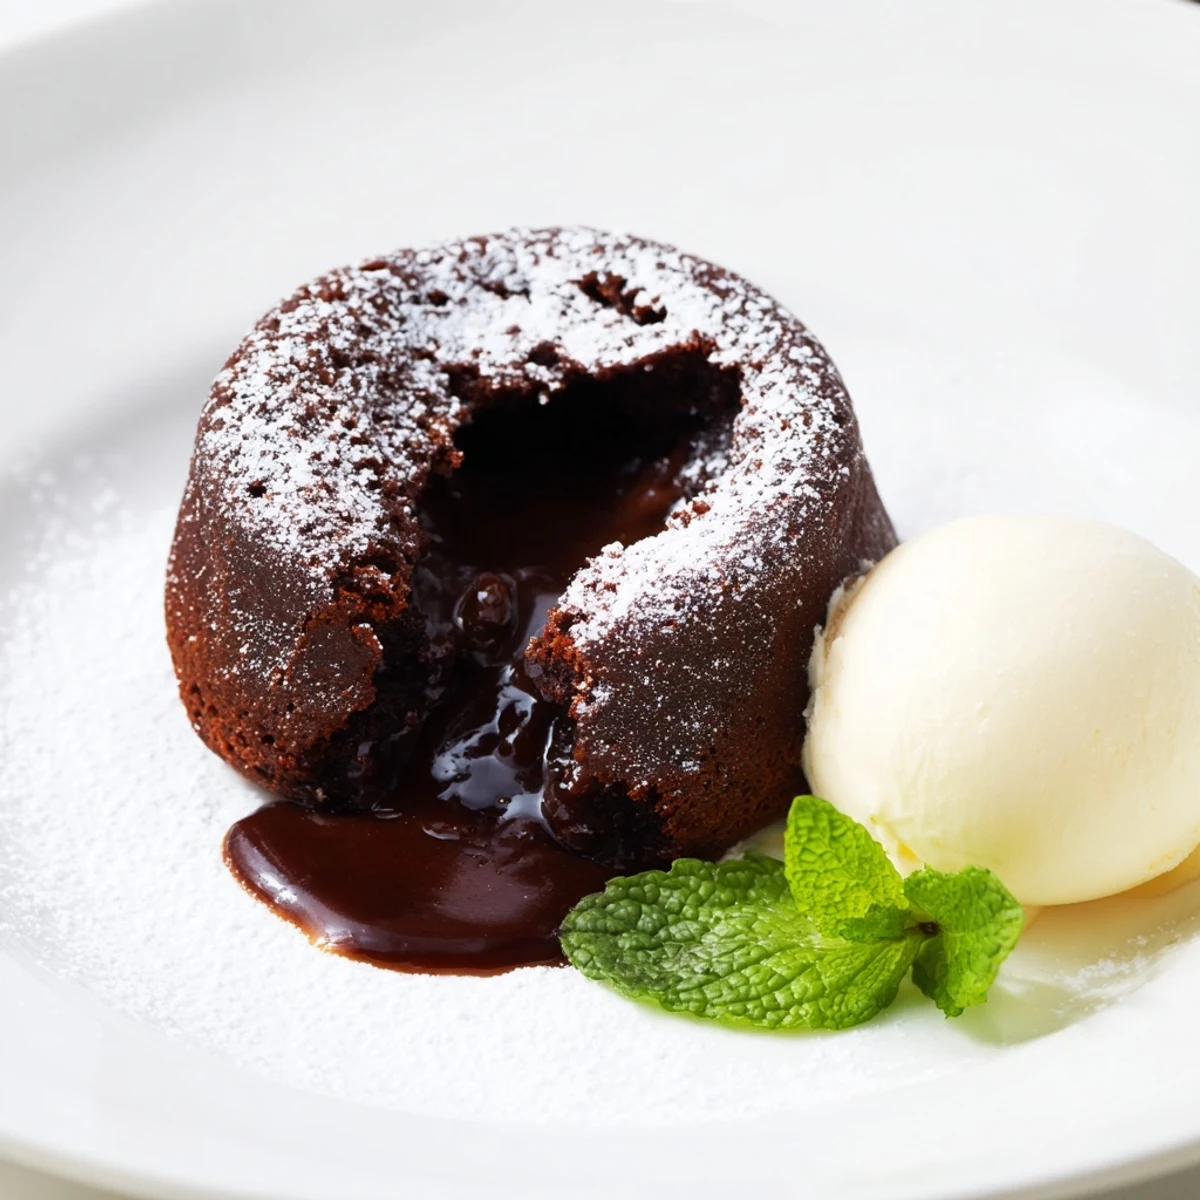
 These individual chocolate cakes feature rich, molten centers that delight with every bite. Prepared by melting dark chocolate and butter, then folded into eggs and sugar before baking until edges are set but centers remain soft. Served immediately warm alongside creamy vanilla ice cream for contrast. A dusting of powdered sugar and optional fresh berries or mint add brightness and elegance. Ideal for an indulgent dessert or special occasion, the delicate balance of textures and flavors offers a satisfying finish to any meal.
The first time I made chocolate lava cakes, I was convinced I'd ruin them—that the centers would either bake solid or spill all over the oven. But there's something almost magical about pulling them from the heat at exactly the right moment, that split second when the edges set while the heart stays molten. Now they're my go-to when I want to impress someone without spending all evening in the kitchen.
I remember making these for my partner on a random Thursday night when they'd had a terrible day. The smell of melted chocolate filled the whole apartment, and by the time I inverted those cakes onto the plates, I could see them smile for the first time since they'd gotten home. Sometimes the simplest gestures taste the best.
Ingredients
- Dark chocolate (60–70% cocoa), chopped: This is where the magic lives—use something you'd actually eat on its own, because you'll taste every bit of it.
- Unsalted butter: The vehicle for richness; unsalted lets you control the salt level and keeps the chocolate flavor front and center.
- Eggs and egg yolks: These create the structure that holds everything together while staying impossibly tender in the middle.
- Granulated sugar: Whisked with the eggs until pale, it aerates the batter and gives you that crucial fluffy texture.
- All-purpose flour: Just enough to bind without making these heavy; overmix and you'll lose the delicate crumb.
- Salt: A tiny pinch that makes the chocolate taste more chocolatey.
- Vanilla ice cream: The cooling counterpoint that makes the warm chocolate feel even more indulgent.
Instructions
- Prep your ramekins like they're precious:
- Butter them generously, then dust with cocoa powder so the cakes release cleanly. Tap out the excess cocoa—you want a thin, even layer.
- Melt chocolate and butter slowly:
- Use a double boiler and stir constantly. You're looking for silky smoothness, not grainy or separated. Let it cool just slightly so it doesn't scramble the eggs.
- Whisk eggs and sugar until they're pale and thick:
- This takes a couple of minutes and you'll see the mixture go from glossy to pale yellow. You're incorporating air that makes these cakes light.
- Fold, don't stir:
- Combine the chocolate into the eggs using a gentle folding motion—see the spatula cutting down the middle, across the bottom, and up the side. Do this slowly or you'll deflate all that air you just worked in.
- Add flour and salt with a light hand:
- Fold gently until you can't see streaks of flour anymore. Stop there—overmixing develops gluten and makes these tough.
- Divide batter and bake without peeking:
- Pour evenly into each ramekin. Bake at 220°C for 11–12 minutes until the edges are set but the centers still jiggle slightly when you gently shake the pan.
- Invert immediately onto warm plates:
- Let them rest for just one minute, run a knife around the edge, and flip each one onto its plate. The molten center should flow out like a dream.
 Save to Pinterest
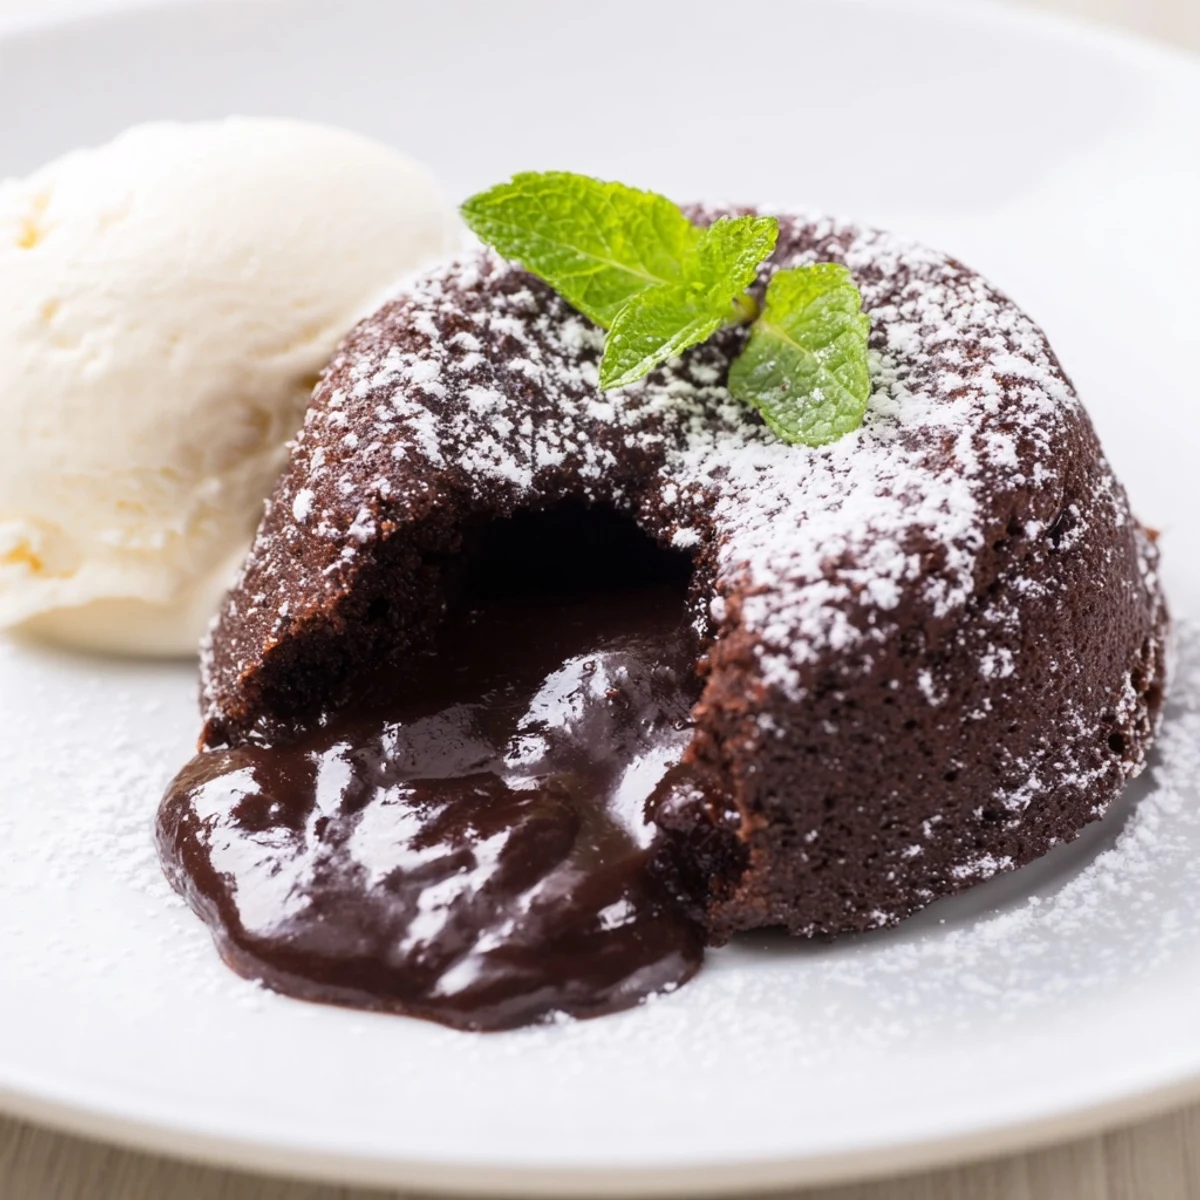
 There's a moment right after you flip the cake when you hold your breath, waiting to see if it's done right. When that center breaks open and the chocolate spills out, warm and glossy—that's when you know you've got it.
The Science of the Molten Center
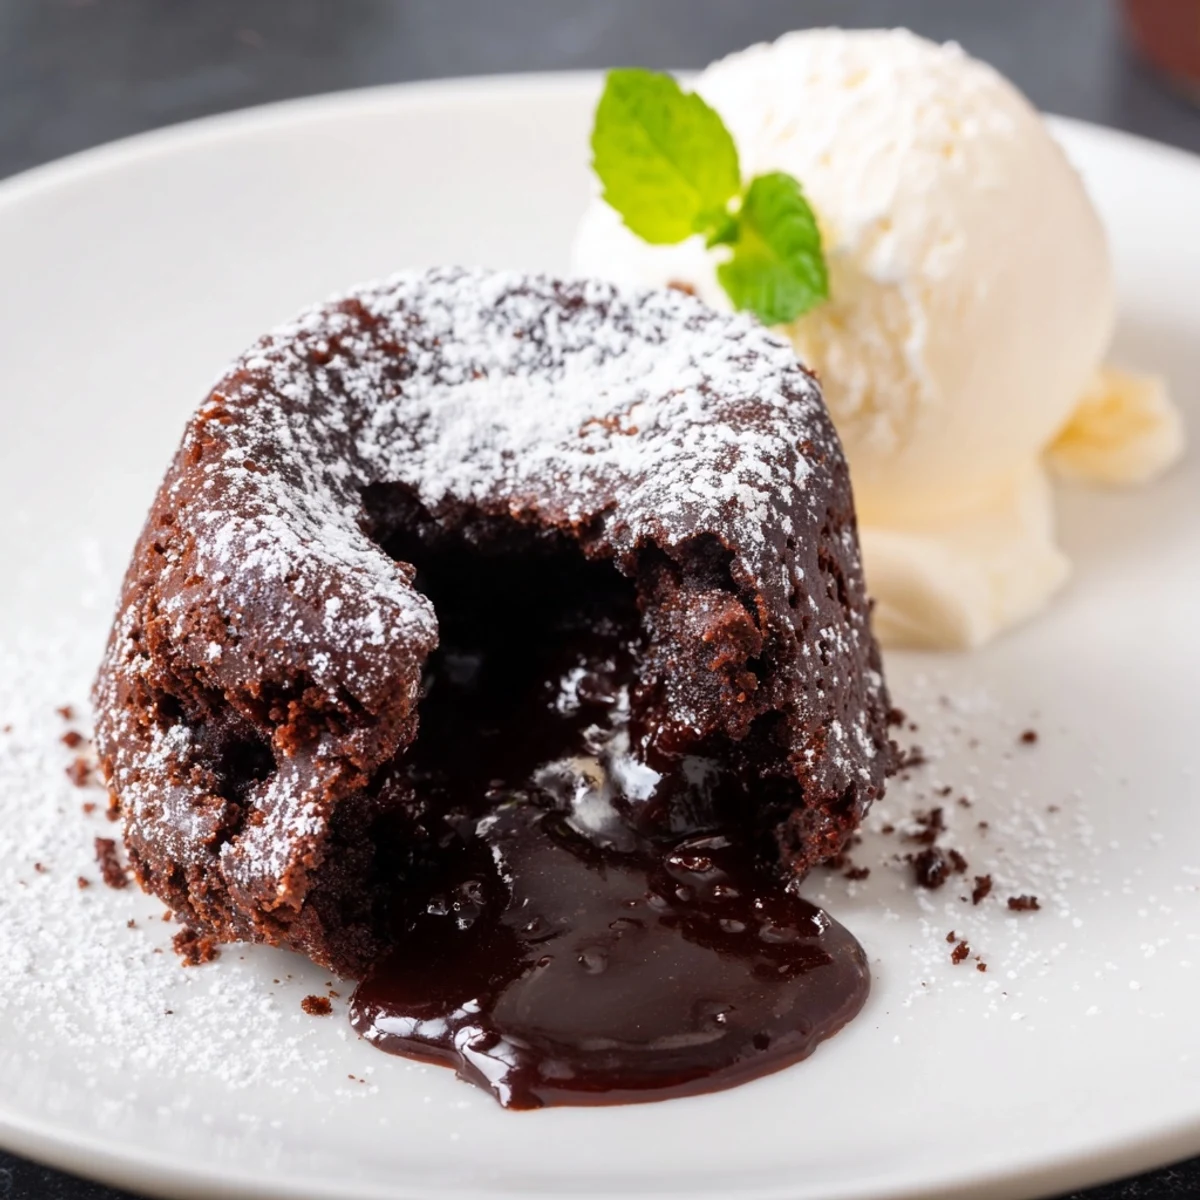
These cakes work because you're baking the outside while deliberately under-baking the inside. The residual heat continues cooking even after they come out of the oven, so stopping at 11–12 minutes is crucial. The edges set because eggs and flour need heat to firm up, but the center stays soft because chocolate and butter have a lower melting point and insulate the middle from direct heat.
Make It Your Own
Once you nail the basic technique, you can play. A pinch of espresso powder deepens the chocolate flavor without tasting like coffee. Crushed raspberries in the bottom of the ramekin before pouring batter add tartness. Even a tiny pinch of cayenne or cardamom can surprise and delight if you're feeling adventurous.
Timing and Storage
The beauty of these is how forgiving they are if you plan ahead. Mix the batter, cover the ramekins with plastic wrap, and refrigerate for up to twenty-four hours. They bake from cold just fine—you might add an extra minute or two. The hardest part is not eating them the moment they're done.
- Prepare the batter up to a day ahead, keeping ramekins covered in the fridge.
- Always let cold batter come close to room temperature before baking so the outsides don't overbake.
- Serve on warm plates so the ice cream doesn't melt too fast and the contrast stays perfect.
 Save to Pinterest
 These cakes remind me that sometimes the most impressive things to cook are the simplest ones. A few ingredients, a few minutes, and you've created something that tastes like pure indulgence.
Recipe FAQs
- → What type of chocolate is best for lava cakes?
-
Use dark chocolate with 60–70% cocoa for a rich, intense flavor and smooth melting consistency.
- → How do I achieve a molten center?
-
Bake until edges are set but centers remain soft, usually 11–12 minutes, to keep the middle gooey.
- → Can I prepare the batter ahead of time?
-
Yes, the batter can be refrigerated and baked just before serving for fresh warmth.
- → What can I serve alongside these cakes?
-
Vanilla ice cream complements the warm cakes beautifully, with powdered sugar and fresh berries as optional garnishes.
- → How do I prevent cakes from sticking to ramekins?
-
Generously butter and dust ramekins with cocoa powder before adding batter to ensure easy release.
