 Save to Pinterest
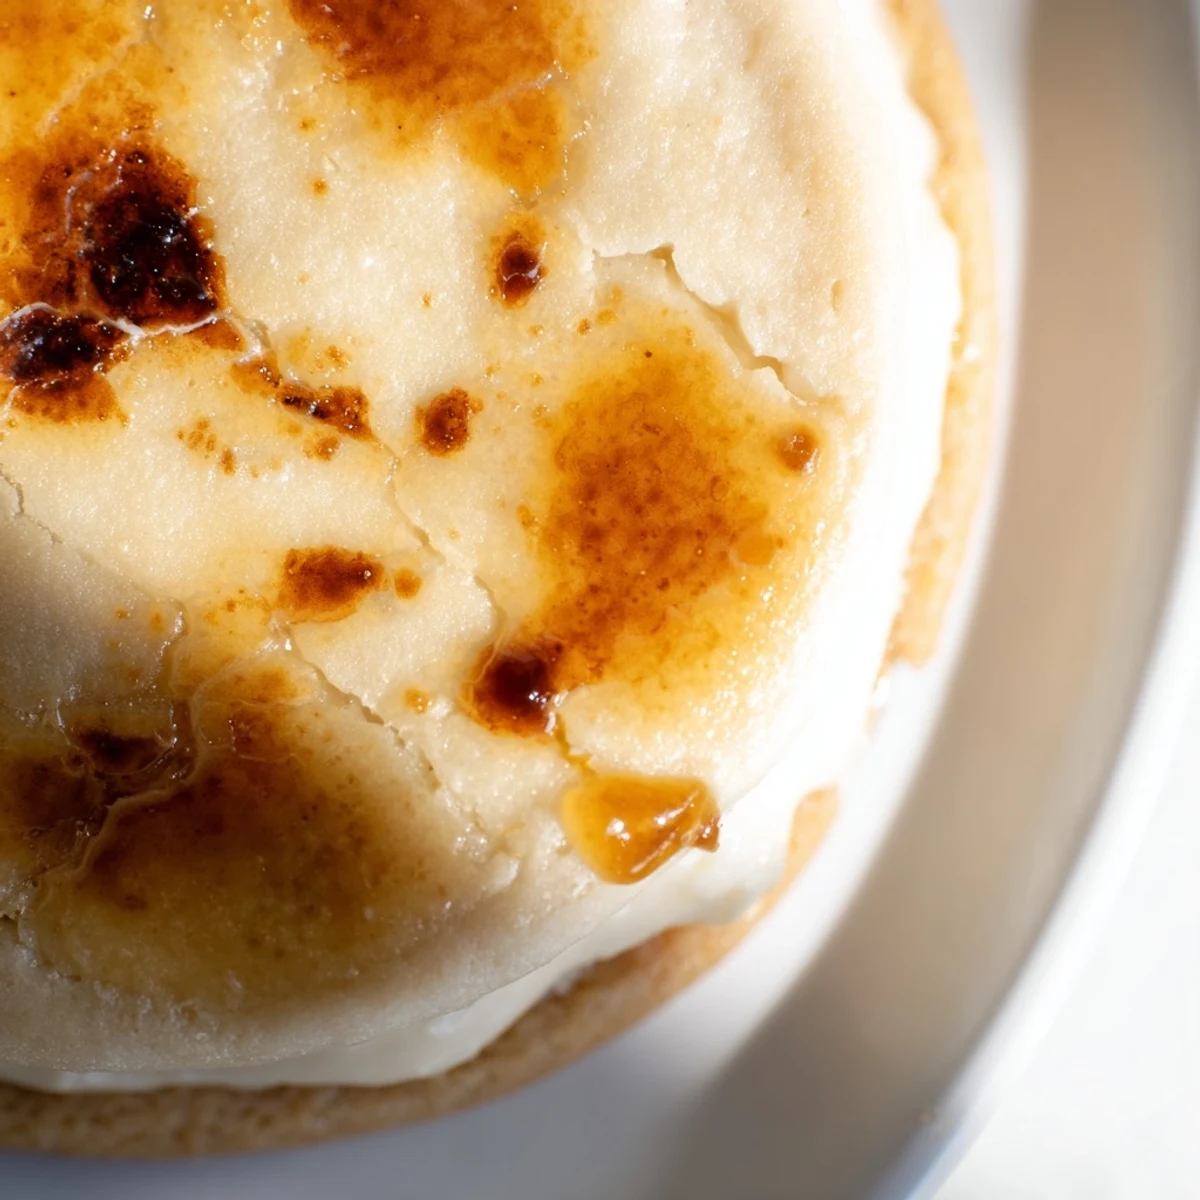
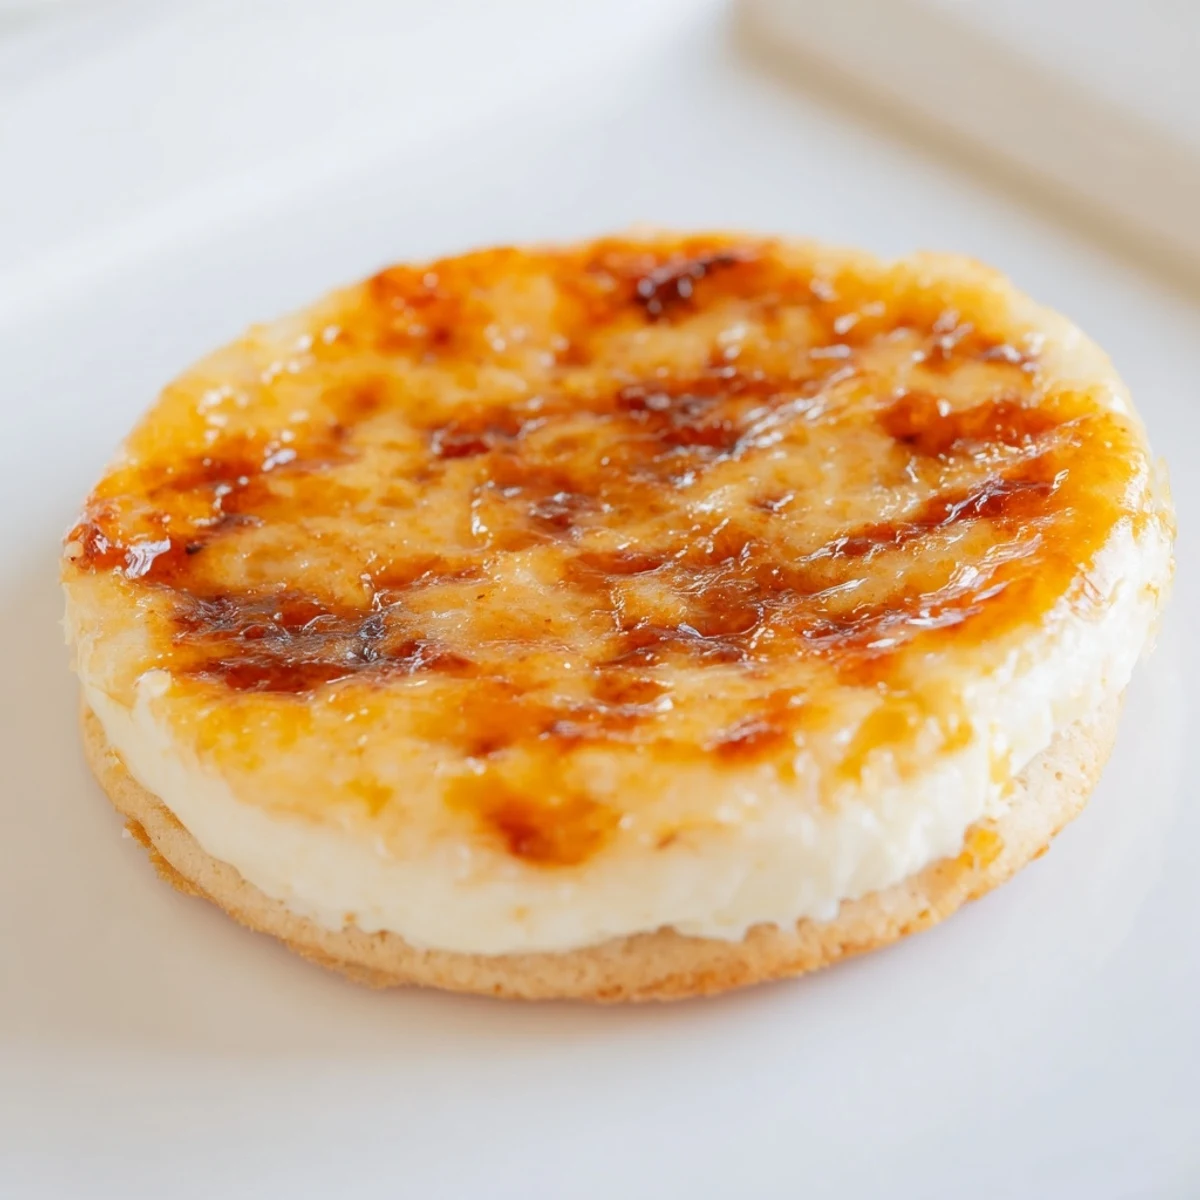
 These indulgent cookies capture the essence of classic French crème brûlée in a handheld treat. The soft, buttery dough envelops a luscious cream cheese filling infused with vanilla bean paste, creating a delightful contrast of textures. What truly sets these apart is the finishing touch—a layer of sugar that's torched until golden and crackly, just like the traditional dessert. Perfect for impressing guests or treating yourself to something extraordinary.
There was this rainy Tuesday when my kitchen smelled like a French bakery gone wild. I had been experimenting with stuffed cookies for weeks, but nothing clicked until I decided to literally shove crème brûlée inside a cookie dough. The first batch came out looking like sad lumpy pancakes, but that first bite of crispy sugar giving way to creamy vanilla center made me do an actual happy dance right there by the oven.
My sister texted me at midnight demanding I bring these to her housewarming the next day. I was up until 2 AM torching sugar tops one by one, watching each one turn into that gorgeous amber shell. Everyone kept asking where I ordered them from, and honestly, seeing their faces when they bit through that crispy layer into the vanilla cream might be my favorite kitchen memory ever.
Ingredients
- All-purpose flour: The structure that holds everything together, measured properly by weight if possible
- Baking soda: Just enough lift to keep these cookies from being dense bricks
- Salt: Balances all that sweetness and wakes up the vanilla flavors
- Unsalted butter: Softened to room temperature so it incorporates beautifully into the sugar
- Granulated sugar: Creates the cookie base and later becomes that signature crunchy top
- Egg yolks: Use only yolks for extra richness and that tender crumb we want
- Pure vanilla extract: Do not skimp here because vanilla is the star of the show
- Sour cream: The secret ingredient that keeps these cookies incredibly soft
- Cream cheese: Must be fully softened to avoid lumpy filling
- Vanilla bean paste: Those little specks make these cookies look professionally made
- Extra sugar for topping: This is what transforms them from regular cookies into crème brûlée dreams
Instructions
- Get your oven ready:
- Preheat to 350°F and line two baking sheets with parchment paper so nothing sticks
- Whisk the dry team:
- Combine flour, baking soda, and salt in a medium bowl, then set it aside for later
- Cream the butter and sugar:
- Beat them together until the mixture looks pale and fluffy, about 3 full minutes
- Add the wet ingredients:
- Mix in egg yolks, vanilla extract, and sour cream until everything is fully combined
- Bring it together:
- Gradually fold in the dry ingredients, mixing only until a soft dough forms
- Make the filling:
- Beat cream cheese, sugar, and vanilla bean paste until completely smooth and creamy
- Stuff the cookies:
- Flatten dough discs, add filling centers, and carefully seal the dough around them
- Bake them up:
- Bake for 11 to 13 minutes until edges are set but centers still look slightly soft
- Create the crunch:
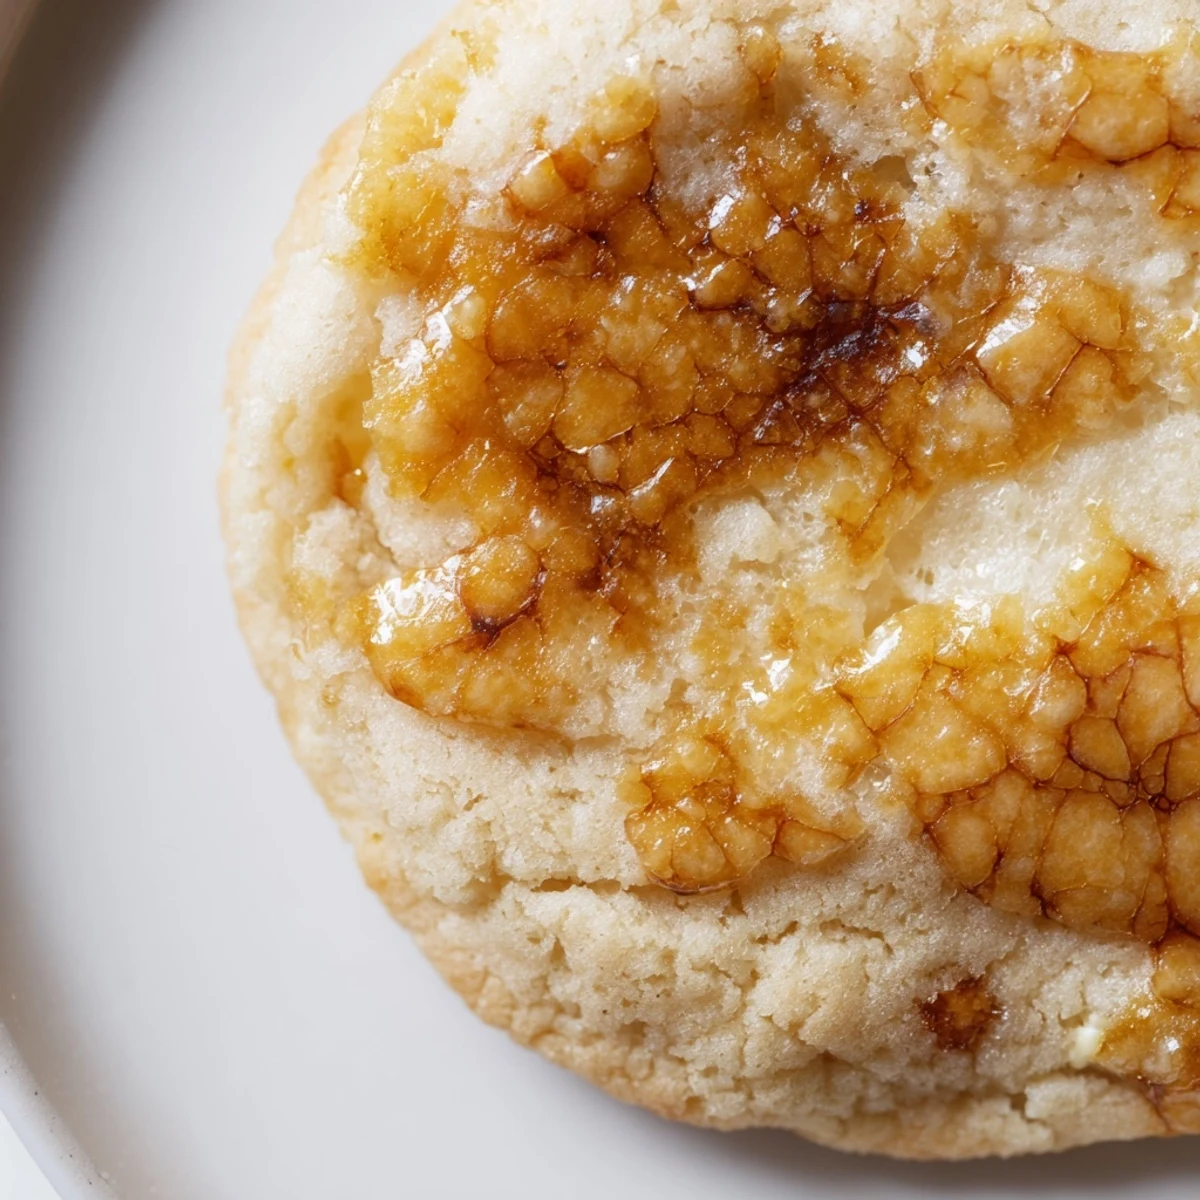
- Sprinkle sugar on cooled cookies and torch until golden and crackly
 Save to Pinterest
 These became my go-to bring-along for every potluck after that first successful batch. There is something so satisfying about watching people torch their own sugar tops at the table, their eyes widening when that signature crack sound happens. Food that creates an experience is always the best kind.
The Torch Situation
I tried using the broiler method once and ended up with slightly melted cookies and uneven sugar. Investing in a kitchen torch changed everything about the final result. The control you get with a torch means every cookie gets that perfect glass-like caramelized shell that makes these special.
Make Ahead Magic
You can actually assemble these cookies through the filling step and freeze them raw. Bake straight from frozen, adding just 2 extra minutes to the baking time. Fresh baked cookies in minutes without starting from scratch is the kind of kitchen hack that makes life better.
Serving Suggestions
These are rich enough to stand alone but absolutely dreamy with a cup of coffee or after dinner. I have served them alongside vanilla ice cream for people who really want to indulge. The combination of temperatures and textures is next level.
- Store in an airtight container but torch right before serving for best texture
- These actually taste better the second day as flavors meld together
- Bring them to room temperature for 20 minutes before serving if they have been refrigerated
 Save to Pinterest
 Every time I pull these out of the oven, I am reminded that the best recipes often come from wild kitchen experiments. Hope these bring as much joy to your table as they have to mine.
Recipe FAQs
- → Can I make these without a kitchen torch?
-
Yes, you can caramelize the sugar under your oven broiler for 1–2 minutes. Watch closely to prevent burning, as the sugar can quickly go from golden to burnt.
- → How should I store these cookies?
-
Store in an airtight container at room temperature for up to 3 days. The caramelized topping may soften slightly over time but remains delicious.
- → Can I freeze the dough?
-
Yes, scoop and fill the dough balls, then freeze on a baking sheet before transferring to a freezer bag. Bake from frozen, adding 1–2 minutes to the baking time.
- → What's the difference between vanilla bean paste and extract?
-
Vanilla bean paste contains actual vanilla bean seeds, providing both intense flavor and visual appeal. Pure extract works perfectly well as a substitute.
- → Why do the centers need to be soft after baking?
-
The cookies continue cooking on the hot baking sheet. Removing them while slightly soft ensures they stay tender rather than becoming hard or dry.
- → Can I double this batch?
-
Absolutely. The yield is 18 cookies, but the dough and filling both double well without affecting the texture or flavor.
