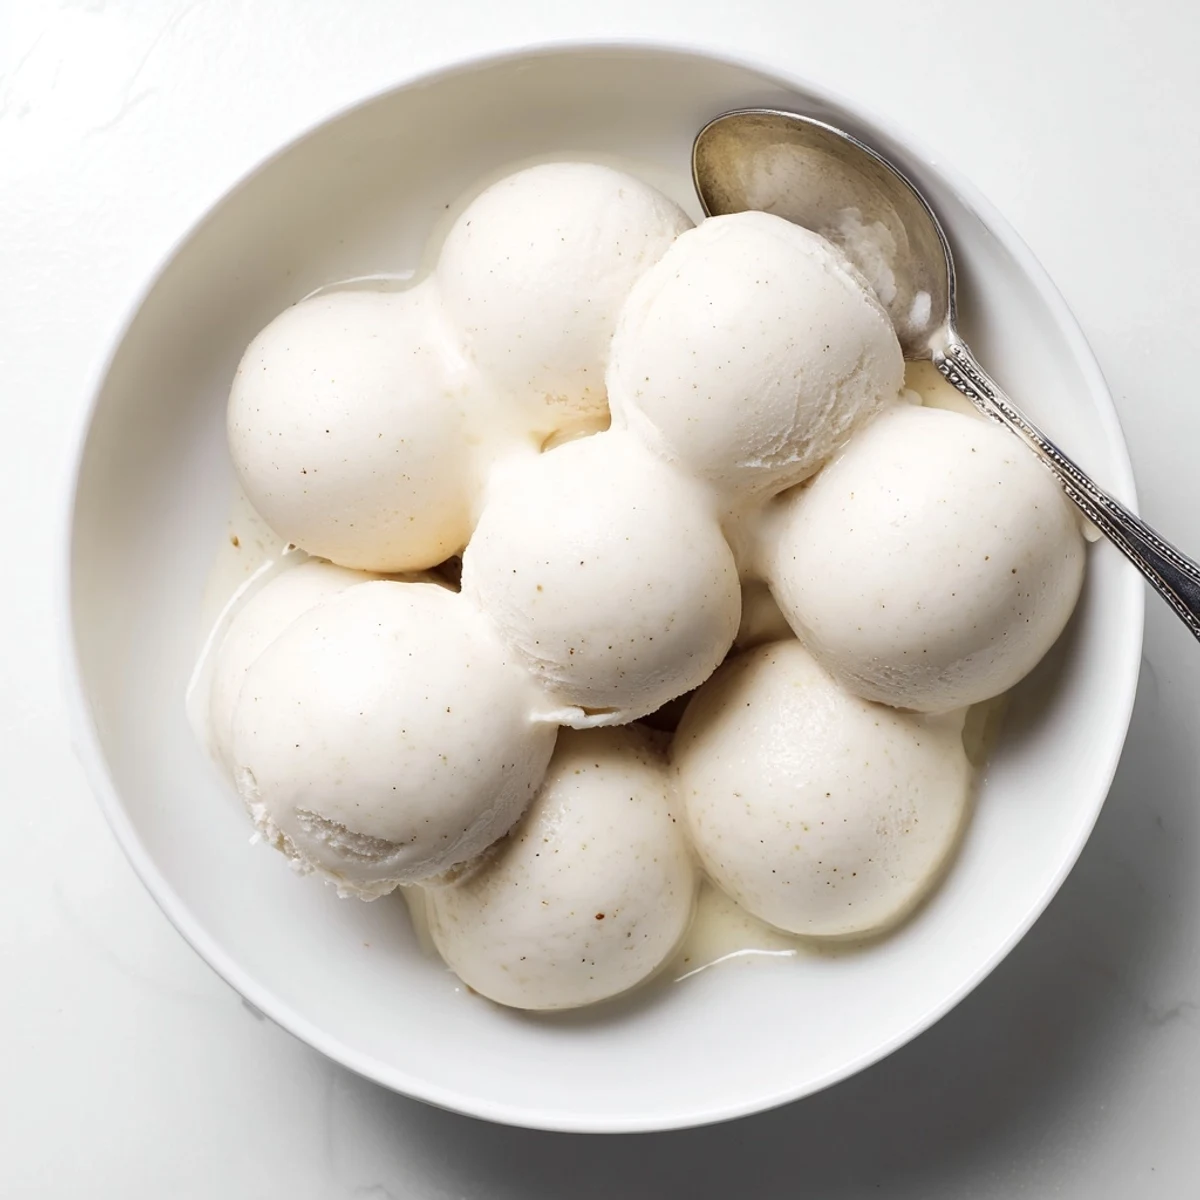
 Save to Pinterest
 Create a rich and creamy vanilla frozen dessert using simple ingredients like heavy cream, whole milk, and pure vanilla extract. This homemade treat delivers smooth texture and authentic vanilla flavor that store-bought versions can't match.
The process involves making a custard base with egg yolks, heating cream and milk together, tempering the eggs, then cooking until thickened. After chilling for several hours, churn until thick and freeze until firm. The result is a velvety, luxurious dessert perfect for serving on hot summer days or as a sweet ending to any meal.
The summer I turned twenty three my apartment had no air conditioning and a broken ceiling fan that clicked every forty seconds like a metronome counting down my sanity. I started making ice cream almost every weekend not out of passion but pure thermal desperation. Something about standing over a warm stove stirring custard felt absurd in that heat yet the payoff was worth every bead of sweat.
My neighbor Dave caught wind of my weekend habit and started appearing at my door around sundown with bowls and zero shame. We would sit on the fire escape eating directly from the container watching the city blink alive below us. That dingy metal staircase became the best restaurant in town.
Ingredients
- Heavy cream (2 cups): This is your foundation so do not skimp on fat content.
- Whole milk (1 cup): Balances the cream so the final result is luscious not waxy.
- Granulated sugar (3/4 cup): Sugar lowers the freezing point which keeps everything scoopable.
- Salt (pinch): Just a pinch wakes up every flavor note in the vanilla.
- Pure vanilla extract (1 tablespoon): Use the real stuff because imitation tastes flat and metallic here.
- Large egg yolks (5): Yolks provide the custard body and that unmistakable richness.
Instructions
- Warm the base:
- Combine cream milk sugar and salt in a saucepan over medium heat. Stir gently until the sugar dissolves and the mixture is hot but never boiling because scalded cream tastes bitter and ruined my second batch forever.
- Prep the yolks:
- Whisk the egg yolks lightly in a bowl until they loosen up and lose that gelatinous look. You just need them broken and smooth not frothy.
- Temper carefully:
- Slowly stream about one cup of the hot liquid into the yolks while whisking constantly. This gradual introduction prevents the eggs from scrambling which is the most common heartbreak in homemade ice cream.
- Cook the custard:
- Pour the tempered yolk mixture back into the saucepan and cook over medium low heat stirring without stopping. The custard is ready when it coats the back of a spoon like a thin veil of velvet.
- Add vanilla and strain:
- Remove from heat and stir in the vanilla extract then push the custard through a fine mesh sieve. Straining catches any tiny cooked egg bits and guarantees a perfectly smooth base.
- Chill thoroughly:
- Cover the bowl and refrigerate for at least four hours or overnight if you can stand the wait. A properly chilled base churns faster and holds its shape better.
- Churn it up:
- Pour the cold custard into your ice cream maker and follow the manufacturer instructions until thick and creamy. It will look like soft serve at this stage which is completely normal.
- Freeze to finish:
- Transfer to a freezer safe container cover tightly and freeze for at least two hours. This final firming step turns soft serve into real scoopable ice cream.
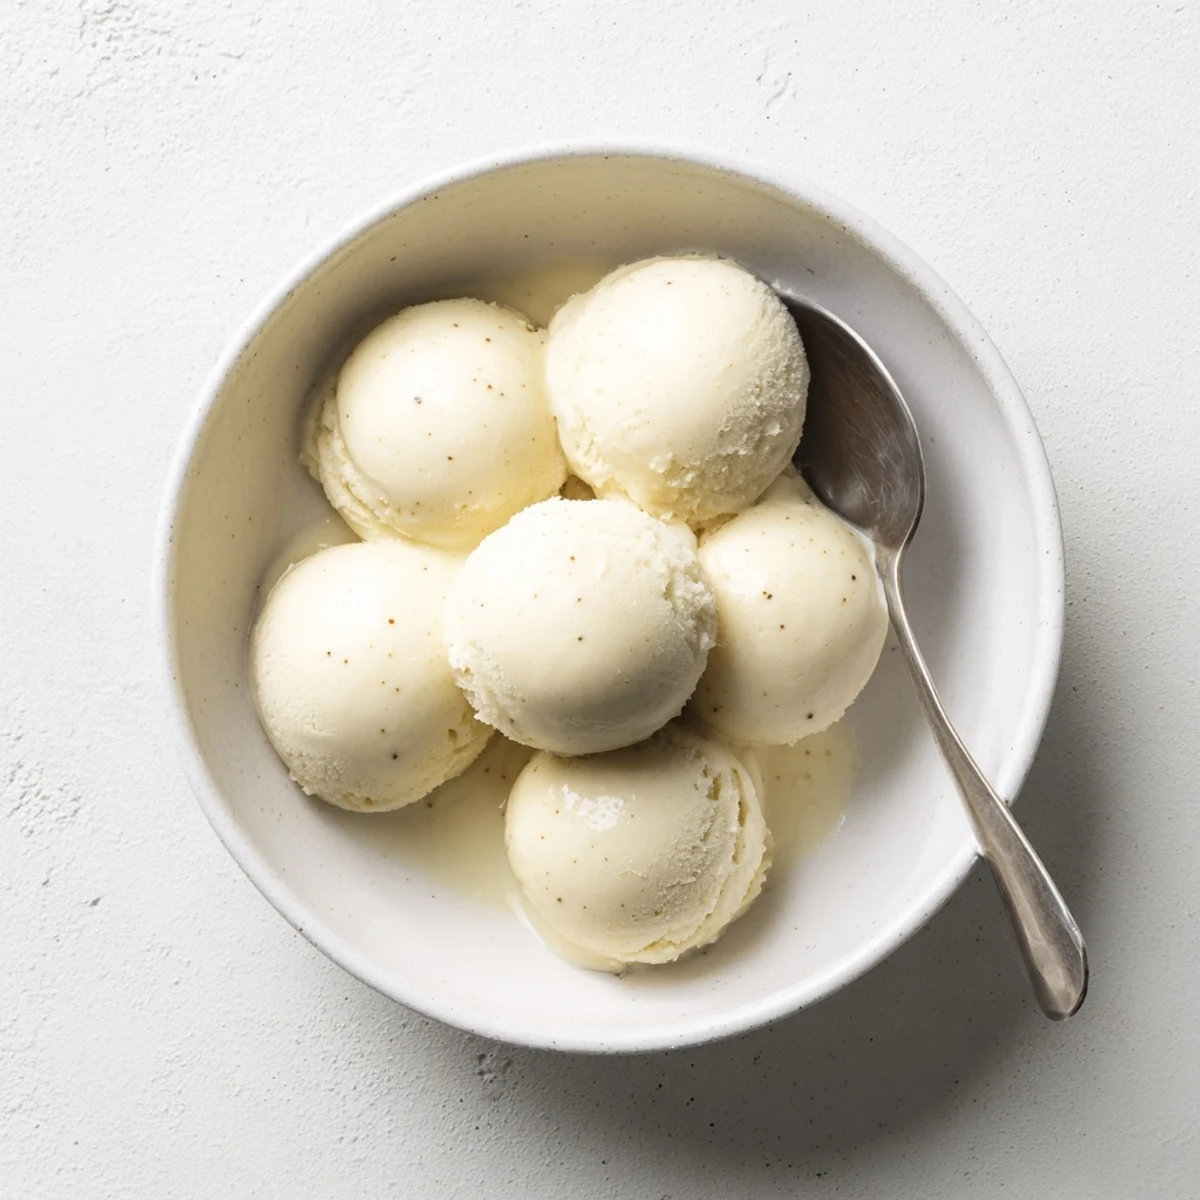 Save to Pinterest
 I still think about Dave and that fire escape whenever I pull a batch from the freezer. Ice cream has a way of turning ordinary evenings into small celebrations without trying.
Getting Creative With Mix Ins
Fold in chocolate chips fresh berries or a ribbon of caramel right after churning while the base is still soft. The cold sets additions quickly so work fast and do not overmix or the swirls disappear into nothing.
What If You Do Not Own An Ice Cream Maker
Pour the chilled custard into a shallow dish and freeze for forty five minutes then stir vigorously with a fork. Repeat this process every thirty minutes for about three hours and you will get a surprisingly decent texture.
A Few Things I Learned The Hard Way
Mistakes are the best teacher in ice cream making and I have made plenty of them over the years. Here are the ones that really stuck with me.
- Taste the custard before chilling because adjusting sweetness after freezing is nearly impossible.
- Plastic containers work better than glass because they flex slightly when you scoop.
- Always let the ice cream sit at room temperature for five minutes before serving so it softens just enough.
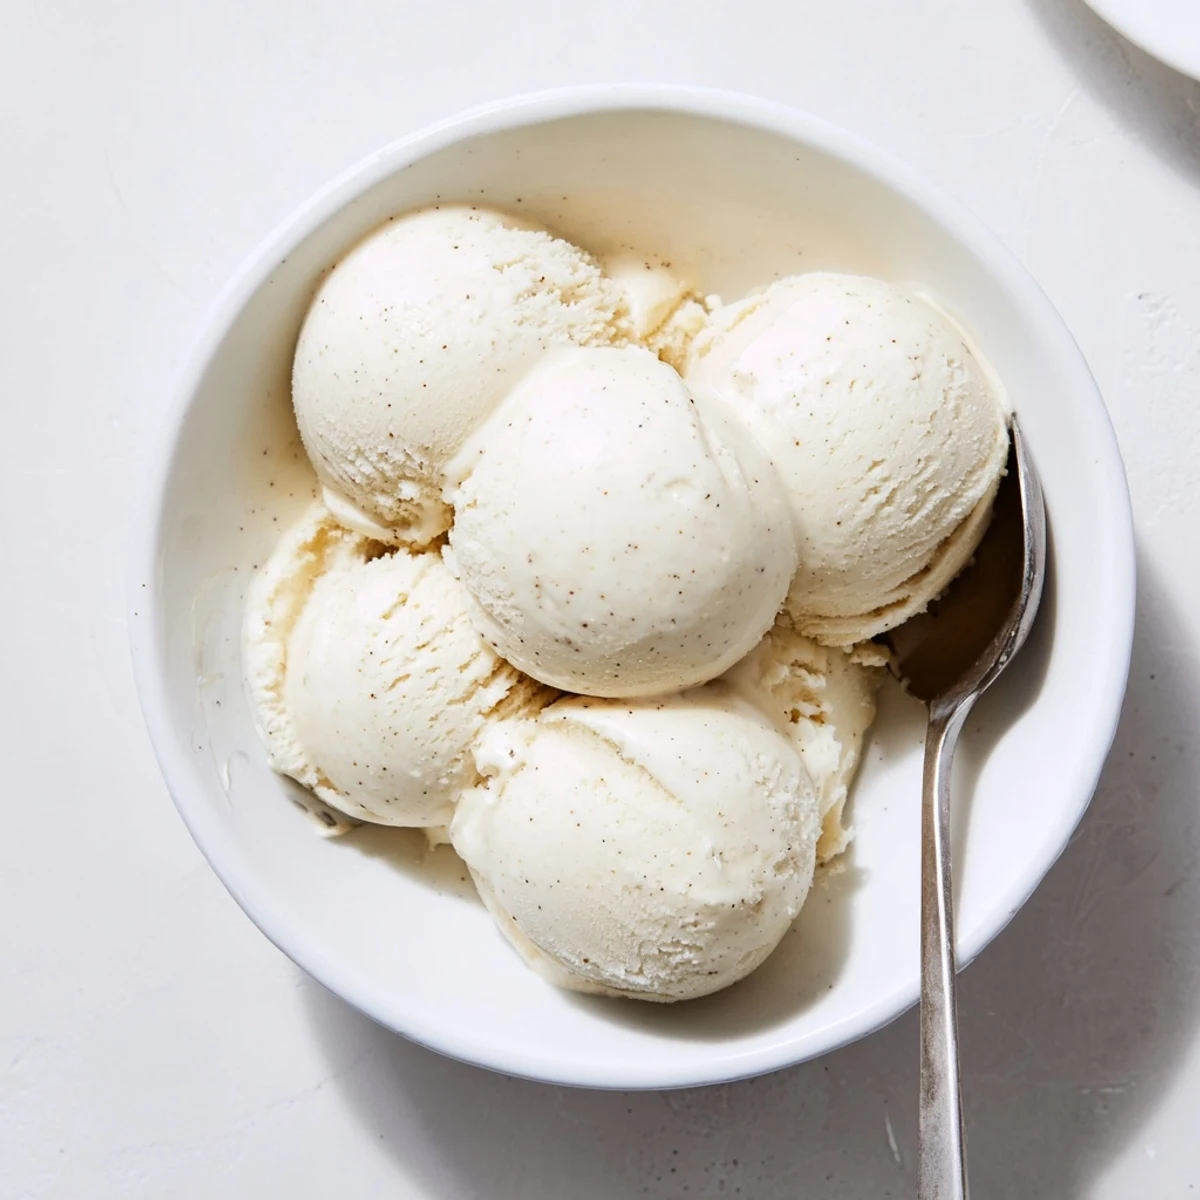 Save to Pinterest
 Homemade ice cream is really just patience and a little arm work but the result tastes like you did something impossible. Grab a spoon and enjoy the quiet miracle you just made.
Recipe FAQs
- → How long does the custard base need to chill?
-
The custard needs to chill in the refrigerator for at least 4 hours, but overnight chilling produces even better texture and flavor development.
- → Can I make this without an ice cream maker?
-
Yes, freeze the custard in a shallow container and stir every 30 minutes for the first 3 hours to break up ice crystals, though the texture will be slightly less smooth.
- → Why do I need to temper the egg yolks?
-
Tempering gradually warms the yolks with hot liquid to prevent scrambling, ensuring a smooth, creamy custard without cooked egg pieces.
- → How do I know when the custard is thick enough?
-
The custard is ready when it coats the back of a spoon and leaves a clear line when you run your finger through it, around 170-175°F.
- → How long can I store this in the freezer?
-
Properly stored in an airtight container, this stays fresh for up to 2 weeks, though it's best enjoyed within the first week for optimal texture.
- → What variations can I try?
-
Add chocolate chips, fresh fruit, caramel swirls, or mix-ins like crushed cookies before freezing. You can also infuse the cream with mint leaves, coffee beans, or cinnamon.
