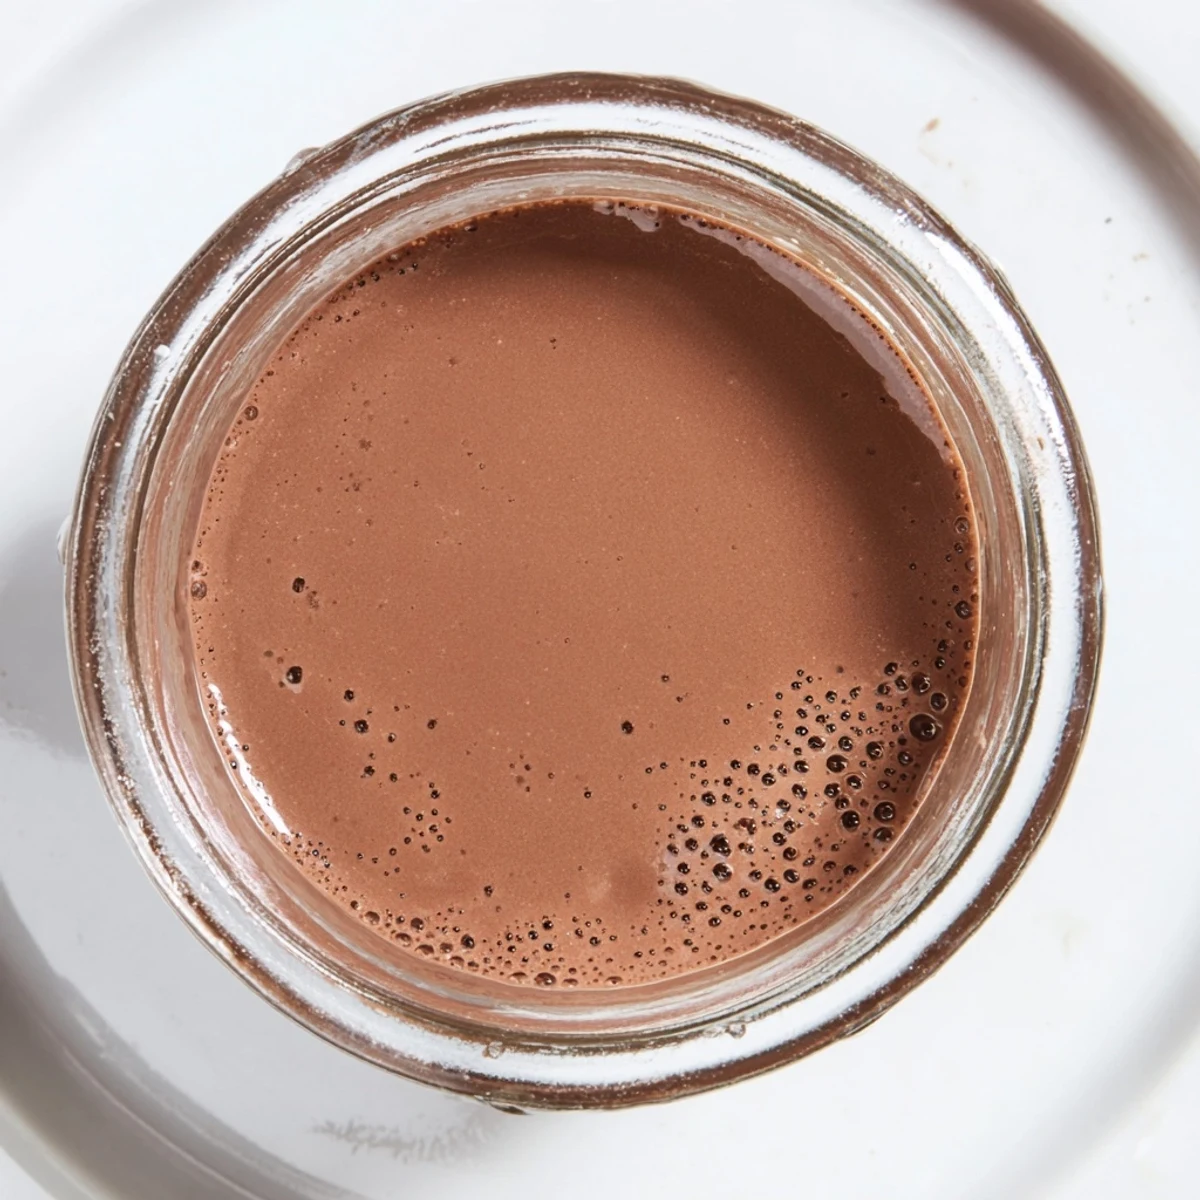
 Save to Pinterest
 This smooth and creamy peppermint mocha creamer combines whole milk, heavy cream, and condensed milk with cocoa powder and peppermint extract for a festive touch. Heated gently to blend flavors without boiling, it offers a rich, velvety addition to coffee. Cool before storing refrigerated, it keeps fresh for up to one week. Perfect for adding a sweet, mint-chocolate twist to your favorite brew.
I discovered peppermint mocha creamer on a crisp December morning when my local coffee shop was out of their signature holiday blend. Frustrated, I came home and started experimenting in my kitchen, whisking together cream and cocoa powder, then adding just a whisper of peppermint extract. That first sip in my regular mug tasted like Christmas morning feels, and I've been making it ever since for quiet coffee moments before the chaos of the day begins.
I'll never forget the morning I brought a jar of this creamer to my sister's house during the holidays. She poured it into her coffee and went silent for a moment, then asked for the recipe before she'd even finished her first cup. Now she makes it for her whole family, and somehow that jar of homemade creamer became our unofficial holiday gift to each other.
Ingredients
- Whole milk: This is your base, and using whole milk instead of low-fat makes all the difference in that velvety mouthfeel you're after. The fat content is what makes it feel luxurious.
- Heavy cream: This is the secret to that café-style richness. Don't skip it or substitute it, even though it's tempting. This is what separates homemade from basic.
- Sweetened condensed milk: This ingredient does double duty as both sweetener and emulsifier, helping everything blend together smoothly. It also adds a subtle creaminess that makes the whole mixture silky.
- Unsweetened cocoa powder: Use quality cocoa powder if you can find it. The unsweetened kind lets you control the sweetness and prevents the cocoa flavor from tasting chalky or bitter.
- Sugar: Start with two tablespoons and taste as you go. Everyone's sweetness preference is different, and you can always add more but you can't take it out.
- Peppermint extract: This is measured in drops for a reason. Peppermint extract is powerful and bold, so resist the urge to be generous. Half a teaspoon is where the magic happens.
- Vanilla extract: This rounds out the flavors and softens the intensity of the peppermint just enough to make it feel balanced and warm instead of medicinal.
- Salt: Just a pinch, but it's important. Salt makes chocolate taste more chocolate-y and brings all the flavors into focus.
Instructions
- Gather and measure everything first:
- Set up your saucepan and whisk before you start heating anything. Have all your ingredients measured and within arm's reach. This moment of preparation means you won't be scrambling while milk steams.
- Combine the dairy base:
- Pour the whole milk and heavy cream into your medium saucepan, then add the sweetened condensed milk. The condensed milk will sit in thick ribbons at first, looking like it won't blend. Don't worry, that's exactly what should happen.
- Whisk in the dry ingredients:
- Add the cocoa powder and sugar to the milk mixture. This is where you need patience and a good whisk. Work slowly at first, breaking up any cocoa lumps against the side of the pan. You're looking for a smooth, dark mixture with no specks of dry cocoa powder hiding anywhere.
- Heat gently to steaming:
- Turn your heat to medium and let the mixture warm, whisking frequently. You're listening for the subtle shift in sound as the creamer heats, watching for tiny wisps of steam rising from the surface. This takes about five minutes. You want steaming, not boiling. Boiling changes the texture and can cause the cream to break.
- Add the extracts:
- Remove from heat before you add the peppermint and vanilla extracts. This is important because heat can burn off the delicate flavor of the extracts. Stir gently and breathe in. It should smell like winter and chocolate and a hint of candy canes.
- Cool and transfer:
- Let it sit for ten minutes while it cools slightly. This isn't just timing; it's giving the flavors a moment to settle and get to know each other. Then pour it into a clean jar or bottle. Glass is better than plastic if you have it.
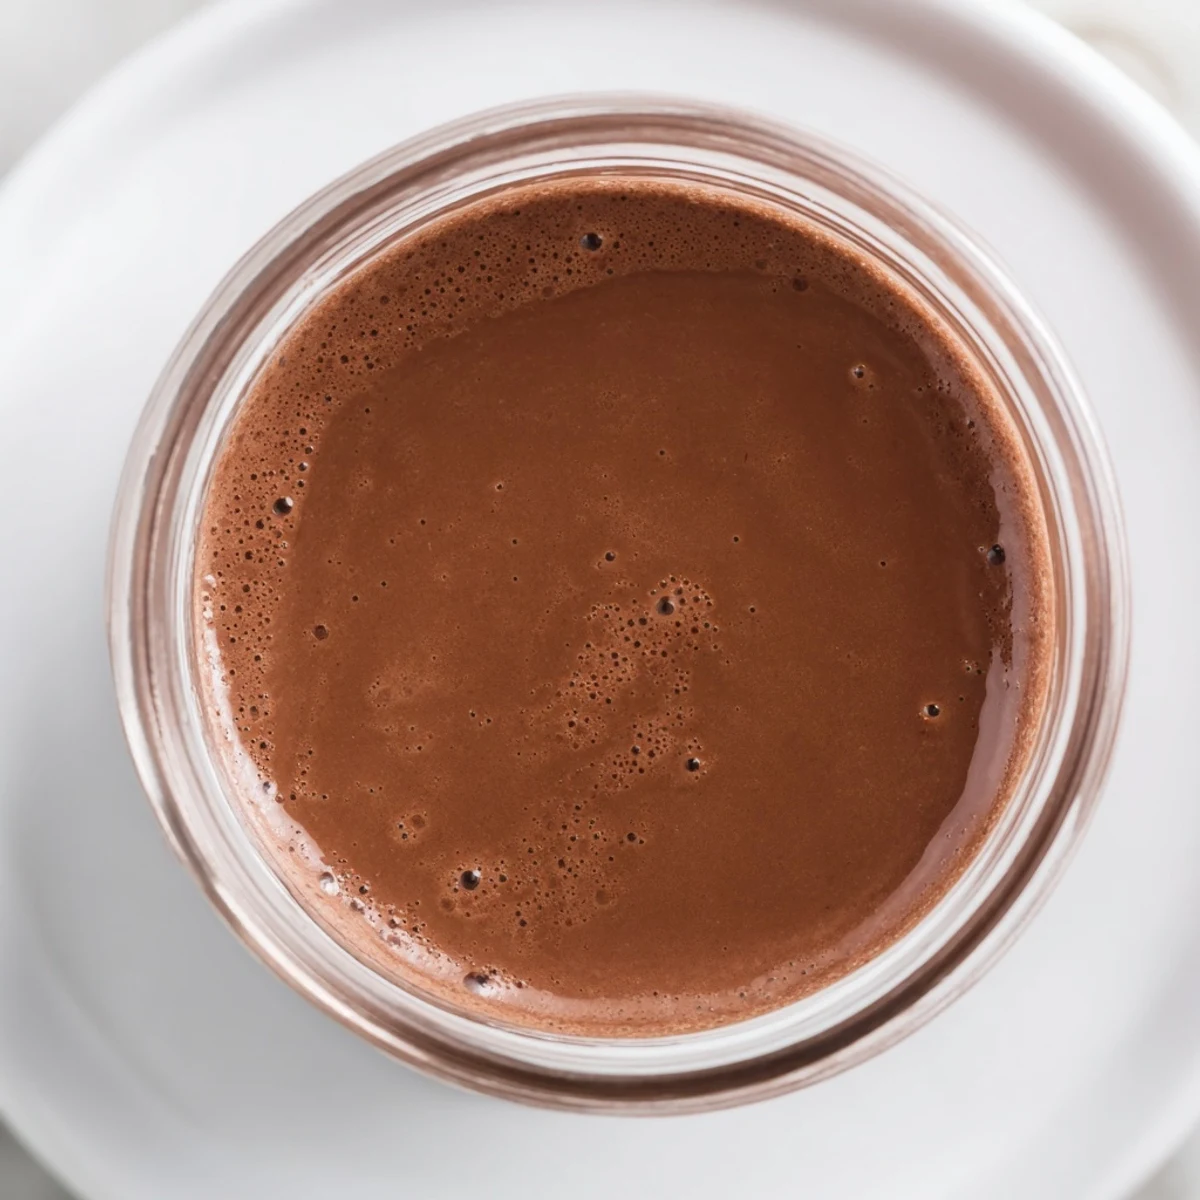 Save to Pinterest
 There's something almost meditative about making this creamer on a quiet Sunday morning, measuring and whisking and watching the transformation happen slowly. It became my ritual, the thing I do when I need to slow down and remember that the best moments sometimes take a few extra minutes.
Dairy-Free and Allergy-Friendly Swaps
If dairy isn't in your kitchen, unsweetened almond milk pairs beautifully with full-fat coconut cream. You'll lose a tiny bit of richness, but you'll gain a creaminess that's honestly lovely. Oat milk is another option that works surprisingly well. Use a one-to-one ratio as written in the recipe, and if your mixture seems too thin after cooling, add a tablespoon of coconut cream and blend it in. The key is finding that balance between thin and silky.
Making It Your Own
This recipe is a starting point, not a rule. I've made versions with a splash of espresso powder for deeper chocolate notes, and once I added a tiny bit of chili powder that made everyone ask what the secret ingredient was. If you love darker chocolate, mix in a few tablespoons of chocolate syrup. If you want it sweeter, add sugar to taste right at the beginning so you can catch it before it's too much. The beauty of homemade creamer is that you're the boss.
- Try adding a quarter teaspoon of instant espresso powder for a mocha that tastes like it came from a professional kitchen
- Keep a bottle in your fridge at all times during December because once people taste it, they'll start requesting it
- Always shake before using, because the ingredients naturally settle and separate, which is not a flaw but just how real, honest creamer behaves
Storage and Shelf Life
This creamer lasts about a week in the refrigerator, stored in a clean jar with a tight-fitting lid. I use glass jars because they don't absorb flavors or odors the way plastic can. If you find yourself making this often, consider buying beautiful jars just for storage. Somehow it makes the whole process feel more intentional. You'll know it's still good by the smell and appearance, not by any official expiration date. And yes, always shake before using because the cocoa powder and cream will separate, and that's completely normal and actually reassuring that there's nothing artificial holding it together.
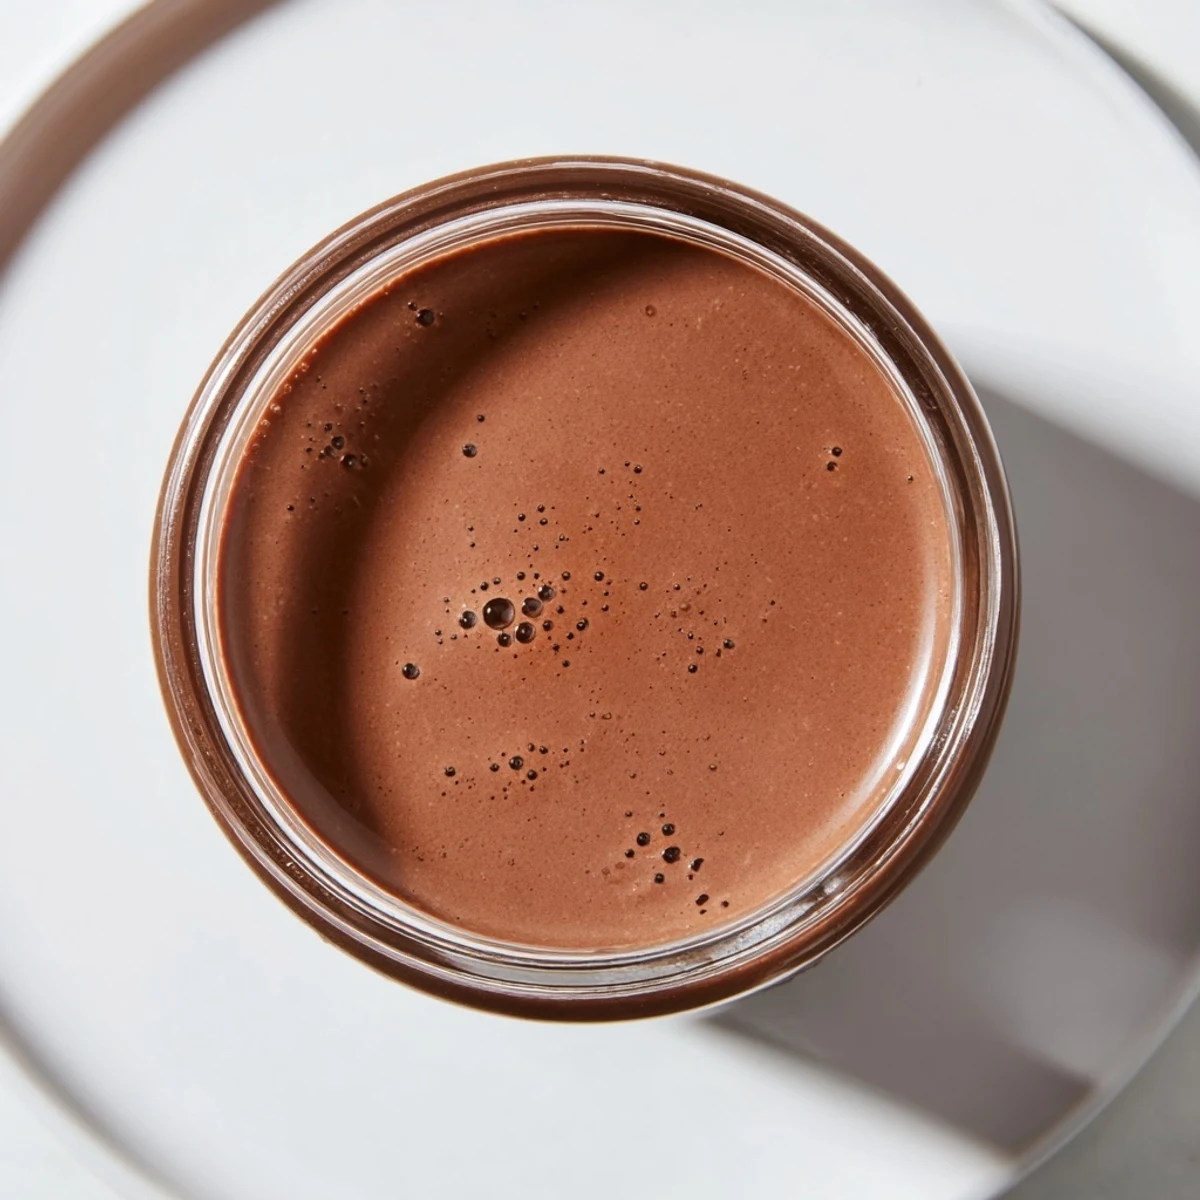 Save to Pinterest
 There's real magic in the small ritual of making something good with your own hands. This peppermint mocha creamer is that kind of magic, turning five minutes into something that tastes like care.
Recipe FAQs
- → What ingredients create the peppermint mocha flavor?
-
The flavor comes from a mix of unsweetened cocoa powder and peppermint extract, balanced with sugar and vanilla extract for sweetness and depth.
- → How should I heat the creamer blend?
-
Heat gently over medium heat, whisking continuously until smooth and steaming. Avoid boiling to preserve flavor and texture.
- → Can I use dairy alternatives in the blend?
-
Yes, substituting whole milk and heavy cream with almond milk and coconut cream creates a dairy-free variant without compromising flavor.
- → How long can the creamer be stored?
-
Once prepared and cooled, store the creamer in the refrigerator for up to one week. Shake well before each use.
- → How much creamer is recommended per cup of coffee?
-
Use 1 to 2 tablespoons per cup, adjusting to personal taste for desired richness and flavor intensity.
