 Save to Pinterest
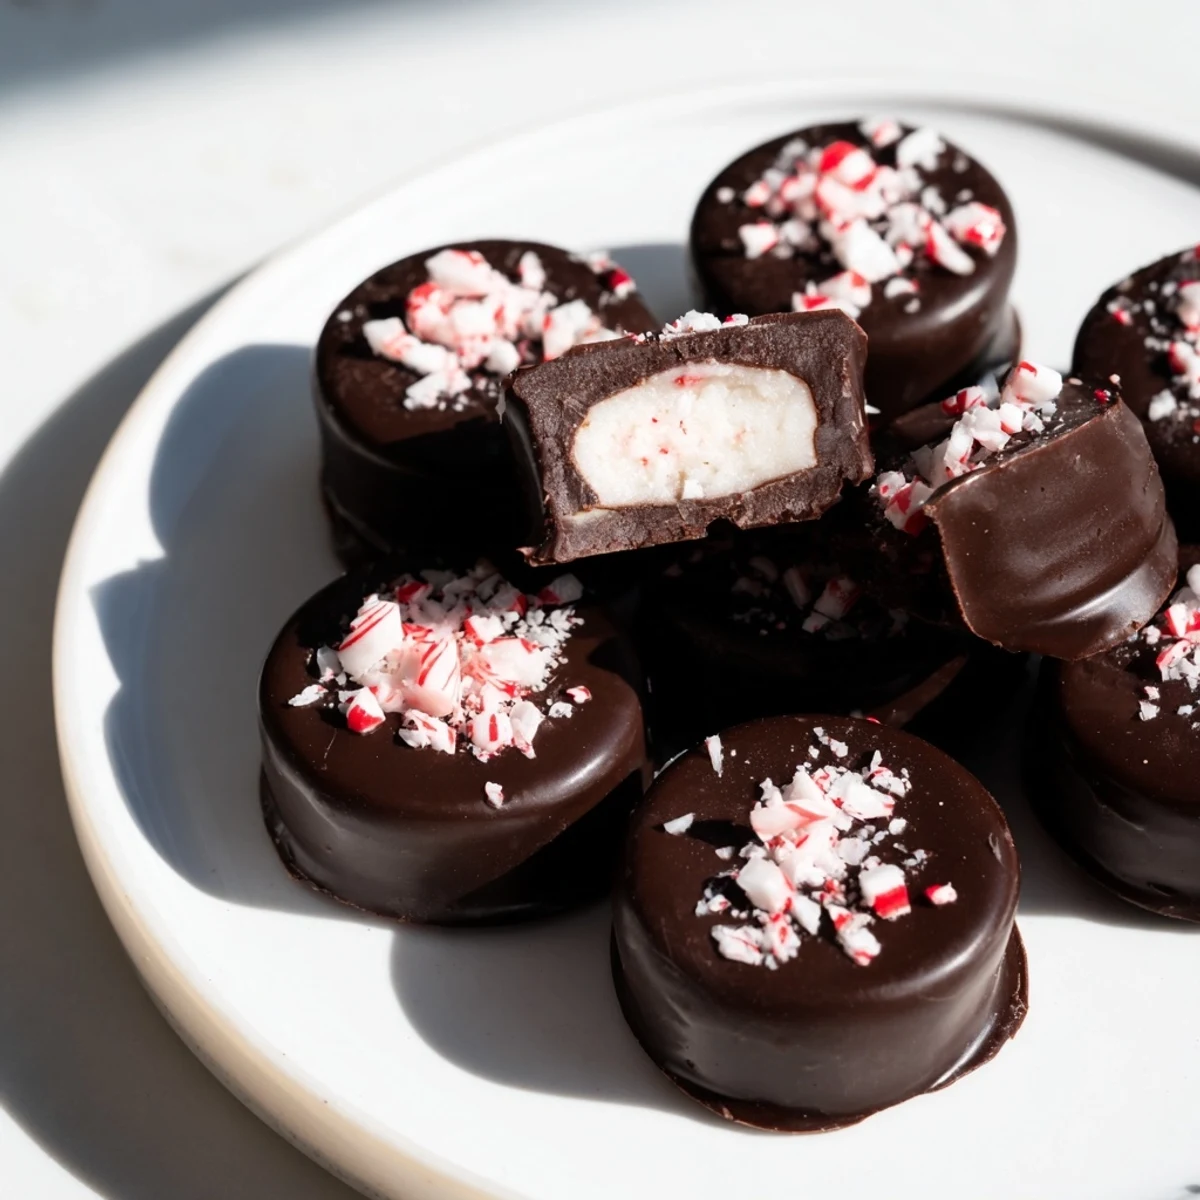
 These delicate chocolates have a cool peppermint cream center that melts softly with every bite. The filling combines powdered sugar, butter, cream, and peppermint extract, rolled into discs and chilled before being coated in rich dark chocolate. The chilling and dipping steps create a perfect texture contrast between the smooth center and firm coating. Ideal for sharing or treating yourself, these chocolates balance sweet and minty flavors, with simple ingredients and moderate preparation time.
I stumbled onto this recipe during a winter power outage, melting chocolate over a candle and mixing peppermint cream by hand just to keep my kids entertained. What started as a distraction turned into our most requested holiday treat. The house smelled like a candy shop, and for a few hours, we forgot the cold. Now I make them every December, but the memory of that flickering candlelight always comes back with the first bite.
I once brought a tin of these to a potluck and watched a friend close her eyes after the first bite, then immediately ask if I sold them. I didnt, but I loved that moment of surprise when homemade outdoes store-bought. These chocolates have become my quiet rebellion against overpriced candy boxes. Theres something deeply satisfying about handing someone a gift you made with your own hands, especially when it tastes this good.
Ingredients
- Powdered sugar (sifted): The foundation of your cream filling, it dissolves smoothly and gives that melt-in-your-mouth texture without any graininess if you sift it first.
- Unsalted butter (softened): Adds richness and helps bind the filling into a smooth dough, make sure its truly soft or it wont blend evenly.
- Heavy cream: Just enough moisture to bring everything together without making it sticky, this is what keeps the filling silky.
- Pure peppermint extract: The star flavor, use pure extract not imitation or youll taste the difference in every bite.
- Fine sea salt: A tiny pinch balances the sweetness and makes the peppermint flavor pop instead of feeling flat.
- Dark chocolate (60-70% cocoa): Good quality matters here because its the outer shell, it should snap cleanly and taste deep and slightly bitter to contrast the sweet center.
- Coconut oil or neutral vegetable oil (optional): A teaspoon thins the chocolate slightly for easier dipping and gives a glossy professional looking finish.
Instructions
- Mix the peppermint cream:
- Beat the powdered sugar, softened butter, heavy cream, peppermint extract, and salt in a medium bowl until it forms a smooth dough that holds together. If its still tacky, sprinkle in a bit more powdered sugar until you can handle it easily.
- Shape the centers:
- Roll the mixture into 24 small balls, each about a teaspoon, then gently press them into flat discs on a parchment-lined baking sheet. They dont need to be perfect, just roughly even so they chill and coat uniformly.
- Freeze until firm:
- Pop the discs into the freezer for 20 minutes so they set up firm enough to dip without falling apart. This step is non-negotiable, warm filling will melt into the chocolate and make a mess.
- Melt the chocolate:
- Chop your dark chocolate and melt it gently in a heatproof bowl set over a pot of barely simmering water, stirring until smooth and glossy. Stir in the coconut oil if youre using it for extra shine.
- Dip each disc:
- Use a fork to lower each frozen disc into the melted chocolate, turning to coat completely, then lift and tap the fork gently on the bowl edge to let excess drip off. Slide it back onto the parchment with a little wiggle to release.
- Chill to set:
- Refrigerate the dipped chocolates for at least 20 minutes until the coating hardens into a clean snap. Once set, theyre ready to eat or package up.
- Store properly:
- Keep them in an airtight container in the fridge for up to two weeks. They taste best cold, straight from the fridge when the contrast between creamy center and crisp shell is sharpest.
 Save to Pinterest
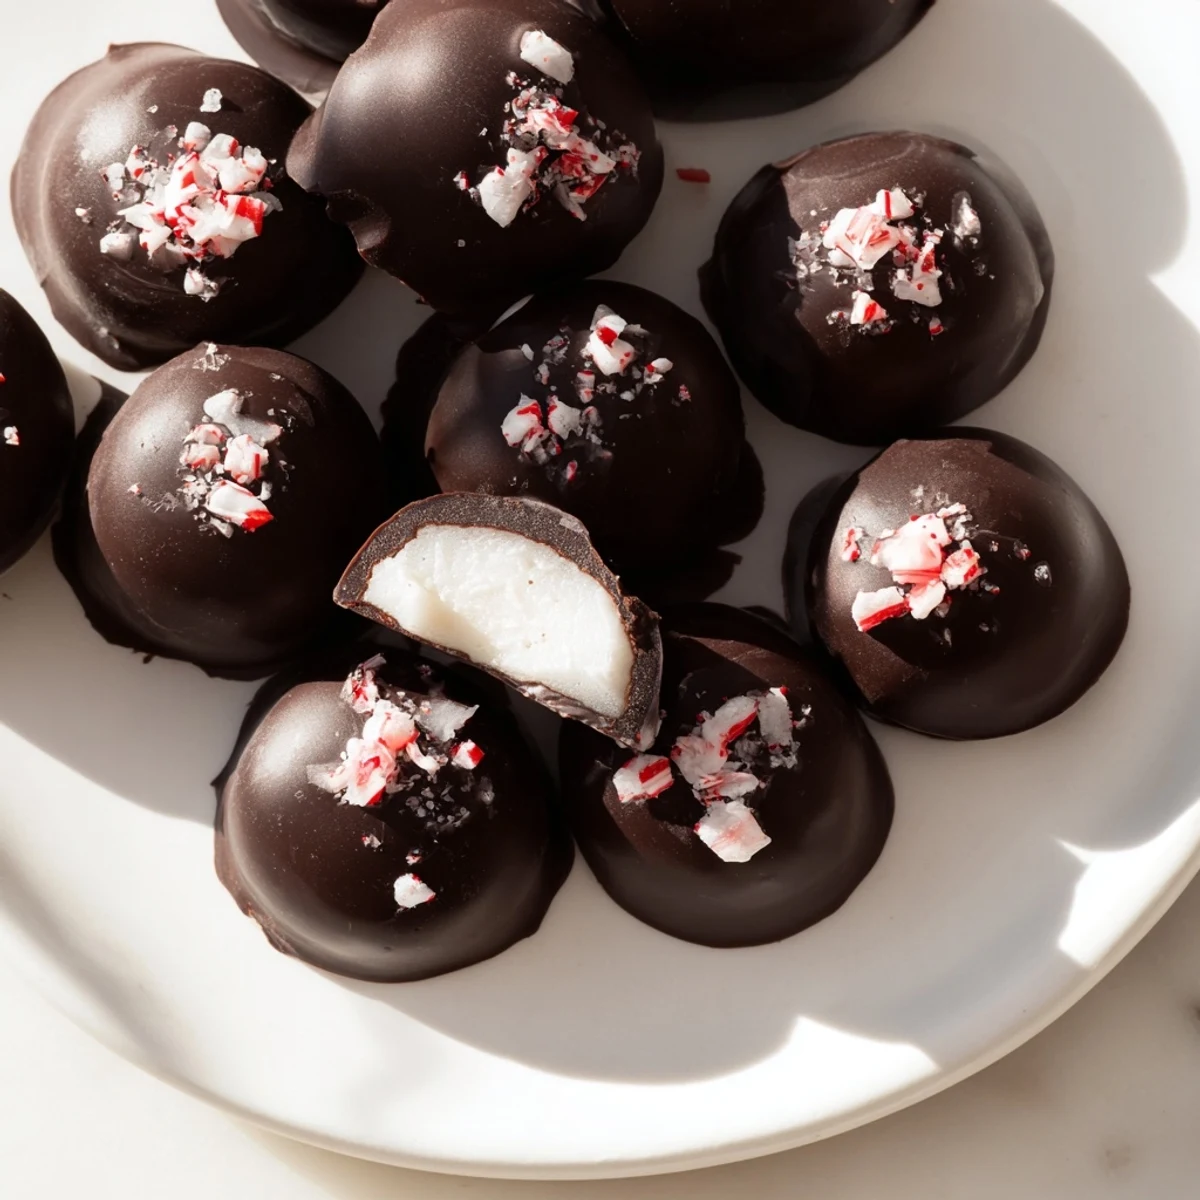
 One Christmas Eve, my daughter helped me make a double batch and we stayed up late wrapping them in tiny squares of wax paper tied with red thread. The next morning, she handed them out to neighbors like little edible love notes. Watching her pride in something we made together reminded me why homemade gifts matter more than anything bought. These chocolates became part of our tradition that night, not because theyre fancy, but because theyre ours.
Flavor Variations
You can swap the dark chocolate for white or milk chocolate if you want something sweeter and less intense. I once used ruby chocolate and the pink coating looked stunning against the white cream. For a different flavor twist, try adding a quarter teaspoon of vanilla extract to the filling alongside the peppermint, or skip the peppermint entirely and use almond or orange extract instead. Each variation feels like a completely new candy, even though the method stays exactly the same.
Presentation Ideas
I learned that a light sprinkle of crushed peppermint candies or flaky sea salt on top before the chocolate sets makes them look bakery-perfect. You can also drizzle a contrasting chocolate in thin lines across the tops for a fancy striped effect. When gifting, layer them in a small tin between sheets of parchment, and tuck in a handwritten note about keeping them cold. The effort you put into presentation makes them feel even more special, and people notice.
Troubleshooting and Storage
If your chocolate coating cracks after chilling, it likely got too cold too fast, try letting them sit at room temperature for five minutes before serving. If the filling oozes out during dipping, it wasnt frozen long enough, pop them back in the freezer and try again. Always store these in the fridge because the butter in the filling softens at room temperature and the texture suffers.
- Use a fork with thin tines for dipping so you get less chocolate buildup and cleaner lines.
- Work quickly once the chocolate is melted, it starts to thicken as it cools and becomes harder to dip smoothly.
- If you have leftover melted chocolate, pour it onto parchment in a thin layer, chill, and break it into bark for snacking.
 Save to Pinterest
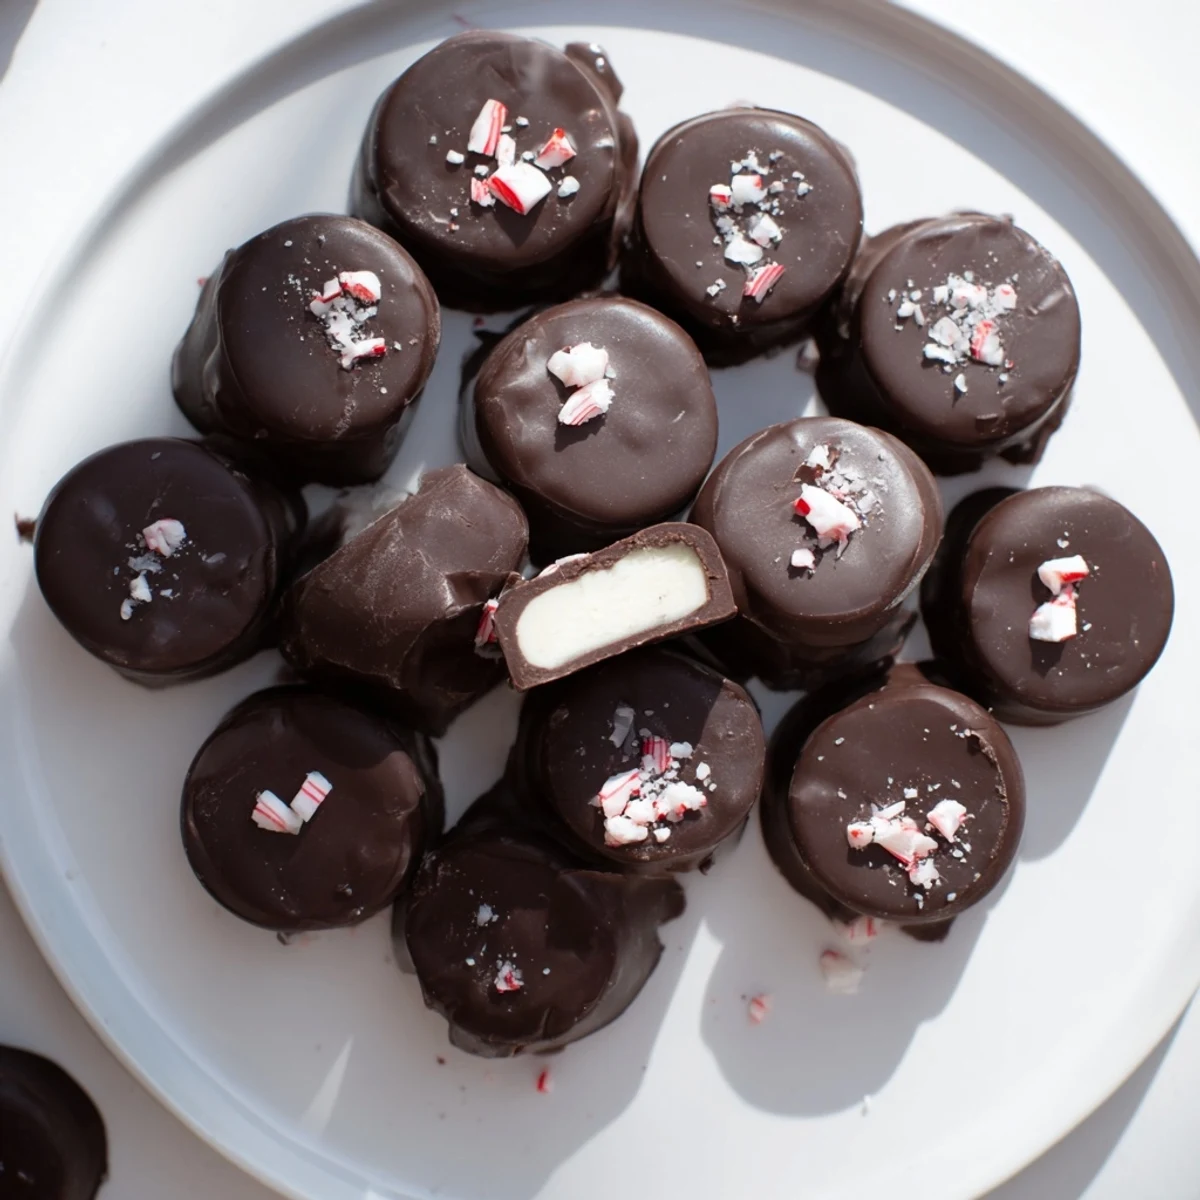
 These little chocolates prove that some of the best things you can make dont require fancy equipment or hours of work, just good ingredients and a little care. Every time I pull a batch from the fridge and hear that satisfying snap, I remember why I keep making them.
Recipe FAQs
- → How do I prevent the peppermint cream from being sticky?
-
Gradually add powdered sugar while mixing until a smooth, pliable dough forms to avoid stickiness.
- → Can I use milk or white chocolate for coating?
-
Yes, substituting with milk or white chocolate provides a sweeter variation to the coating.
- → What’s the best method to melt the chocolate?
-
Melt chocolate gently over simmering water while stirring constantly to ensure smooth, even coating.
- → How long should the chocolates be chilled before coating?
-
Freeze the peppermint discs for about 20 minutes until firm for easier dipping and better shape retention.
- → Can these chocolates be stored long-term?
-
Store them in an airtight container in the refrigerator for up to two weeks to maintain freshness and texture.
