 Save to Pinterest
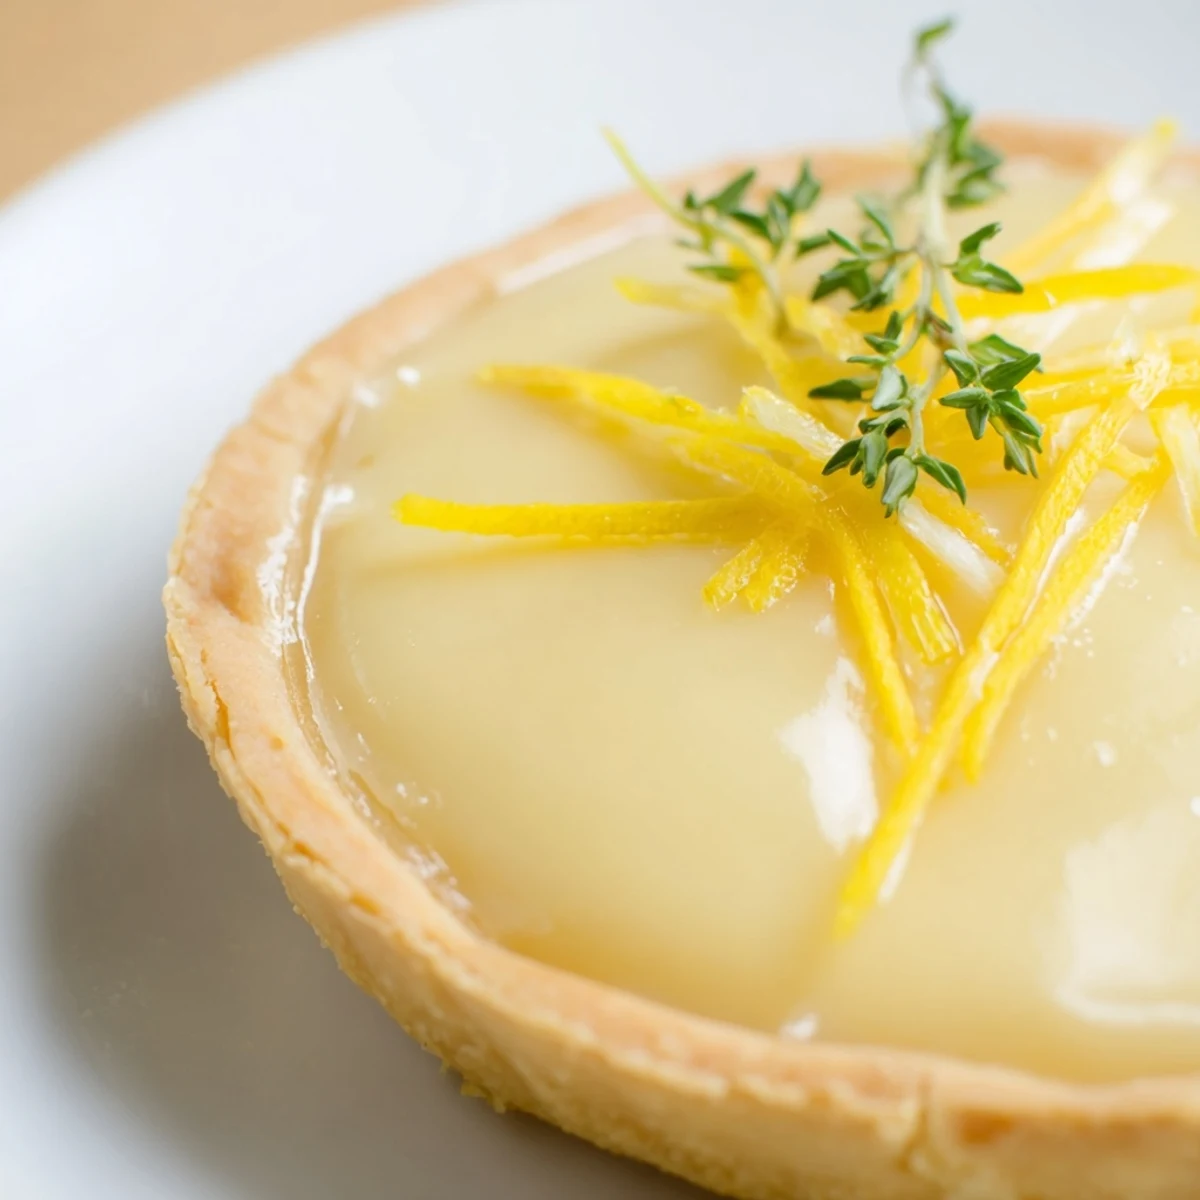
 This bright, tangy tart offers a creamy lemon filling nestled within a crisp, buttery shell. The tart shell is made from a blend of cold butter and flour, rolled thin and baked to a light golden finish. The filling balances fresh lemon juice and zest with eggs, sugar, cream, and melted butter, whipped to smoothness before baking. After a brief bake, the tarts are garnished with lemon zest and optional fresh herbs, creating an elegant flavor perfect for serving chilled or at room temperature as a zesty starter or finger food.
There's something about a perfectly tart lemon filling that catches people off guard in the best way—zesty enough to wake up your palate, but creamy enough to feel almost luxurious. I stumbled onto these little tarts while experimenting with ways to use up a bag of Meyer lemons that had piled up on my kitchen counter, and they became the unexpected star of a casual dinner party. What started as a whim turned into something I now make whenever I want to impress without spending half the day in the kitchen.
I remember making these for a spring brunch where I'd promised something "light and special," and honestly I was half-worried they'd be too sharp or too boring. But watching people's faces when they bit into that creamy, tangy filling with the butter-crisp shell crackling underneath—that's when I knew these tarts were keepers. One friend even said they tasted like the lemon version of something fancy she'd had at a restaurant, which felt like the highest compliment.
Ingredients
- All-purpose flour: The foundation of a tender, crisp shell; keep it cold and don't overwork the dough or you'll end up with something tough and disappointing.
- Cold unsalted butter, cubed: This is what gives the shell its shatter, that satisfying crack when you bite down—use the good stuff and keep it cold.
- Salt: Just a pinch to balance the sweetness and brighten the filling without tasting salty.
- Cold water: Added gradually to bring the dough together; too much and it gets sticky, too little and it won't come together at all.
- Eggs: The base of your filling, providing body and richness as they bake and set.
- Granulated sugar: Sweetness that gets balanced by all that lemon juice—it's a dance, and the sugar is the partner that keeps everything in rhythm.
- Fresh lemon zest: Use a microplane and go for bright yellow only; the white pith underneath tastes bitter and ruins the whole thing.
- Freshly squeezed lemon juice: Bottled just doesn't have the same brightness; this is where the soul of the tart lives.
- Heavy cream: Adds a silky texture to the filling and mellows the tartness just enough.
- Melted unsalted butter: Brushed into the warm filling, it adds richness and helps everything come together.
- Lemon zest for garnish: A scattered topping that's as much about looks as it is about that final hit of lemon flavor.
- Fresh herbs (thyme or basil), optional: A whisper of green that adds sophistication without taking over.
Instructions
- Heat your oven and gather your mise en place:
- Preheat to 375°F and get everything out and ready, because once you start working with cold dough, time moves fast. Having your cold water in a small bowl and your butter already cubed makes this feel smooth instead of frantic.
- Make the dough come together:
- Combine flour and salt, then add cold butter cubes and rub them between your fingertips until it looks like coarse sand—this is actually the fun part if you think about it as a small meditation. Add cold water slowly, stirring with a fork just until the dough comes together without being sticky.
- Shape and ready the shells:
- Roll the dough thin and gentle, cut rounds that fit your mini tartlet pans, and press them in without stretching. Prick the bottoms with a fork to prevent puffing, then give them a 10-minute head start in the oven so they're partially baked when the filling goes in.
- Prepare the lemon filling while shells bake:
- Whisk eggs and sugar until smooth, then add lemon zest, juice, cream, and melted butter. The mixture should be light and pale, with no streaks of unmixed egg hiding in the corners.
- Fill and finish baking:
- Pour the filling into your warm shells—they should be about three-quarters full—and bake for 12 to 15 minutes until the edges are just set but the very center still jiggles slightly when you shake the pan. This is the secret to a creamy center instead of a rubbery one.
- Cool and garnish:
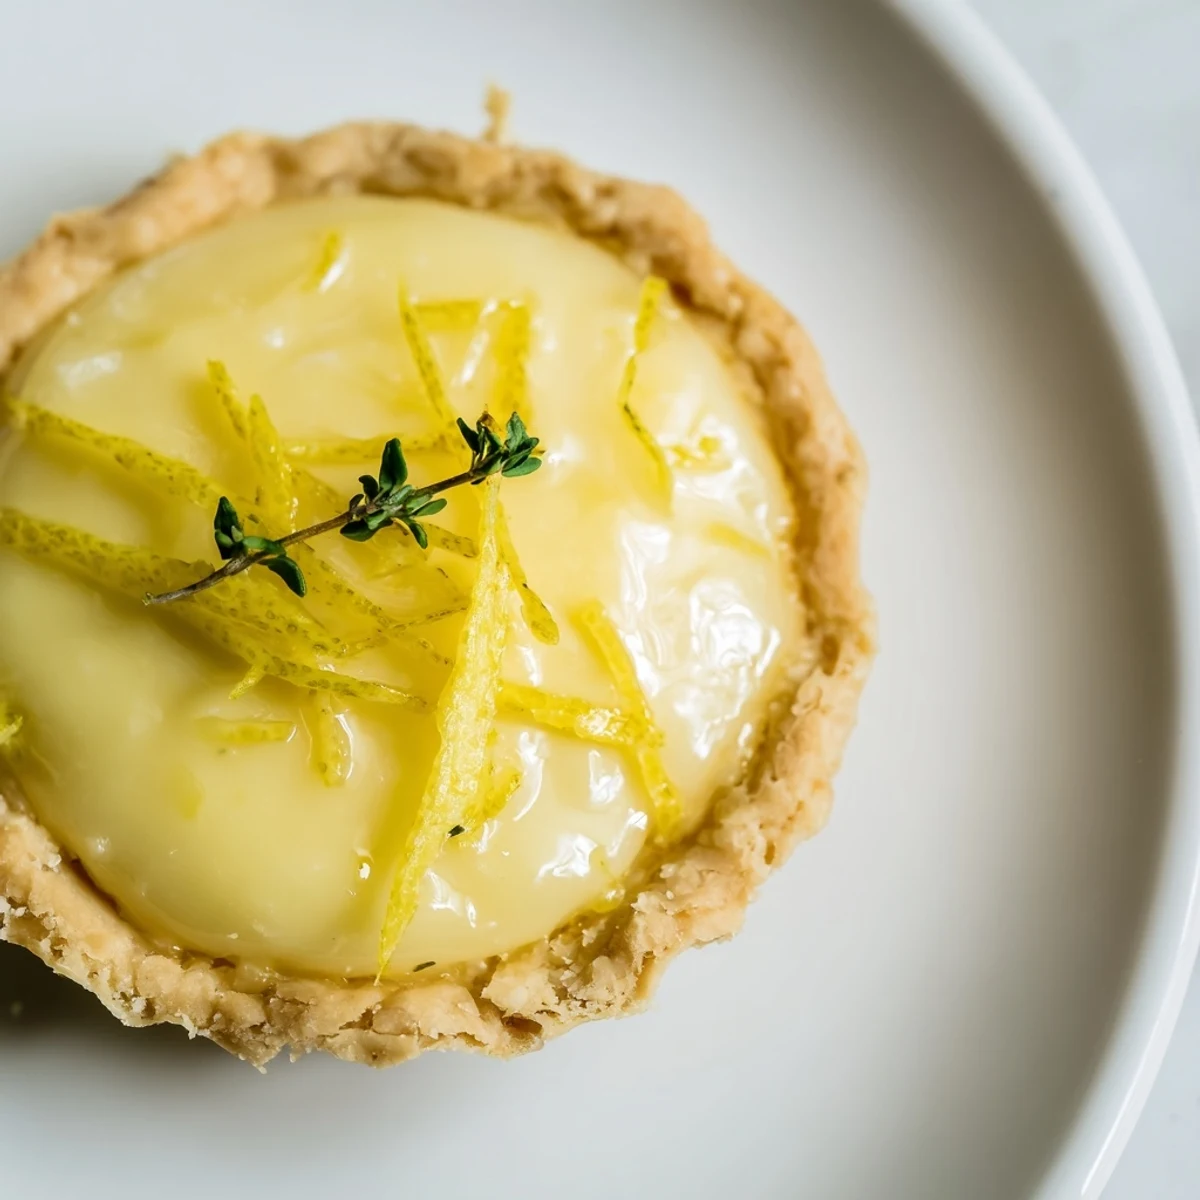
- Let them rest on a wire rack until they reach room temperature, then pop them out of the pans. A scatter of fresh lemon zest and maybe a tiny sprig of thyme right before serving makes them look like they belong in a bakery window.
 Save to Pinterest
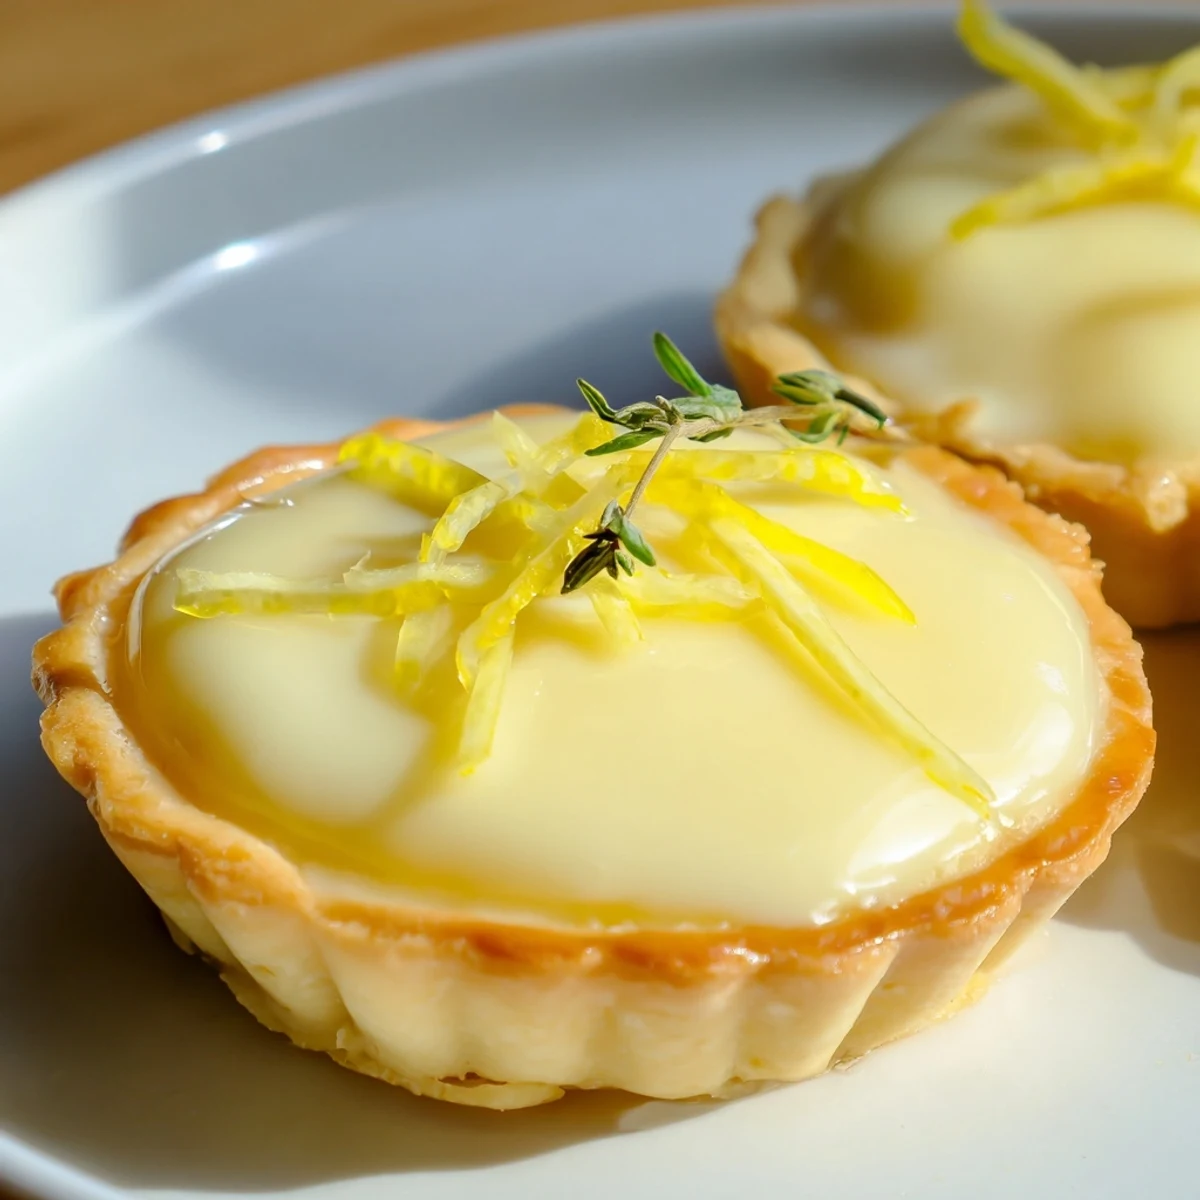
 What I love most about these tarts is how they bridge the gap between "impressive" and "actually doable." The first time someone asked me to make them for a special occasion, I realized they'd become my answer to "What should I bring?" and "What's for dessert?" all at once.
Why the Shell Matters
A good tart shell is everything—it's the difference between a moment of delight and something that feels half-baked. The key is keeping your butter cold and your touch light, treating the dough like you're coaxing it rather than forcing it. I learned this the hard way after years of overworking dough and ending up with something that baked up tough and dense instead of tender and crisp. Now I think of it as the foundation of the whole experience, and honestly, once you nail the technique, you'll find yourself making tarts for any excuse.
The Balance of Lemon
Lemon is tricky because it can swing from refreshing to aggressively sour in the space of a squeeze. The sugar in these tarts balances that tartness without masking it, and the cream keeps everything from tasting like you're eating pure juice. The eggs are what transform it all from a sauce into something set and creamy, so don't skip the pre-baking step—it's what allows the filling to cook properly and the shell to stay crisp underneath.
Making Them Ahead
These tarts are wonderfully forgiving when it comes to timing, which is half the reason they became my go-to for entertaining. You can make and cool the shells a full day ahead, store them in an airtight container, and fill them just a few hours before serving so everything stays at its best. If you're feeling organized, you can even prep the filling mixture earlier and just pour it in and bake when you're ready.
- Store unfilled shells in an airtight container at room temperature for up to a day, or wrap and freeze for longer.
- The filled tarts keep beautifully in the fridge for a day, covered loosely with plastic wrap.
- Serve them cold, room temperature, or even slightly warm—they're good every way.
 Save to Pinterest
 These little lemon tarts have a way of making you feel like you've done something special, even when the whole process takes less than an hour. Serve them with something crisp and cold, and watch how quickly they disappear.
Recipe FAQs
- → What type of flour is best for the tart shell?
-
All-purpose flour works well for a tender, crisp shell, but a gluten-free blend can be used for dietary needs.
- → Can I prepare the tart shells ahead of time?
-
Yes, tart shells can be baked, cooled, and stored airtight for up to two days before filling and baking again.
- → How can I enhance the lemon flavor?
-
Using freshly squeezed lemon juice and zest ensures bright, natural citrus notes in the filling.
- → What garnish options complement the tart?
-
Thin strips of lemon zest and fresh herbs like thyme or basil add visual appeal and a subtle aromatic touch.
- → Is it possible to add a savory element to the tart?
-
Including a pinch of black pepper or a few capers before baking introduces a savory twist that balances the tartness.
- → What serving suggestions pair well with this tart?
-
Serving with a crisp Sauvignon Blanc or sparkling wine enhances the overall tasting experience.
