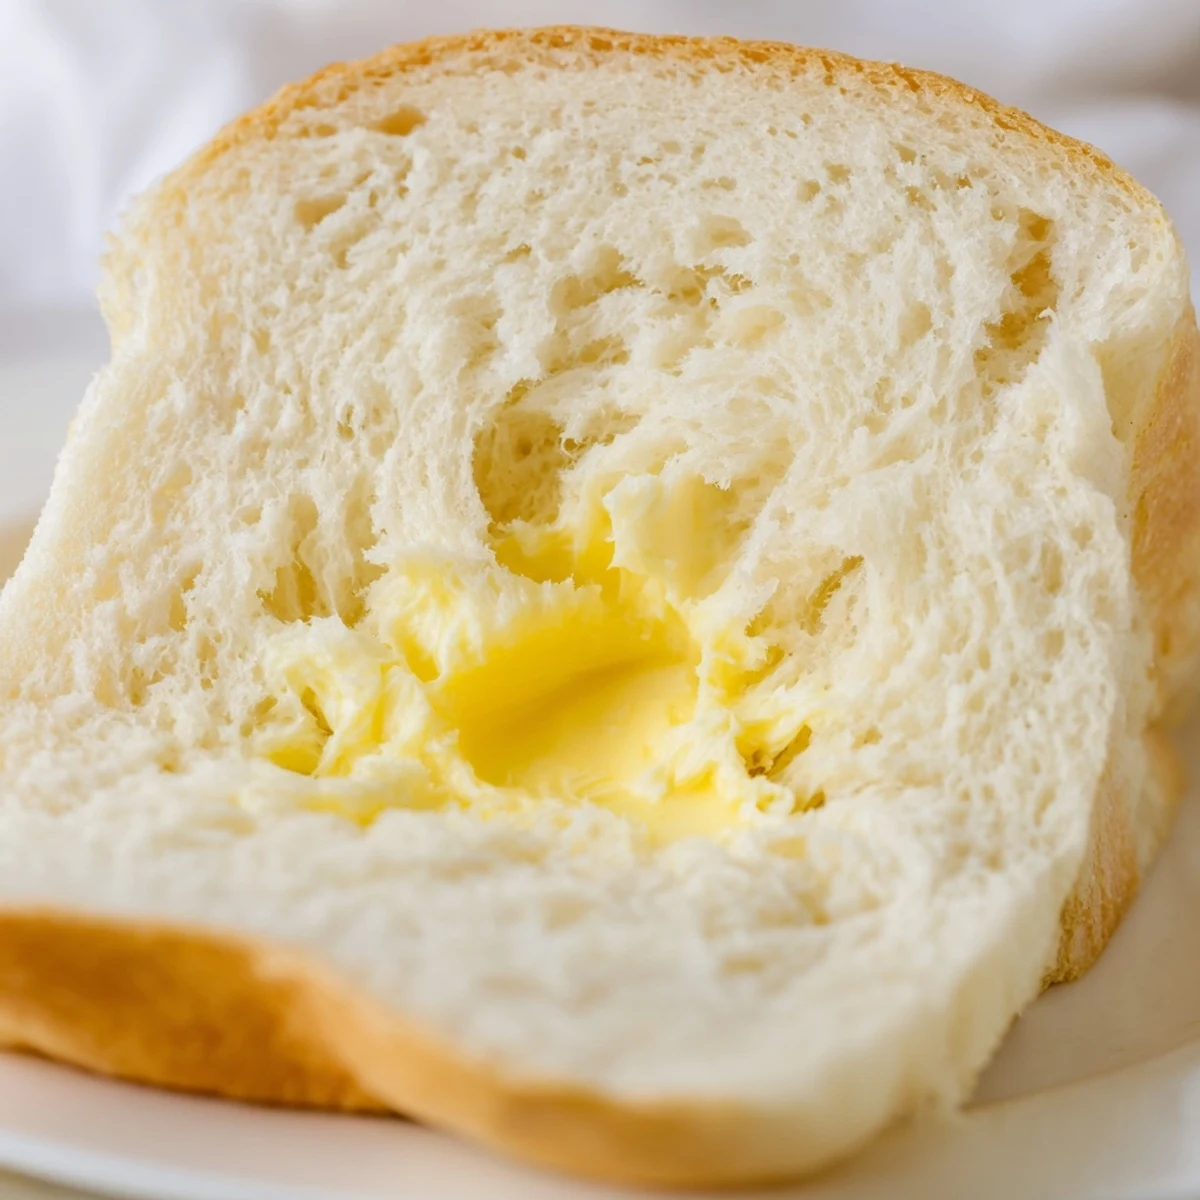
 Save to Pinterest
 This traditional Amish white bread delivers irresistibly soft, fluffy texture with a hint of sweetness. The straightforward process yields two beautiful golden loaves that rise perfectly and bake to a gorgeous brown crust. Each slice offers pillowy softness ideal for morning toast, deli-style sandwiches, or simply warm with melting butter.
The dough comes together easily with basic pantry staples, requiring just two rising periods to develop that signature airy crumb. Brushing with butter after baking creates a tender crust that stays soft. Leftovers keep beautifully for days and freeze exceptionally well for future enjoyment.
My grandmother kept a ceramic bread bowl on her counter that seemed to hold memories more than dough. Whenever we visited, that bowl would be filled with rising dough, covered by a flour-dusted tea towel. The whole house would smell like yeast and warmth, pulling us toward the kitchen before we'd even taken off our coats. This recipe captures that same gentle sweetness and pillowy softness.
I once made six loaves of this bread the day before Thanksgiving because I couldn't decide between giving them as gifts or keeping them all. My kitchen counter was lined with cooling racks, each loaf golden and steaming in the November chill. Every time someone walked through the door, they immediately asked what was baking, even though the bread had been done for hours.
Ingredients
- 2 cups warm water: Think bathwater temperature, about 110°F, because water that's too hot will kill your yeast before it even gets started
- 2/3 cup granulated sugar: This amount might seem generous, but it's what gives the bread its characteristic sweetness and helps create that beautiful golden crust
- 1 1/2 tablespoons active dry yeast: Fresh yeast makes all the difference, so check the expiration date before you begin
- 1 1/2 teaspoons salt: Don't skip this, as it balances the sweetness and enhances the overall flavor
- 1/4 cup vegetable oil: Keeps the bread tender and adds moisture, though melted butter works beautifully too
- 5 1/2 to 6 cups all-purpose flour: Start with less and add more as needed, because humidity affects how much flour your dough will want
- 1 tablespoon melted butter for brushing: This optional step creates that irresistible soft, glossy top that bakery loaves always seem to have
Instructions
- Wake up the yeast:
- Dissolve the sugar in warm water, then sprinkle the yeast on top and let it work its magic for 5 to 10 minutes until you see a lovely foam layer, which tells you it's alive and ready to go
- Build the dough foundation:
- Stir in the salt and oil, then gradually add flour one cup at a time, watching as the mixture transforms from a shaggy mess into something that looks like it might actually become bread
- Knead until you feel the change:
- Turn the dough onto a lightly floured surface and knead for 6 to 8 minutes, feeling it transform from sticky and uneven to smooth and elastic under your hands
- Let it rise in peace:
- Place the dough in a greased bowl, cover it with a warm towel, and find a cozy spot for it to double in size, which takes about an hour
- Shape your loaves:
- Punch down the risen dough gently, divide it in half, and shape each piece into a loaf before tucking them into your greased 9x5-inch pans
- Second rise:
- Cover the pans again and let the dough rise until it peeks about an inch above the rim, which usually takes 30 to 45 minutes
- Bake until golden:
- Slide the pans into a 350°F oven and bake for 25 to 30 minutes until the tops turn a beautiful golden brown and the loaves sound hollow when you tap them
- Finish with butter:
- Brush the warm loaves with melted butter right out of the oven for that soft, professional-looking crust, then cool them on a wire rack before you slice
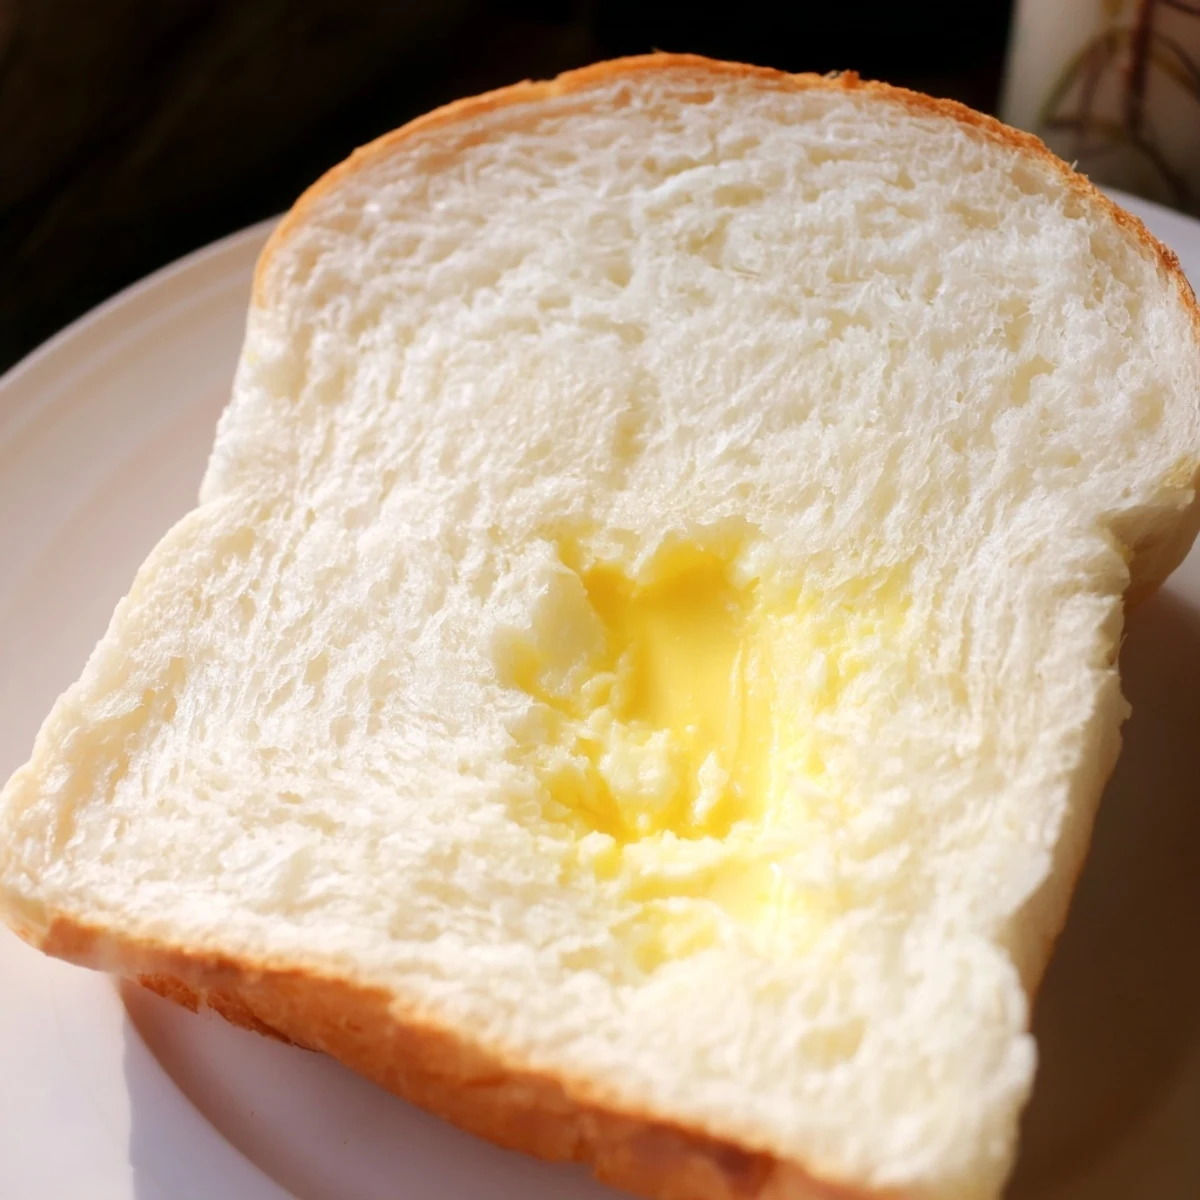 Save to Pinterest
 This bread has become my go-to for new neighbors and friends who need a little comfort. Something about handing someone a warm, homemade loaf feels like giving them a small piece of home, especially when they're going through a hard time or settling into a new place.
Making It Your Own
Once you've made this recipe a few times, you'll start noticing small ways to tweak it to your liking. I sometimes swap half the water for warm milk, which adds a subtle richness that makes the bread feel even more special. A tablespoon of honey added with the sugar creates this lovely floral sweetness that pairs perfectly with strawberry jam.
The French Toast Secret
This bread makes the most incredible French toast you've ever tasted, especially if you use slightly stale slices. The bread soaks up the egg mixture beautifully without falling apart, and that slight sweetness means you can use less syrup. I always keep one loaf specifically for breakfast purposes, letting it sit out for a day before transforming it into weekend French toast.
Storage And Freezing
Homemade bread doesn't have the preservatives that store-bought bread does, so it will stale faster, but that's actually part of its charm. Keep it in an airtight bag at room temperature for up to four days, though in my house it rarely lasts that long. For longer storage, wrap cooled loaves tightly in plastic wrap and freeze them for up to three months.
- Slice bread before freezing so you can grab just what you need
- Thaw frozen slices in the toaster for the best texture
- Never refrigerate bread, as it actually stales faster in the fridge
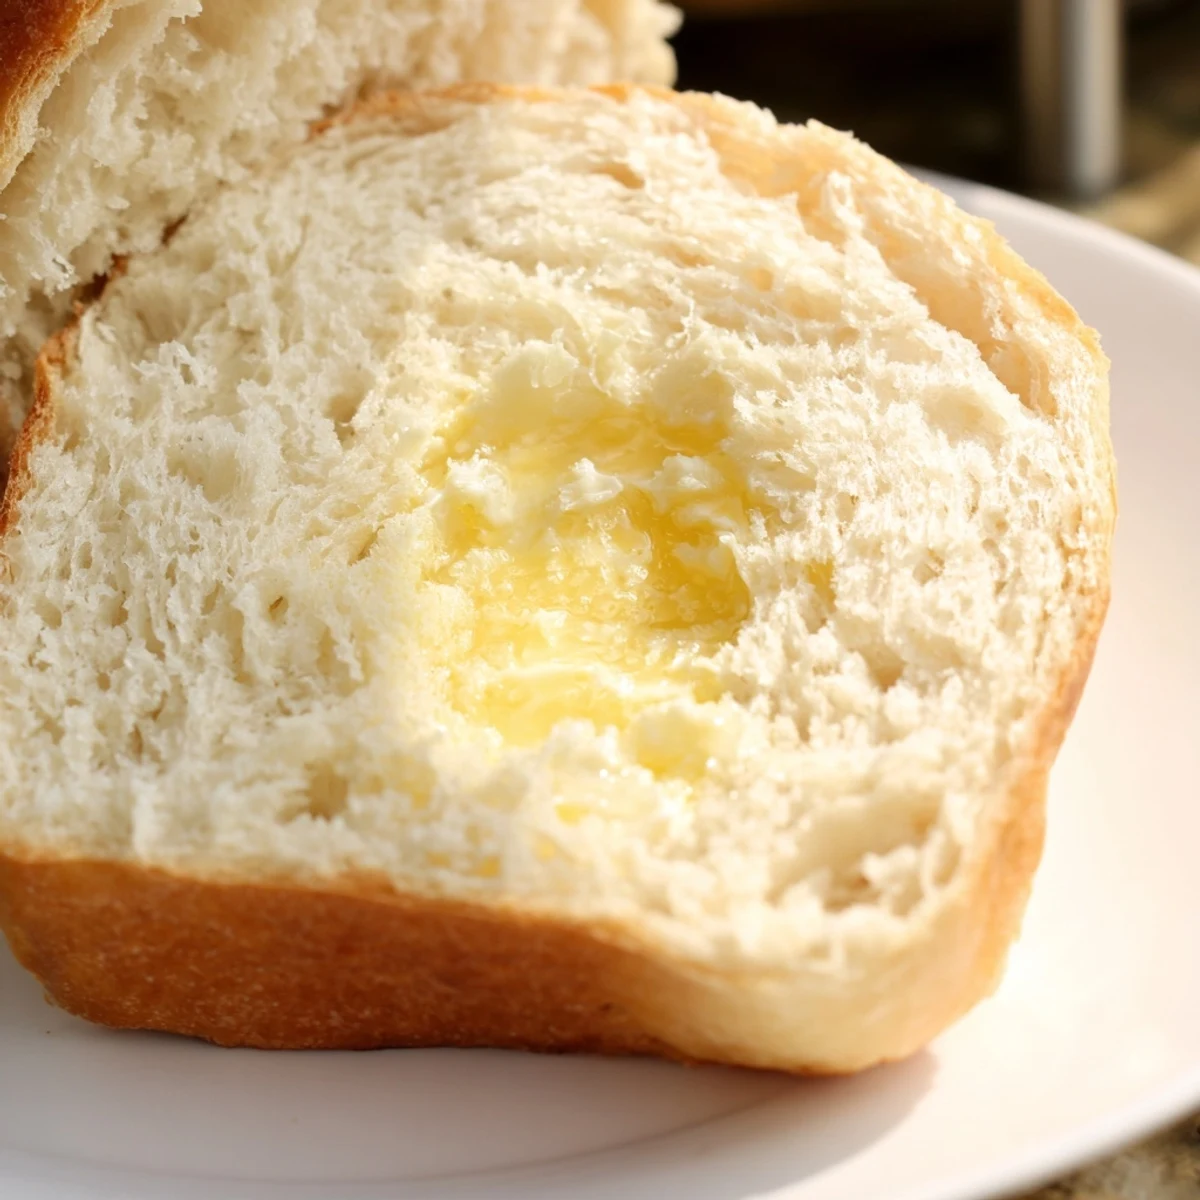 Save to Pinterest
 There's something deeply satisfying about pulling your own homemade bread from the oven, and this recipe makes that feeling accessible to anyone. Whether you're an experienced baker or this is your first loaf, the result will fill your kitchen with warmth and your heart with pride.
Recipe FAQs
- → What makes Amish white bread different from regular white bread?
-
Amish white bread has a slightly higher sugar content and softer texture than typical sandwich bread. The dough creates a tender, pillowy crumb with a hint of sweetness that sets it apart from standard commercial loaves.
- → Why is my dough too sticky or too dry?
-
Flour absorption varies by humidity and brand. Start with 5 1/2 cups and gradually add more until the dough pulls away from the bowl sides. The dough should feel smooth and slightly tacky but not stick to your hands.
- → Can I make this bread without a stand mixer?
-
Absolutely. This dough kneads beautifully by hand on a lightly floured surface. Simply mix ingredients in a large bowl, then turn out and knead for 6-8 minutes until smooth and elastic.
- → How do I know when the bread is fully baked?
-
Look for golden brown tops and listen for a hollow sound when you tap the loaf center. An instant thermometer inserted into the center should read 190-200°F for perfect doneness.
- → What's the best way to store this bread?
-
Once completely cooled, store loaves in a sealed plastic bag or airtight container at room temperature for up to 4 days. For longer storage, slice and freeze in freezer bags—thaw slices individually as needed.
- → Can I substitute butter for the vegetable oil?
-
Yes, melted butter adds rich flavor and works beautifully. Use the same amount (1/4 cup) and add it with the salt. The bread will have a slightly buttery taste and even softer texture.
