 Save to Pinterest
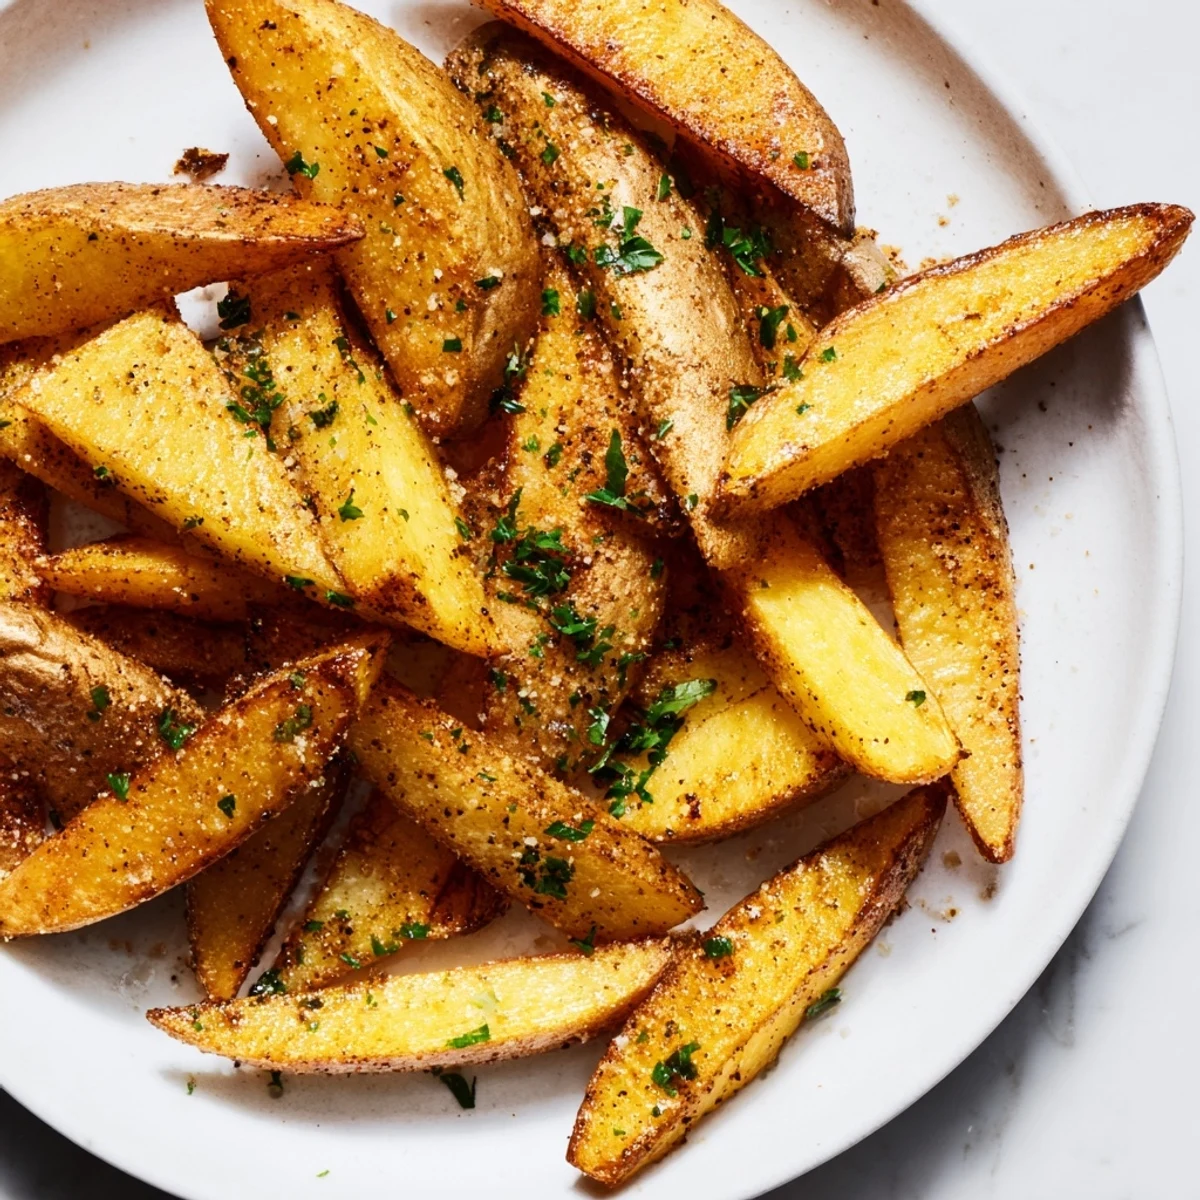
 These oven-baked fries deliver a perfect balance of crispiness on the outside and tender texture inside. Russet potatoes are cut into fries, tossed in olive oil and a blend of sea salt, smoked paprika, black pepper, and optional garlic powder. Baking at high heat ensures a golden finish without deep frying, creating a healthier alternative. For extra crispness, soak the cut fries in cold water before baking. Garnish with fresh parsley for a fresh touch and serve warm with your favorite dips.
I still remember the day my roommate came home from work absolutely exhausted and asked if we could skip the usual takeout routine. I had some potatoes sitting on the counter and decided to try something I'd been curious about—baking fries instead of deep frying them. The smell that filled our tiny kitchen was incredible, and when they came out of the oven with those crispy, golden edges and tender insides, even my skeptical roommate was amazed. That night, oven fries became our go-to when we wanted something that felt indulgent but actually felt good to eat.
I'll never forget making these for my partner's family dinner when I was trying to impress them. Everyone expected store-bought fries on the side, but when I brought out these golden, steaming oven fries with just a sprinkle of fresh parsley, the whole table went quiet for a moment before someone asked for the recipe. That's when I knew I had found something special.
Ingredients
- Russet Potatoes (4 large): These are your foundation—they have the perfect starch-to-moisture ratio that gives you crispy exteriors and fluffy centers. I learned to always choose ones that are roughly the same size so they cook evenly, and I never skip scrubbing them thoroughly.
- Olive Oil (2 tablespoons): This is what creates that golden, crispy exterior you're after. I've tried less, and the fries come out more like baked potatoes. This amount is the sweet spot.
- Sea Salt (1 teaspoon): Don't underestimate this—good salt makes all the difference. I season as I go rather than all at once, so the flavor distributes better.
- Black Pepper (½ teaspoon): A small amount adds complexity without overpowering the potato flavor. Fresh cracked is worth the extra step.
- Smoked Paprika (½ teaspoon): This ingredient was my game-changer—it adds a subtle smokiness that makes people think you've done something fancy. It's what makes guests ask what your secret is.
- Garlic Powder (½ teaspoon, optional): I include this almost always now because it adds another layer of flavor depth without being obvious about it.
- Fresh Parsley (2 tablespoons chopped, optional): The bright green and fresh flavor at the end lifts the whole dish. It's the moment when something good becomes memorable.
Instructions
- Set Your Oven and Prep Your Station:
- Start by getting your oven to 220°C (425°F) and lining a large baking sheet with parchment paper. I learned to do this first because once you cut those potatoes, you want to move quickly—they'll start to discolor if they sit too long, and more importantly, you want them cooking as soon as possible for the best texture.
- Prepare Your Potatoes:
- Give your potatoes a good scrub under running water to remove any dirt. I use a vegetable brush to really get into the skin, which is where so much flavor lives. Then, using a sharp knife and careful, even cuts, slice them into fries about 1 cm (½-inch) thick. Consistent size is crucial here—I learned this the hard way when some fries were done while others were still pale and soft.
- Create the Perfect Coating:
- Put your cut fries into a large bowl and drizzle them with the olive oil. Now here's the part that feels like meditative cooking—toss everything together with your hands or a large spoon until every single fry is glistening and evenly coated with oil and seasonings. You'll feel the difference when it's right; each piece should have a light, even coating.
- Arrange and Bake:
- Spread your coated fries in a single layer on the parchment paper, making sure they're not touching or stacked. This is important—they need that air circulation to get crispy all over. If your baking sheet is crowded, use two sheets. This is not the time to crowd the pan.
- Flip and Finish:
- After 20 minutes, the fries should be starting to turn golden. Carefully flip each one (or give the whole sheet a gentle toss) and bake for another 15 minutes. This is when your kitchen will smell absolutely incredible. Watch for that deep golden-brown color on the edges—that's when you know they're done.
- Finish with Flair:
- Remove from the oven, let them cool for just a minute so you don't burn your fingers, then sprinkle with fresh parsley if you're using it. Serve immediately while they're still warm and crispy.
 Save to Pinterest
 There was this moment last summer when I made these for my nephew, who had never had homemade fries before. Watching his face light up as he bit into one and discovered they were both crispy and tender—that's when I understood that simple food made with care can mean so much more than anything complicated.
The Secret to Maximum Crispiness
I used to think you either got crispy fries or tender ones, but never both. Then I started experimenting and found that the combination of proper spacing on the baking sheet, the olive oil coating, and that initial high-heat sear for the first 20 minutes creates a crust while the center steams gently to fluffy perfection. The flip at the halfway point is crucial—it ensures both sides get that golden color and crispy texture. I've tried skipping it, and the bottom side never gets as crispy as the top. Temperature is also non-negotiable; if your oven runs cool, adjust up by 10 degrees.
Flavor Variations Worth Trying
While the simple seasoning is perfect, I've discovered so many ways to dress these up depending on what I'm craving or what I have in my kitchen. Parmesan cheese added during the last five minutes of cooking creates this savory, slightly crispy coating. A sprinkle of fresh herbs like rosemary or thyme brings an earthy sophistication. Truffle oil drizzled on top turns them into something restaurant-worthy. I've even tried curry powder mixed into the oil for something with more personality, and it was surprisingly delicious. The beauty of oven fries is that they're a perfect vehicle for whatever flavors you want to explore.
Serving and Pairing Ideas
These fries deserve a moment to shine on your plate, and pairing them with the right accompaniments makes all the difference. I serve mine with classic ketchup for simplicity, but lately I've been making a quick aioli by mixing mayo with minced garlic and a squeeze of lemon juice. They're equally wonderful alongside burgers, with grilled cheese, or as part of a loaded nachos situation. I've even served them as part of a charcuterie-style sharing board, and they fit right in alongside cheeses and cured meats. The key is thinking of them not just as a side dish, but as something worthy of being the star of the plate.
- Homemade aioli with garlic and lemon is my current obsession and takes five minutes to make
- Try serving them on a bed of fresh greens with a vinaigrette for a deconstructed salad situation
- They're best enjoyed hot and fresh from the oven, so time your cooking with when you plan to eat
 Save to Pinterest
 Making oven fries has become my way of showing care to the people I cook for—it's simple enough that anyone can do it, but thoughtful enough that it matters. I hope they bring as much joy to your table as they've brought to mine.
Recipe FAQs
- → How can I make the fries extra crispy?
-
Soaking the cut potatoes in cold water for 30 minutes before drying and seasoning removes excess starch, resulting in crispier fries when baked.
- → What kind of potatoes work best for oven fries?
-
Large russet potatoes are ideal due to their starchy texture, which helps achieve a crispy exterior and fluffy interior.
- → Can I add other spices for different flavors?
-
Yes, adding herbs like rosemary or grated Parmesan can enhance flavor variations while maintaining crispiness.
- → At what temperature should I bake the fries?
-
Bake at 220°C (425°F) to ensure the fries crisp up nicely and develop a golden color without drying out.
- → Is flipping the fries during baking necessary?
-
Flipping halfway through baking ensures even cooking and browning on all sides for a consistent texture.
