 Save to Pinterest
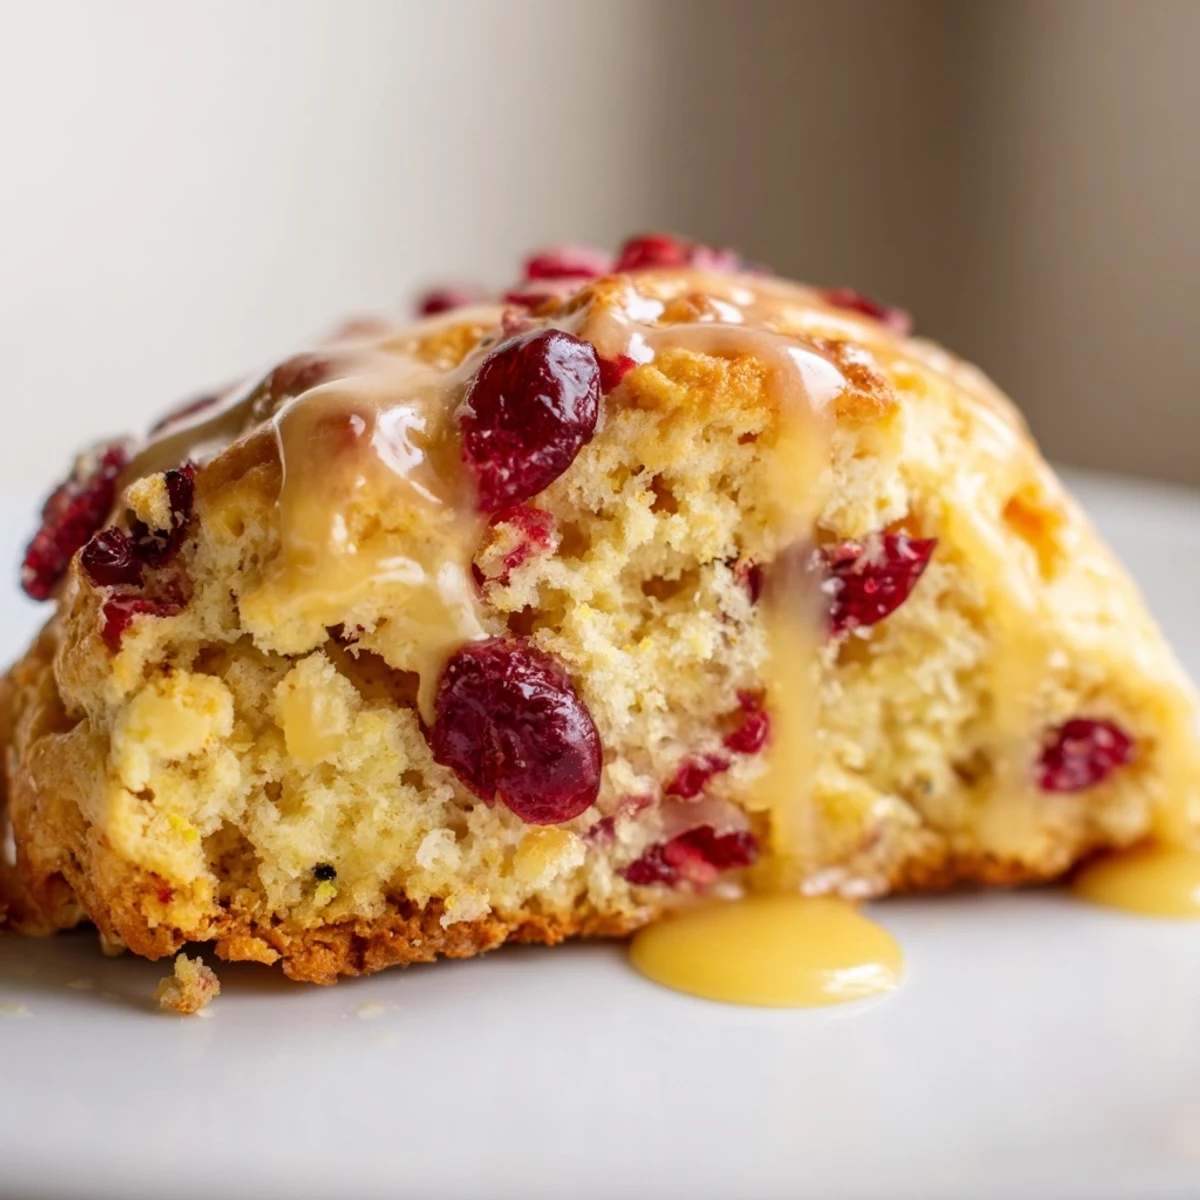
 These delightful scones bring together the vibrant flavors of tart cranberries and bright orange zest. Starting with a blend of dry ingredients like flour, sugar, and baking powder, cold butter is cut in until crumbly. A wet mixture of cream, egg, and vanilla is then gently folded in with the cranberries, forming a tender dough.
Once shaped into wedges and baked to a golden perfection, each scone is generously drizzled with a sweet, zesty orange glaze. Perfect for breakfast or an afternoon treat, these easy-to-make pastries promise a delicious burst of flavor in every bite.
The winter air outside felt brisk, but inside, the kitchen was starting to hum with warmth and the bright, citrusy scent of orange zest. There’s something so comforting about baking on a chilly morning, especially when it involves the vibrant aroma of fresh fruit. These cranberry orange scones quickly became a favorite way to chase away the morning chill, their golden edges promising a taste of sunshine.
I remember one crisp autumn afternoon, a few years back, when a sudden downpour trapped my neighbors and me indoors. On a whim, I decided to whip up a batch of these scones, thinking a warm treat might lift everyone’s spirits. The clinking of teacups and the quiet chatter as they savored each bite, still warm from the oven, created such a cozy, unexpected moment of connection. It was a simple gesture that felt surprisingly profound.
Ingredients
- All-purpose flour: This is your base, giving the scone its structure; don't pack it when measuring, use the spoon-and-level method for tenderness.
- Granulated sugar: Just enough to sweeten without overpowering the fruit and citrus, adding a lovely balance.
- Baking powder: The magic leavening agent that makes these scones rise beautifully and gives them that light, airy crumb.
- Salt: Essential for balancing all the flavors and making everything taste brighter, don't ever skip it.
- Finely grated orange zest: This is where the sunshine comes from; make sure it's just the bright orange part, avoiding the bitter white pith.
- Cold unsalted butter, cubed: Absolutely crucial for flaky scones; the cold butter creates pockets of steam as it bakes, leading to those wonderful layers.
- Cold heavy cream: Contributes to richness and tenderness; keep it chilled until you're ready to mix.
- Large egg: Binds everything together and adds a little extra richness to the dough.
- Pure vanilla extract: A warm, comforting aroma that perfectly complements the orange and cranberry.
- Fresh or dried cranberries: Whether fresh and bursting or dried and chewy, these add that essential tart counterpoint; soaking dried ones makes them plump and juicy.
- Powdered sugar, sifted: Forms the base of your silky glaze; sifting ensures it's perfectly smooth without lumps.
- Freshly squeezed orange juice: The liquid for the glaze, infusing it with bright, natural orange flavor — much better than bottled!
- Finely grated orange zest (for glaze): A final touch to really amplify that fresh orange aroma and taste in the glaze.
Instructions
- Get Ready, Get Set:
- Preheat your oven to a warm 400°F (200°C) and line a baking sheet with parchment paper to prevent sticking and make cleanup a breeze.
- Whisk the Dry Goodies:
- In a spacious bowl, combine the flour, sugar, baking powder, salt, and that wonderfully fragrant orange zest until everything is evenly distributed.
- Butter Up:
- Drop in your cold, cubed butter and, using a pastry cutter or your fingertips, work it into the dry ingredients until it looks like coarse sand with a few pea-sized butter bits remaining. This step is key for flakiness!
- Wet Wonders:
- In a separate, smaller bowl, whisk together the cold heavy cream, egg, and vanilla extract until just combined.
- Combine and Cranberry:
- Pour the wet mixture into the dry ingredients, add your cranberries, and gently stir with a fork until the dough just barely comes together. Resist the urge to overmix; a shaggy dough is a happy dough!
- Shape & Slice:
- Lightly flour your work surface, then turn out the dough and gently pat it into a 1-inch thick circle, about 8 inches wide. Slice it into 8 neat wedges, like a pie, and arrange them on your prepared baking sheet with a little room to breathe.
- Golden Touch:
- For that beautiful, professional-looking golden crust, lightly brush the tops of the scones with a tiny bit of extra heavy cream before they go into the oven.
- Bake to Perfection:
- Slide your baking sheet into the preheated oven and let them bake for 16–18 minutes, until they're gloriously golden brown and smell absolutely irresistible. Let them cool slightly on a wire rack before glazing.
- Whip Up the Glaze:
- While the scones cool, whisk together the sifted powdered sugar, fresh orange juice, and a final dash of orange zest in a small bowl until you have a smooth, pourable glaze.
- Drizzle & Devour:
- Once the scones have cooled sufficiently, artfully drizzle the vibrant orange glaze over them. Serve them warm and watch them disappear!
 Save to Pinterest
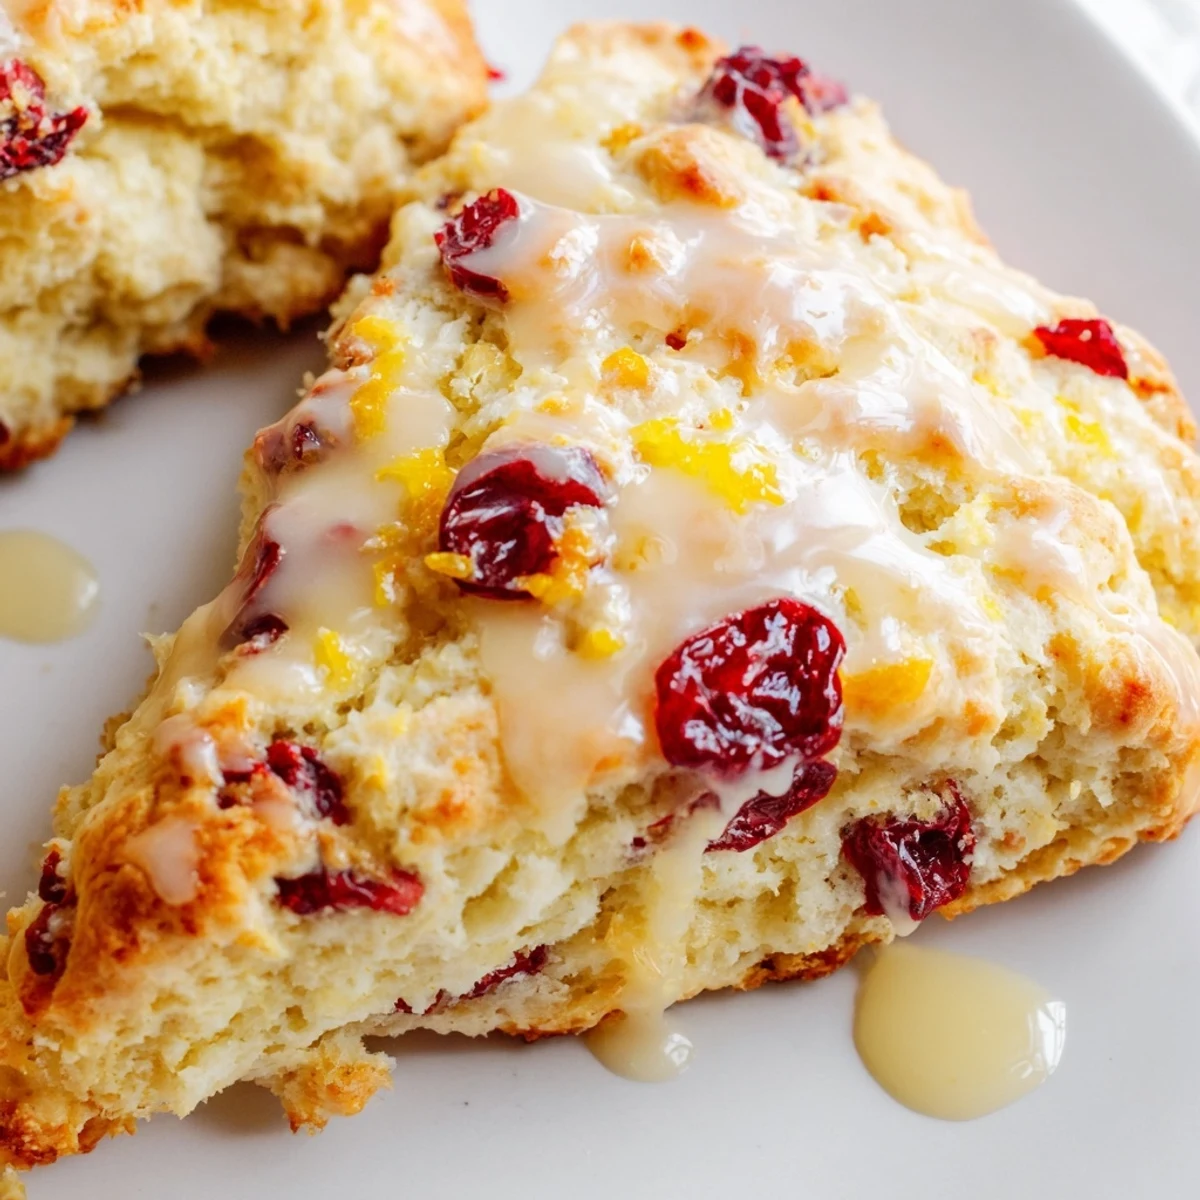
 There was a morning when my youngest, usually a picky eater, stumbled into the kitchen, drawn by the scent of baking. She took one look at the freshly glazed scones, still warm on the rack, and asked for "the sunshine bread." Watching her tiny fingers carefully pick one up, then seeing her face light up with that first bite, solidified these scones as more than just a recipe. They became a symbol of simple joy and shared comfort in our home.
Mastering the Cold Butter Technique
Achieving that signature light, flaky scone texture hinges almost entirely on how you handle the butter. The colder it is, the better. When those tiny pieces of butter melt in the hot oven, they release steam, creating air pockets that separate the layers of dough, resulting in a beautifully tender crumb. If your kitchen runs warm, you can even pop your bowl of dry ingredients with the butter into the freezer for a few minutes before adding the wet ingredients.
The Art of the Glaze
The glaze for these scones is more than just a sweet finish; it's an integral part of the flavor profile. Using freshly squeezed orange juice makes an enormous difference, offering a brighter, more natural citrus punch than anything from a bottle. Don't be afraid to adjust the amount of orange juice slightly to get your preferred consistency — thin enough to drizzle, but thick enough to cling beautifully to the scone.
Cranberry Choices & Customizations
While fresh cranberries offer a delightful tart burst, dried cranberries work wonderfully too, especially when plumped up in hot water first. You can also get creative with other additions to suit your taste. A little spice or some nuts can elevate these even further, making each batch uniquely yours.
- For an added crunch, fold in 1/2 cup of chopped toasted pecans or walnuts along with the cranberries.
- A pinch of ground cinnamon or nutmeg in the dry ingredients can add a lovely warmth, especially during colder months.
- Don't be afraid to experiment with other citrus zests, like lemon or lime, for a different flavor profile.
 Save to Pinterest
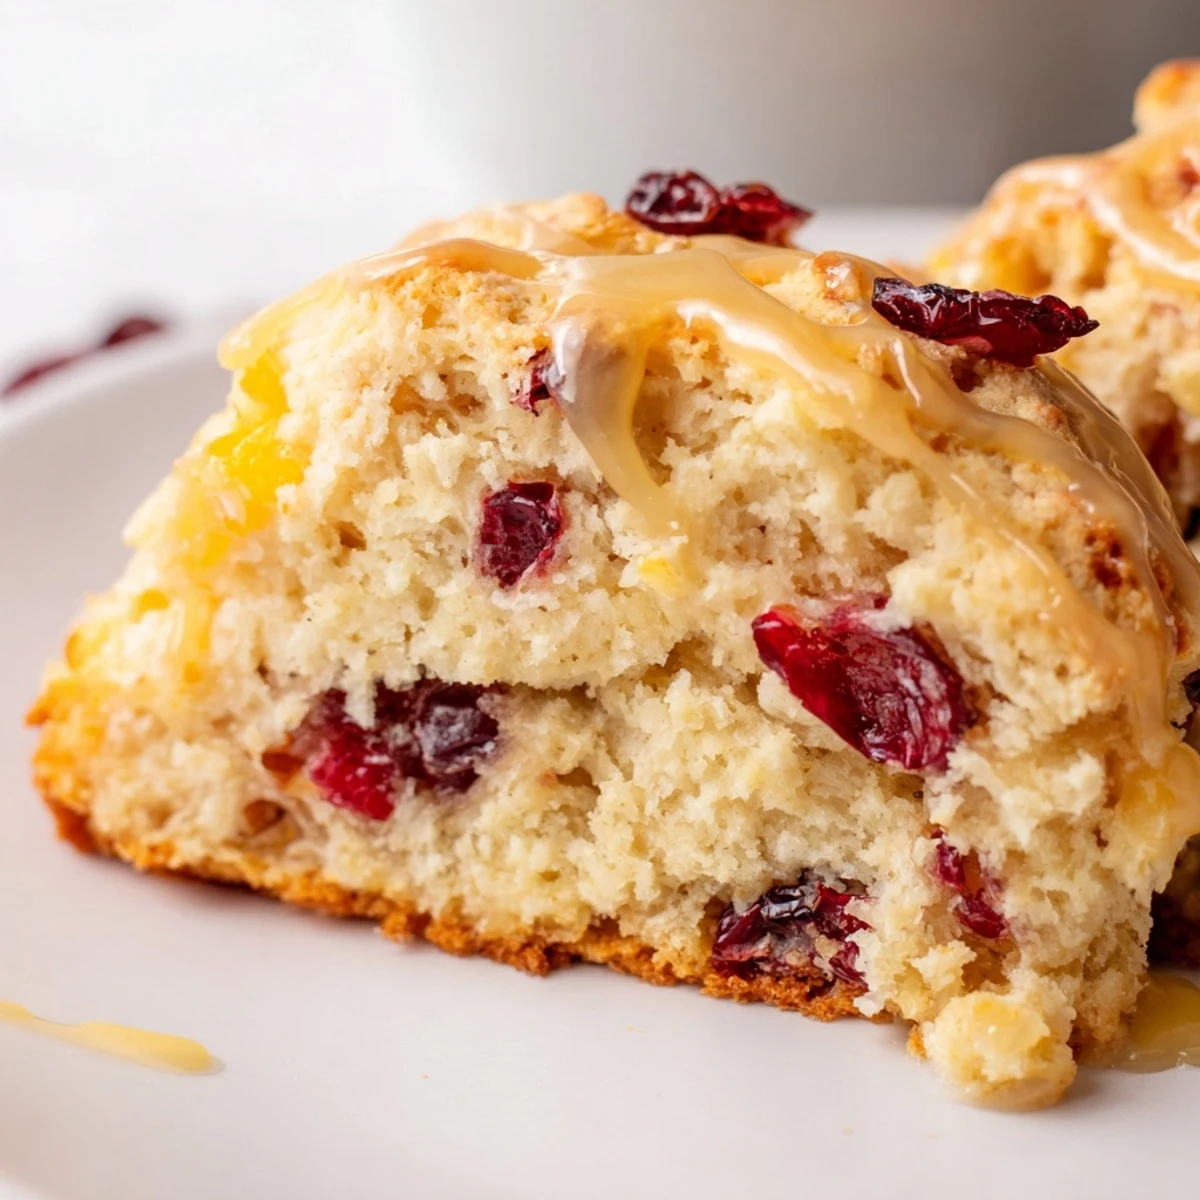
 Whether it’s a quiet morning treat or a warm offering for friends, these Cranberry Orange Scones are sure to bring a little brightness to any day. There’s truly nothing quite like the smell and taste of them, fresh from your own oven.
Recipe FAQs
- → Can I use frozen cranberries for these scones?
-
Yes, you can use frozen cranberries directly from the freezer. There's no need to thaw them first; simply toss them with a little flour before adding to the dough to prevent them from sinking and ensure even distribution.
- → What is the secret to tender, flaky scones?
-
The key to exceptionally tender and flaky scones lies in using very cold butter and avoiding overmixing the dough. Cold butter creates pockets of steam during baking, leading to a light, airy texture. Overworking the dough develops gluten, which can result in tough scones.
- → How should I store leftover cranberry orange scones?
-
Plain scones can be stored in an airtight container at room temperature for up to 2 days. If they are glazed, they are best enjoyed the same day, but can be stored similarly; note the glaze might become slightly sticky. For longer storage, freeze unglazed scones for up to a month.
- → Can I prepare the scone dough ahead of time?
-
Absolutely! You can prepare the scone dough the night before. After cutting the wedges, arrange them on a parchment-lined baking sheet, cover tightly with plastic wrap, and refrigerate. Bake them straight from the fridge in the morning, possibly adding a few extra minutes to the baking time.
- → What can I substitute for heavy cream in this scone preparation?
-
For a rich and tangy alternative, full-fat buttermilk works wonderfully. If neither is available, a mixture of milk with a tablespoon of melted butter can be used, though the resulting texture might be slightly less rich than with heavy cream.
- → Can I adjust the sweetness level of the glaze?
-
Yes, the sweetness of the glaze can be adjusted to your preference. For a thicker, sweeter glaze, add a bit more powdered sugar. For a thinner, less sweet glaze, use a little more orange juice. Always add liquids slowly to achieve the desired consistency.
