 Save to Pinterest
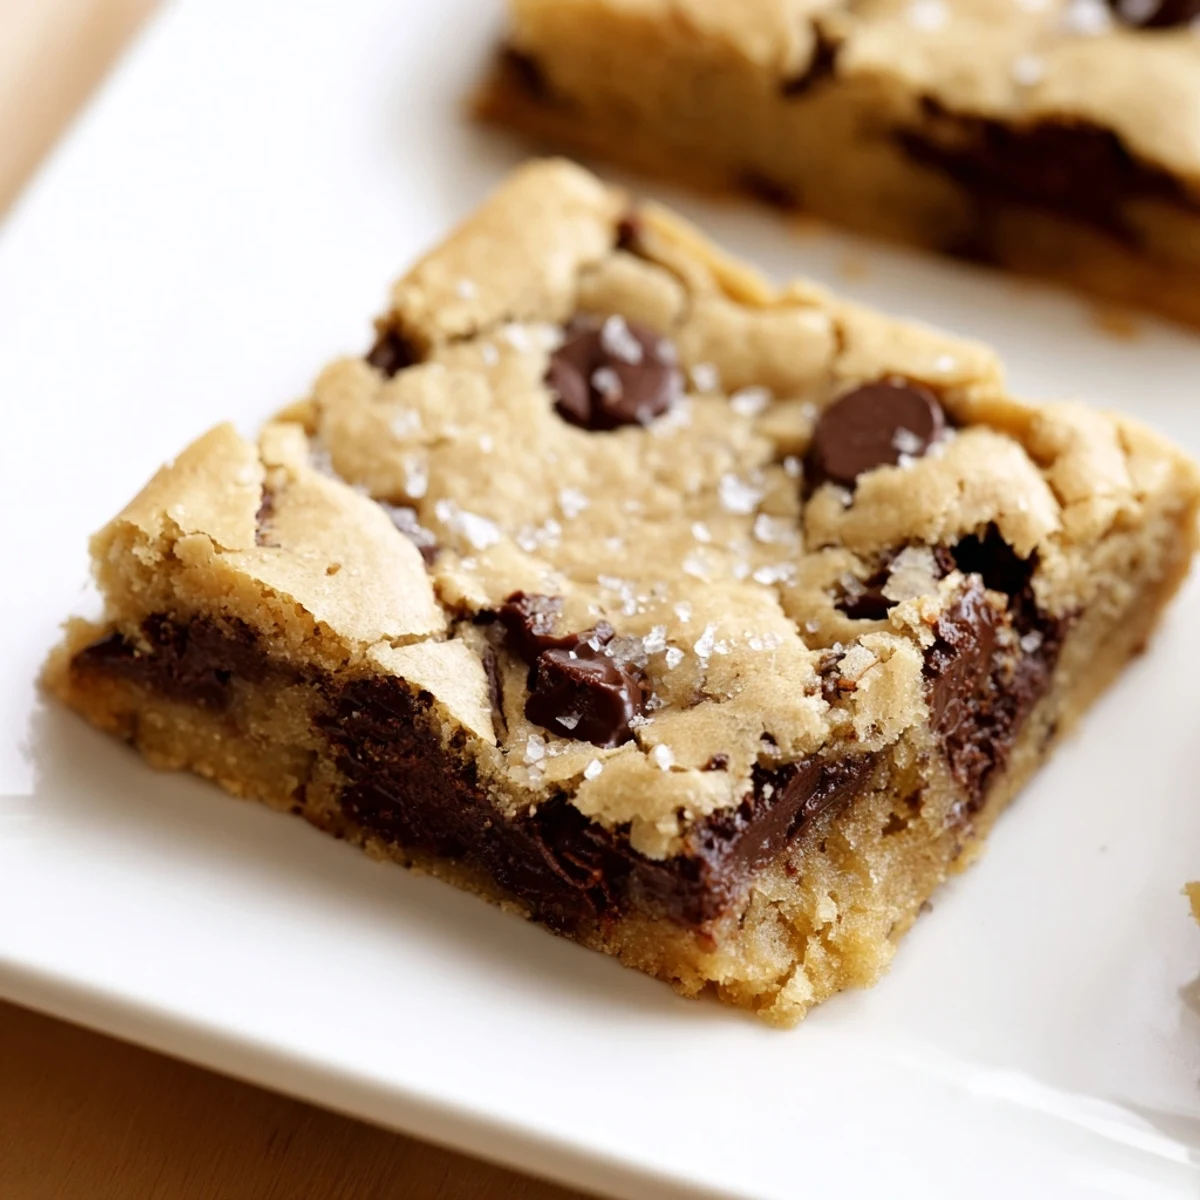
 These soft, chewy chocolate chip bars are an easy-to-make treat featuring a buttery dough and plenty of semisweet chocolate chips. The blend of brown and granulated sugars adds a rich sweetness, while the vanilla boosts flavor depth. Baking in one pan ensures a golden crust with a tender center. Cool before slicing for perfect portion bars, ideal for sharing or anytime indulgence.
There's something almost magical about the moment you pull a pan of chocolate chip cookie bars from the oven—that smell hits you before anything else, warm butter and melting chocolate filling the entire kitchen. I discovered these bars by accident, honestly, when I was trying to make cookies but didn't have the patience to scoop and bake dozens of individual rounds. What I got instead was something better: a shortcut that somehow tastes more indulgent, with edges that crisp just slightly while the center stays soft and yielding. Now they're my go-to when I need something that feels homemade but doesn't demand hours of my time.
I made these for my neighbor last spring when her son came home from college, and the way his whole face lit up when he bit into one made me realize these bars hit different than individual cookies. Maybe it's the generous chocolate-to-dough ratio, or maybe it's the casualness of breaking off a chunk instead of picking up a perfectly formed cookie, but something about bars makes them feel more celebratory, less fussy.
Ingredients
- All-purpose flour (2 1/4 cups): The structure of everything—make sure you're not packing it down when you measure, or your bars will be dense and tough.
- Baking soda (1 teaspoon): This is your spread agent; it helps the bars rise slightly and get those soft, tender edges.
- Salt (1/2 teaspoon): Don't skip this, even though it seems small—it deepens the chocolate flavor and balances the sweetness.
- Unsalted butter (1 cup, melted and cooled): Melting it first saves time and creates a richer, more cohesive dough base.
- Brown sugar (1 cup packed) and granulated sugar (1/2 cup): The brown sugar brings moisture and chewiness; the white sugar adds structure—use both.
- Eggs (2 large): Room temperature eggs mix in more smoothly and create a more tender crumb.
- Vanilla extract (2 teaspoons): Pure vanilla makes a difference; the imitation version tastes thin by comparison.
- Semisweet chocolate chips (2 cups): This is where the real pleasure lives—don't cheap out, and don't melt them unless you want a completely different texture.
Instructions
- Set the stage:
- Preheat your oven to 350°F and line a 9x13-inch pan with parchment paper—this step saves you from scraped knuckles and frustration later. If you forget the parchment, just grease the pan well.
- Build your dry base:
- Whisk together the flour, baking soda, and salt in a medium bowl, making sure there are no lumps hiding in the corners. Set it aside and don't touch it yet.
- Cream the foundation:
- In a large bowl, whisk the cooled melted butter with both sugars until the mixture looks smooth and slightly creamy, about a minute of actual whisking. This is faster than traditional creaming because you're working with melted butter, not cold butter.
- Add the wet ingredients:
- Crack your eggs into the bowl and add the vanilla, whisking everything together until the eggs are fully incorporated and the mixture looks pale and slightly fluffy. Don't worry if it doesn't look perfect—it will come together.
- Bring it together gently:
- Using a spatula or wooden spoon, fold the dry ingredients into the wet mixture slowly and carefully, stopping as soon as you don't see any more flour streaks. This is the moment where overmixing creates tough bars, so resist the urge to be thorough—lumpy is better than overdone here.
- Fold in the chocolate:
- Stir in the chocolate chips until they're distributed throughout the dough, but don't go crazy; gentle folding keeps everything tender.
- Spread and smooth:
- Pour the dough into your prepared pan and use your spatula to spread it into an even layer, pressing gently so it reaches all four corners. Run your hand over the top (clean hands work best) to smooth it out.
- Bake with intention:
- Slide the pan into the oven and bake for 22-25 minutes—start checking around minute 22 by looking at the edges, which should be golden and feel firm while the center still jiggles slightly when you gently shake the pan. This is the hardest part because they look like they might be underbaked, but trust the jiggle test.
- Cool completely:
- Let the bars cool in the pan for at least an hour, then run a knife around the edges and lift them out onto a cutting board. Cutting them while they're still warm will make them crumbly and sad.
 Save to Pinterest
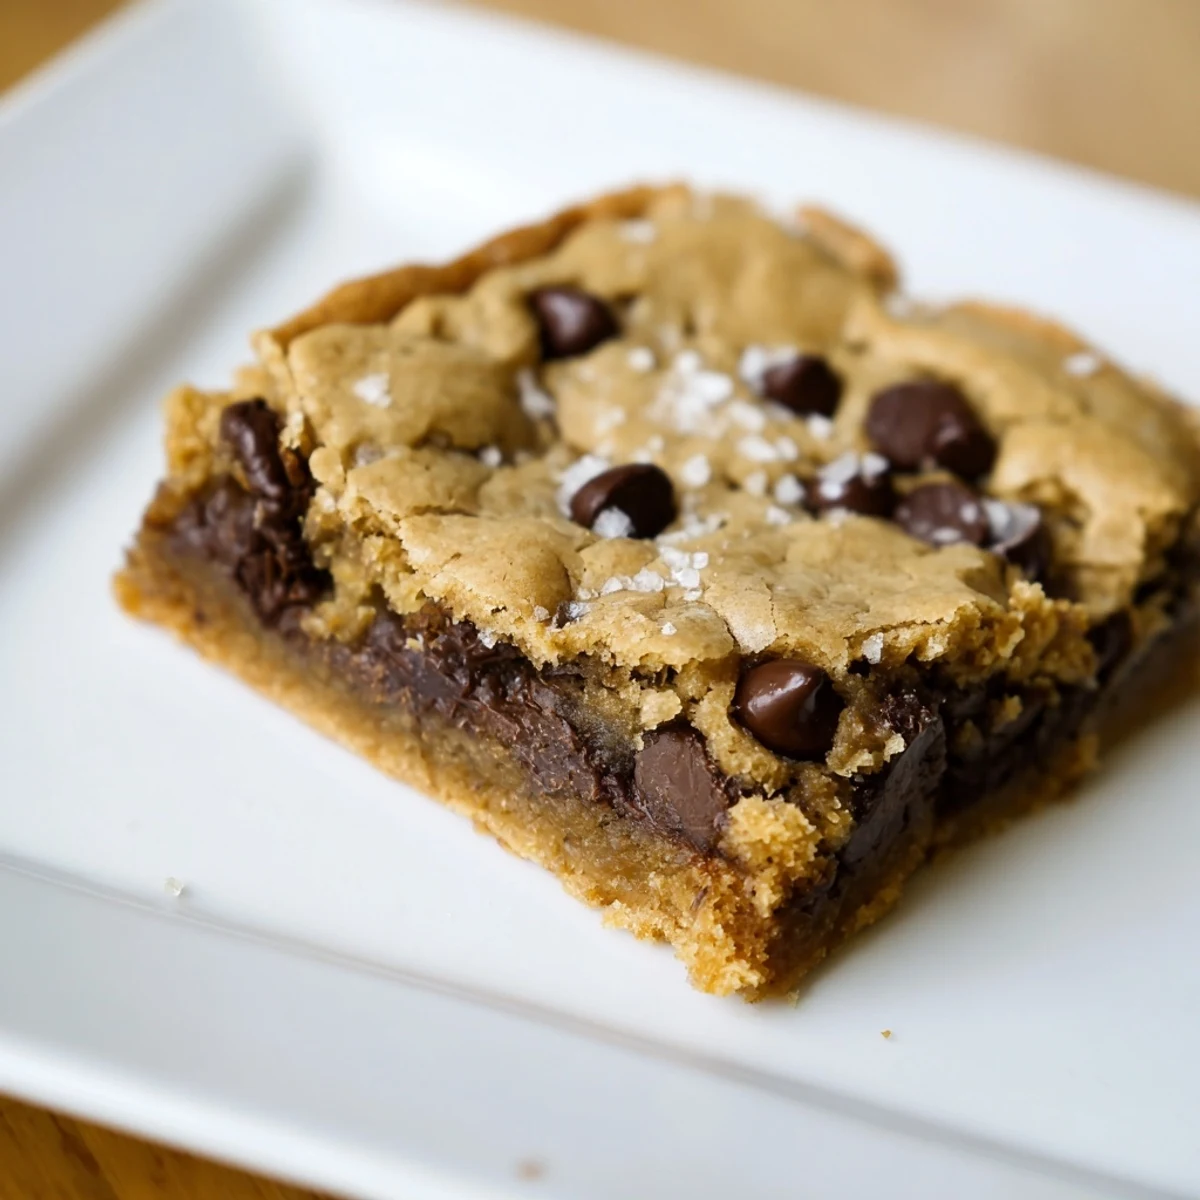
 There's a memory tied to these bars that still makes me smile—my sister's friend took one after dinner, and an hour later she came back into the kitchen just to cut another slice because, as she said, they somehow tasted better the second time around. That's when I realized that good bar cookies are patient food; they improve as they sit, the flavors deepen, and the texture settles into something even better.
Variations That Work
I've played with these bars more than any other recipe in my collection, and almost every change lands somewhere good. Swapping semisweet chips for dark chocolate makes them less sweet and more sophisticated, while milk chocolate creates a kid-friendly version that's almost candy-like. Adding a teaspoon of cinnamon or a pinch of espresso powder to the dry ingredients deepens everything without announcing itself—you just feel like the chocolate tastes richer.
Storage and Keeping
These bars sit happily in an airtight container at room temperature for up to five days, though they'll usually be gone before that. If you want them to last longer, you can freeze them in a single layer, then pack them together in freezer bags; they thaw in about an hour at room temperature and taste almost as good as fresh.
The Details That Matter
The salt on top, if you decide to use it, should go on right before the pan goes into the oven—a small pinch of flaky sea salt makes the chocolate taste more like chocolate and cuts through the sweetness in a way that feels almost sophisticated. I've also gotten creative by topping a batch with crushed pretzels or chopped nuts, which adds texture and keeps people from eating the entire pan in one sitting.
- Let the butter cool completely after melting, or it will cook the eggs before they fully mix in.
- Use a light hand when folding in the dry ingredients; the few remaining flour streaks will vanish in the oven anyway.
- If you can't wait the full hour to cool, at least wait 30 minutes, or you'll end up with a fork full of warm dough instead of a bar.
 Save to Pinterest
 These bars became my answer to the question of what to bring when I'm invited somewhere and want to feel like I've contributed something real but don't want to spend my entire afternoon in the kitchen. They're proof that sometimes the simplest recipes, made with a little attention and respect for the ingredients, become the ones people remember.
Recipe FAQs
- → How do I prevent the bars from becoming too dry?
-
Make sure not to overbake; remove the bars once the edges turn golden and the center is just set. Cooling them in the pan allows residual heat to finish the cooking gently.
- → Can I substitute the chocolate chips with other add-ins?
-
Yes, you can replace semisweet chips with milk or dark chocolate, or add chopped nuts for extra texture and flavor.
- → Is it necessary to use parchment paper in the pan?
-
While parchment paper helps with easy removal and cleanup, lightly greasing the pan also works well to prevent sticking.
- → What does the combination of brown and granulated sugars do?
-
Brown sugar adds moisture and caramel notes, while granulated sugar helps create a slight crispness on the edges, balancing texture and flavor.
- → Can these bars be stored for later?
-
Store in an airtight container at room temperature for up to five days to keep them soft and flavorful.
